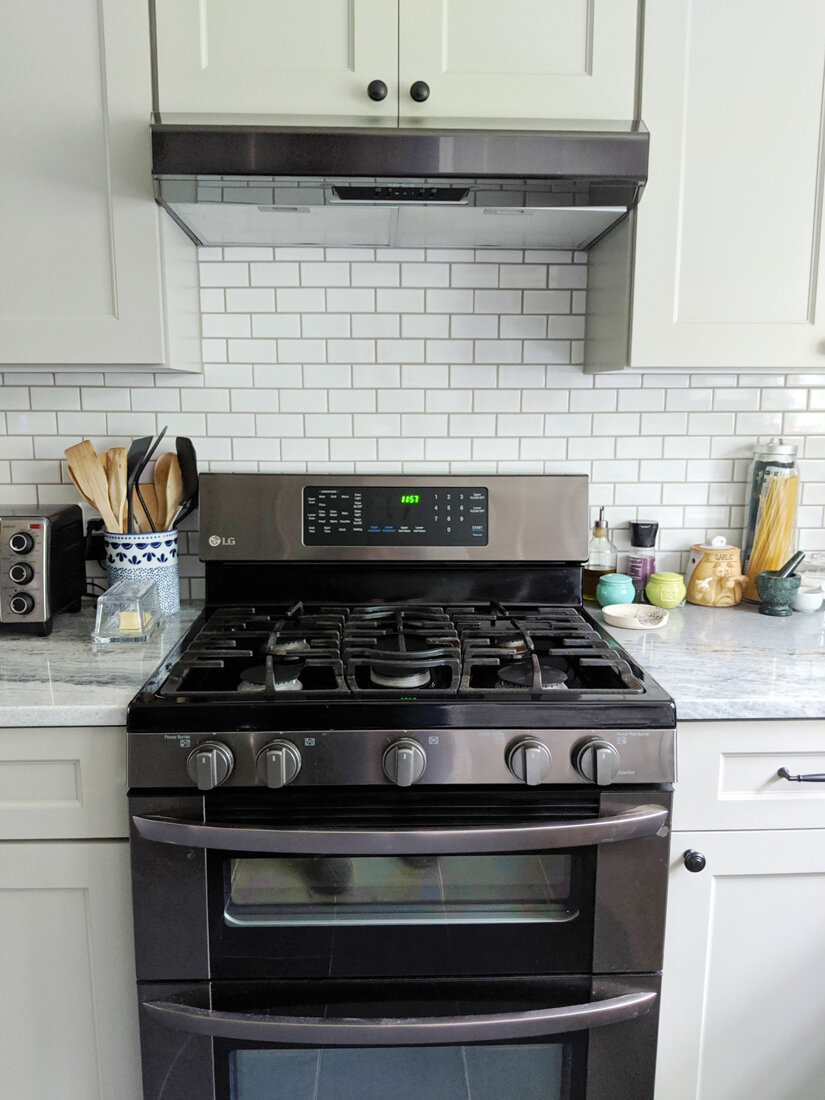
It occurred to me as I was cooking endless meals this past week in my fabulously functional and beautiful kitchen… I never posted any after photos following my renovation. Since that renovation wrapped up in early April 2019, we’ve completed a new roof installation and renovated a guest room as well, so I guess that means there is a lot to catch everyone up on… BUT FIRST- Kitchen/Bath.
We put a lot of thought into the finishes we chose for our kitchen trying to balance trends of the moments with classic styling that would increase the value of our home over the long term; as well as satisfy our desires to be up to date and in the moment. I think we accomplished that, but only time will tell. Either way, I know I am very happy with it in this moment and who knows what tomorrow will bring anyway.
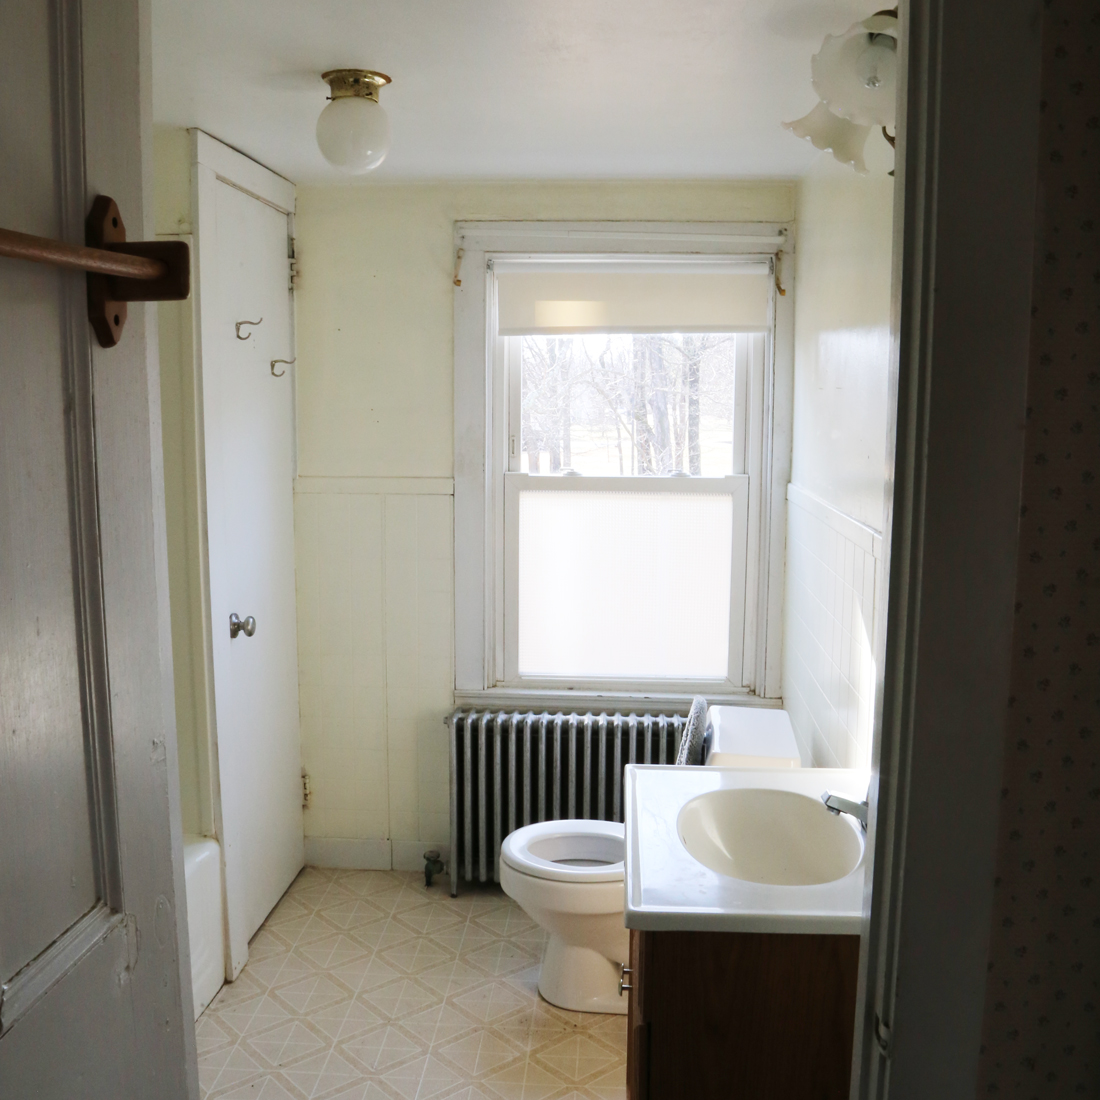
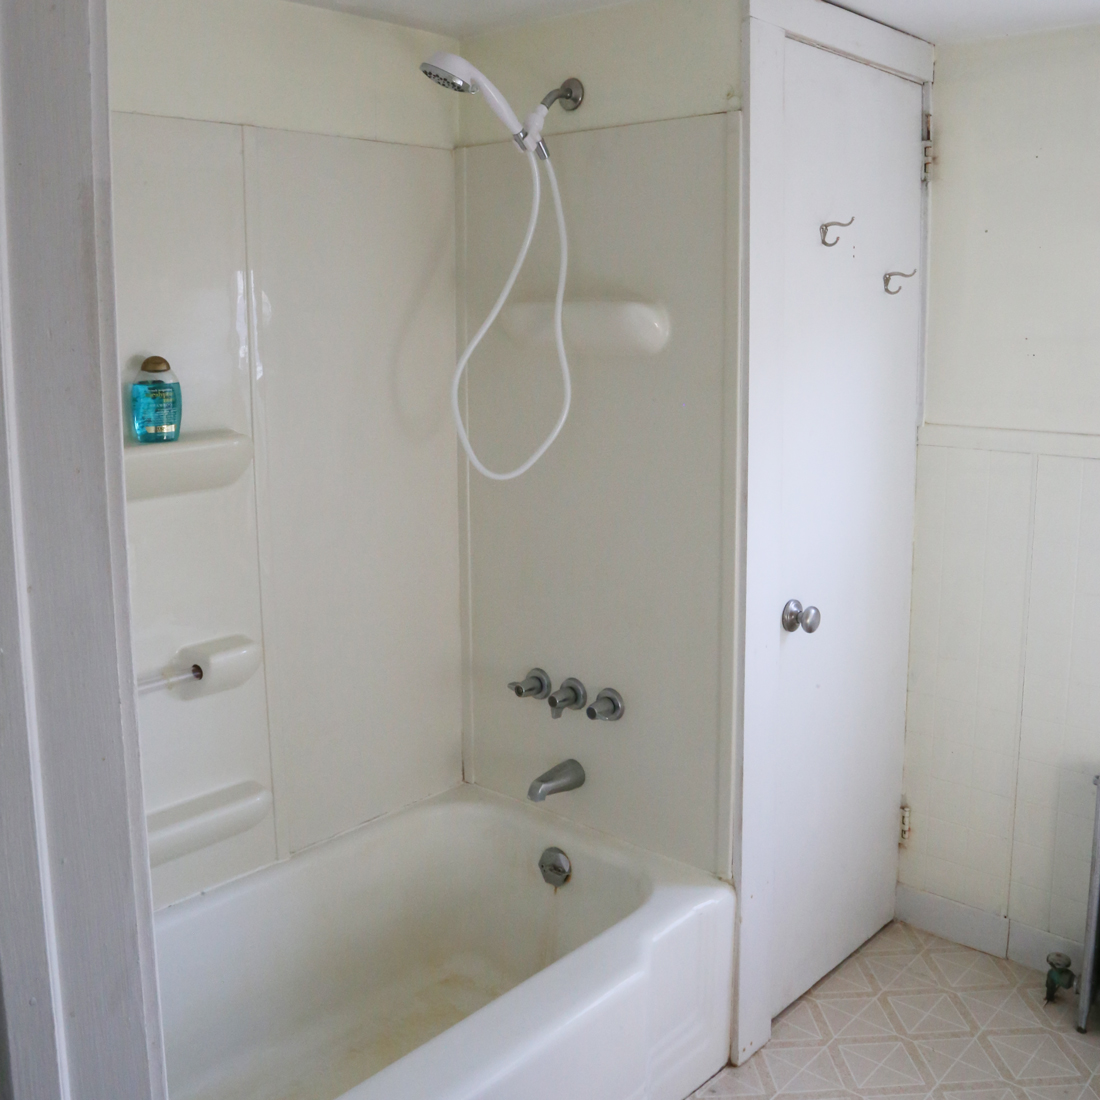
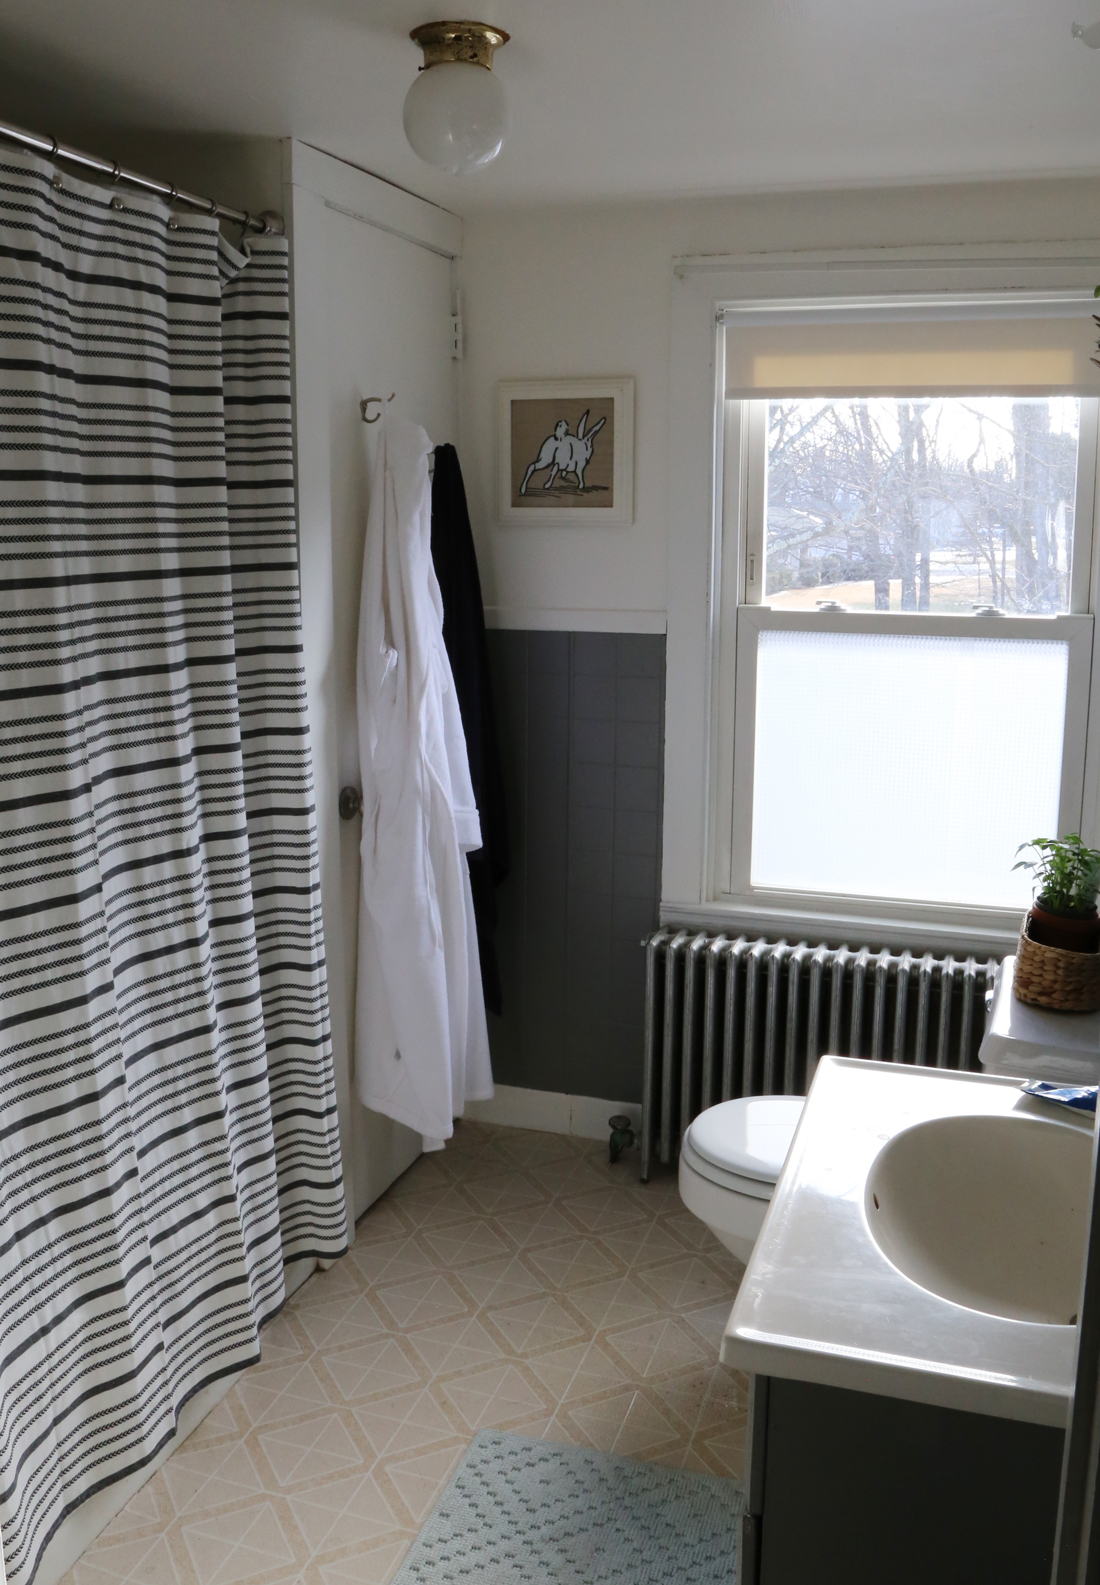
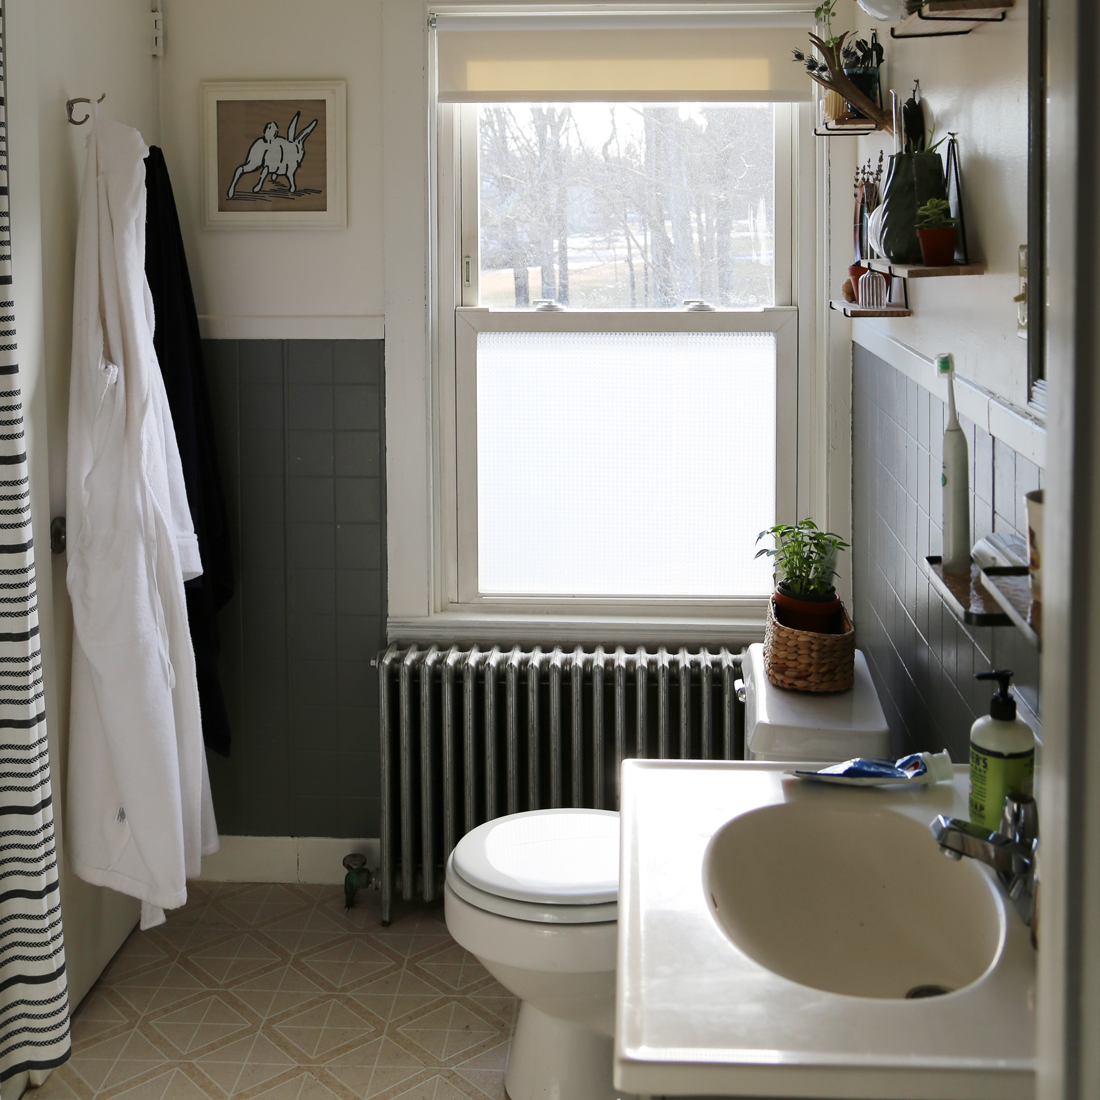
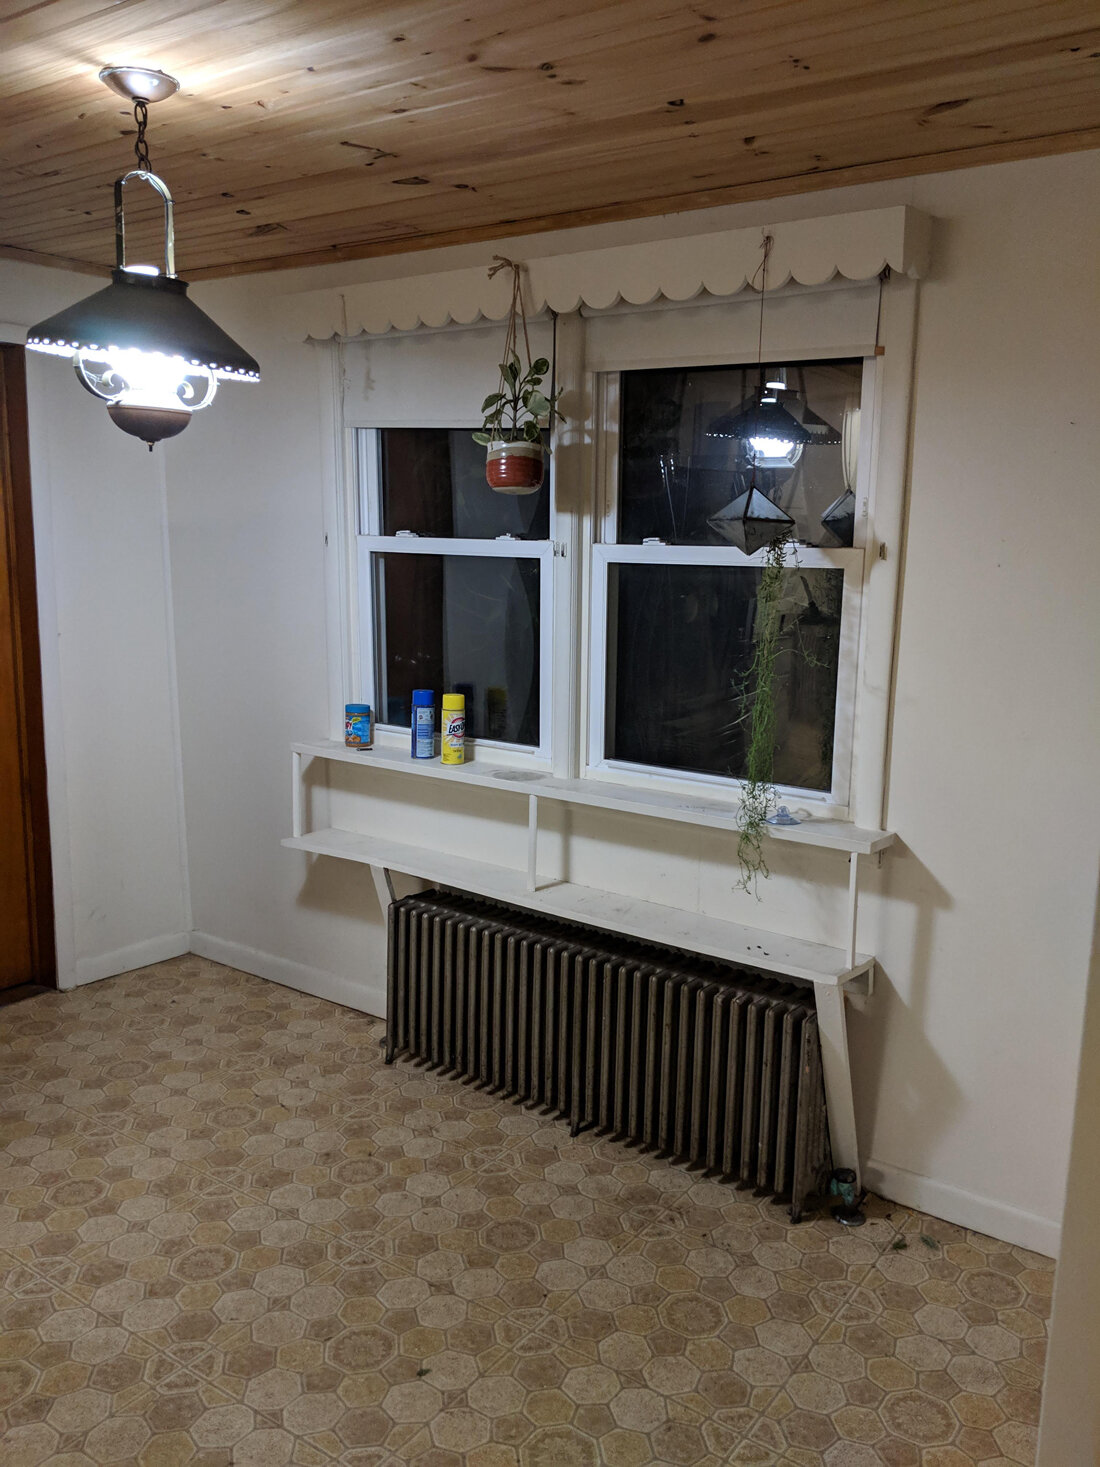
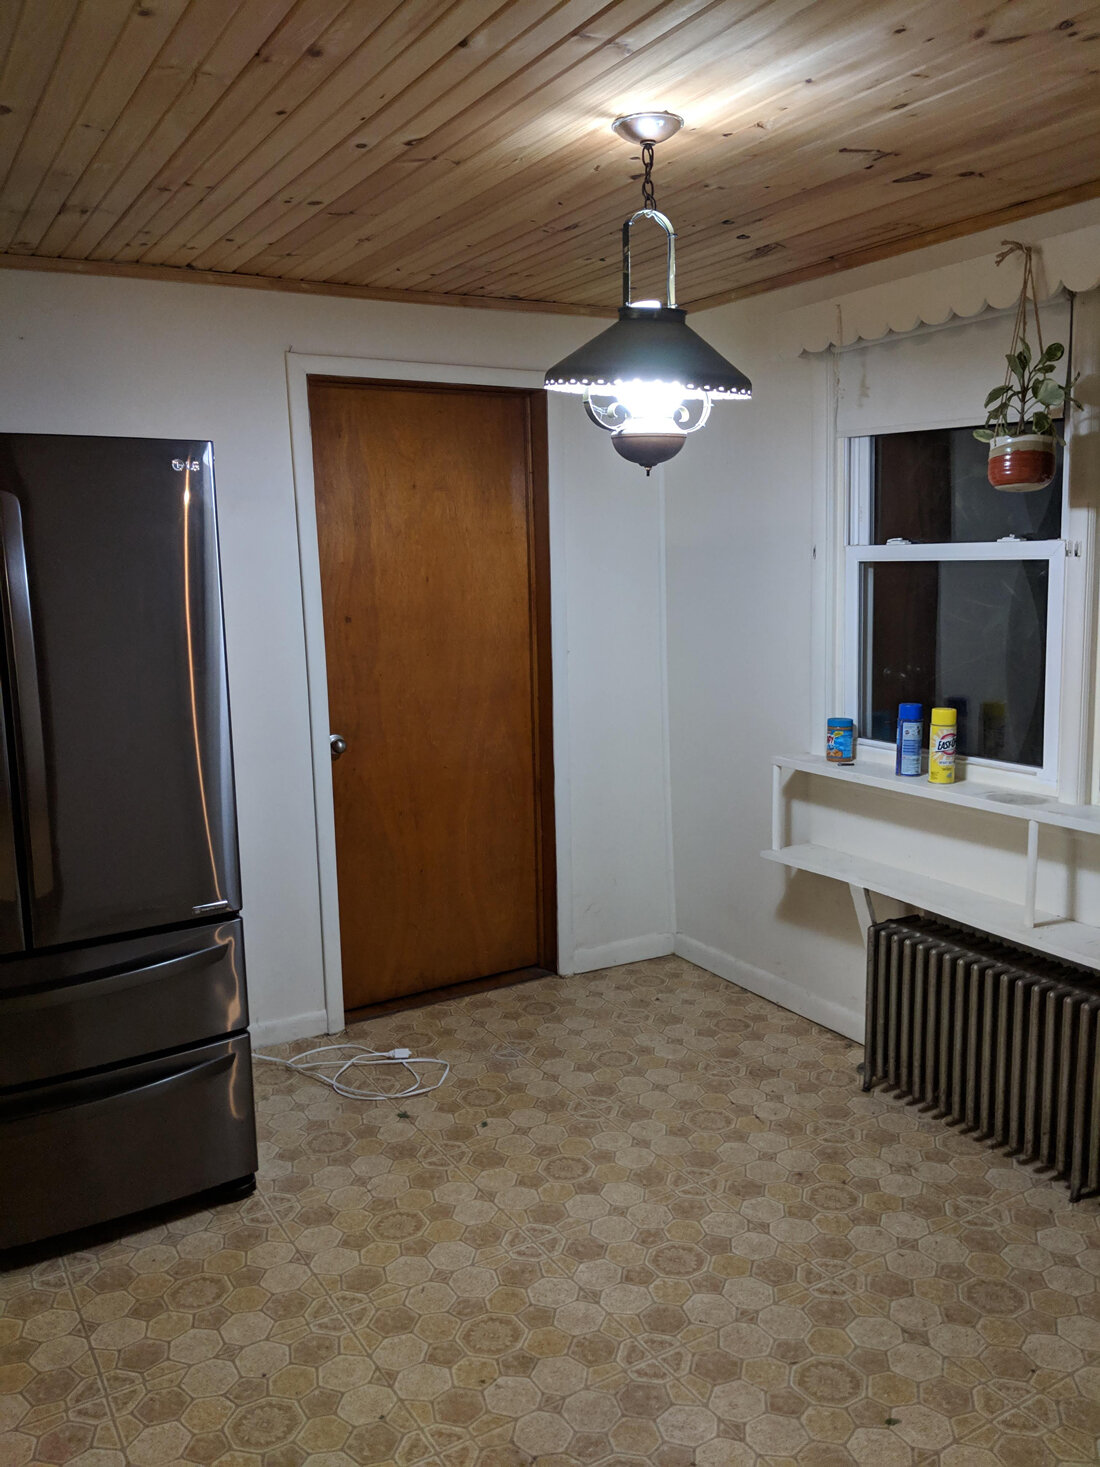
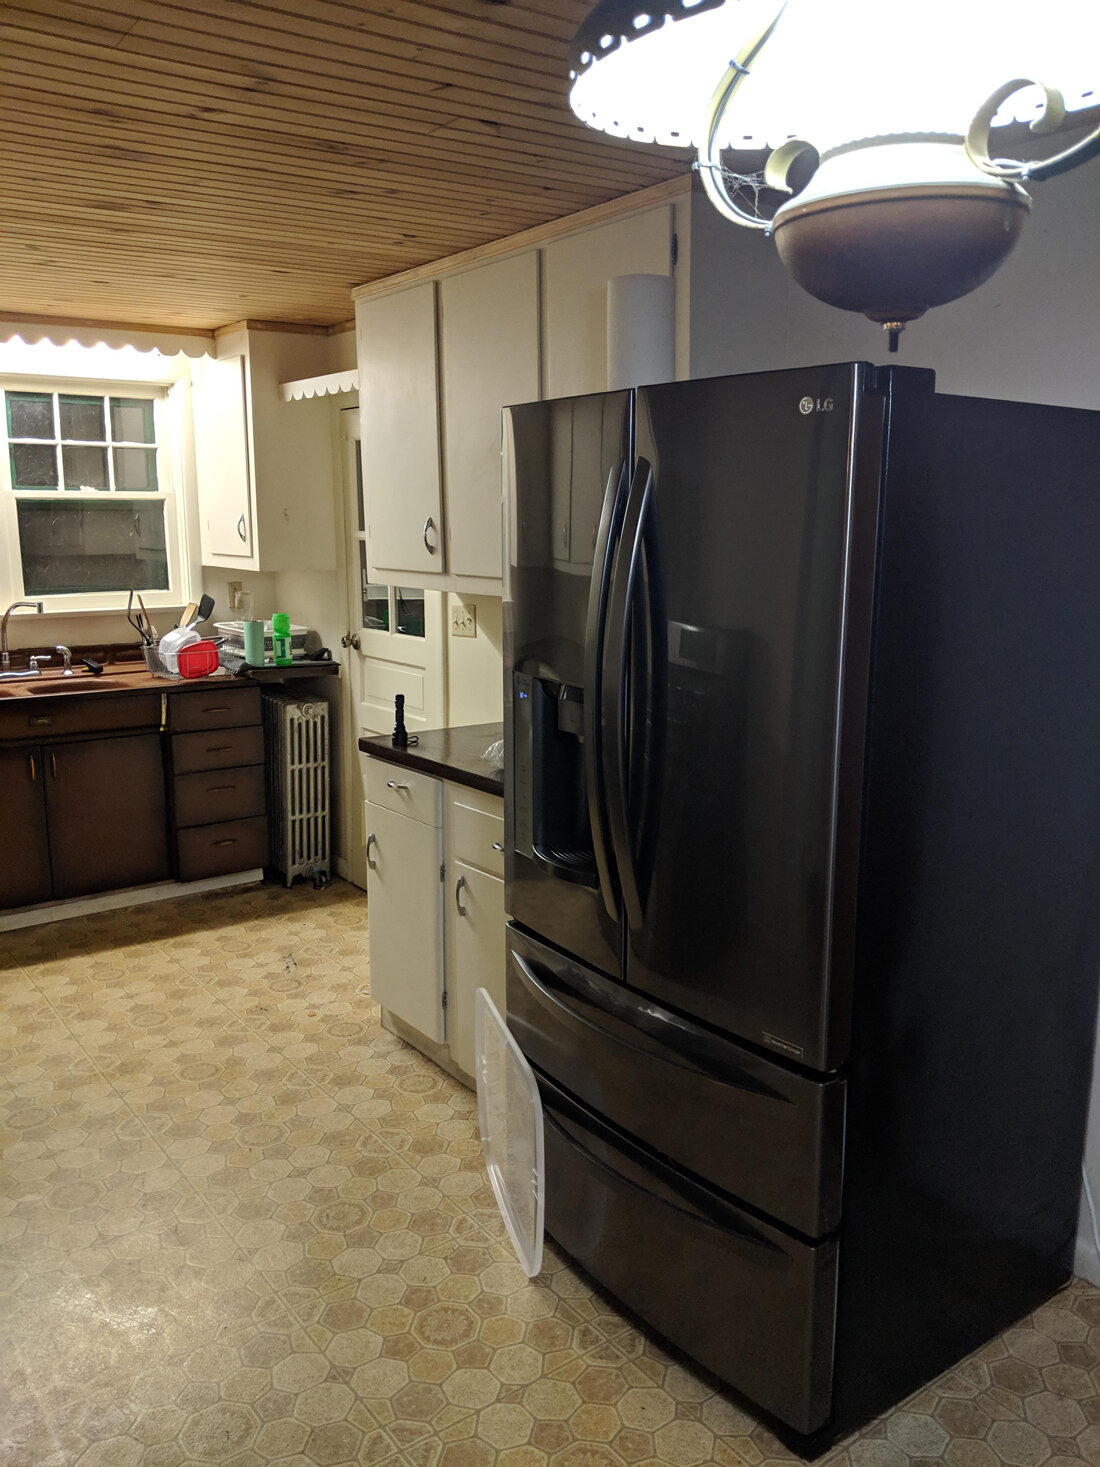
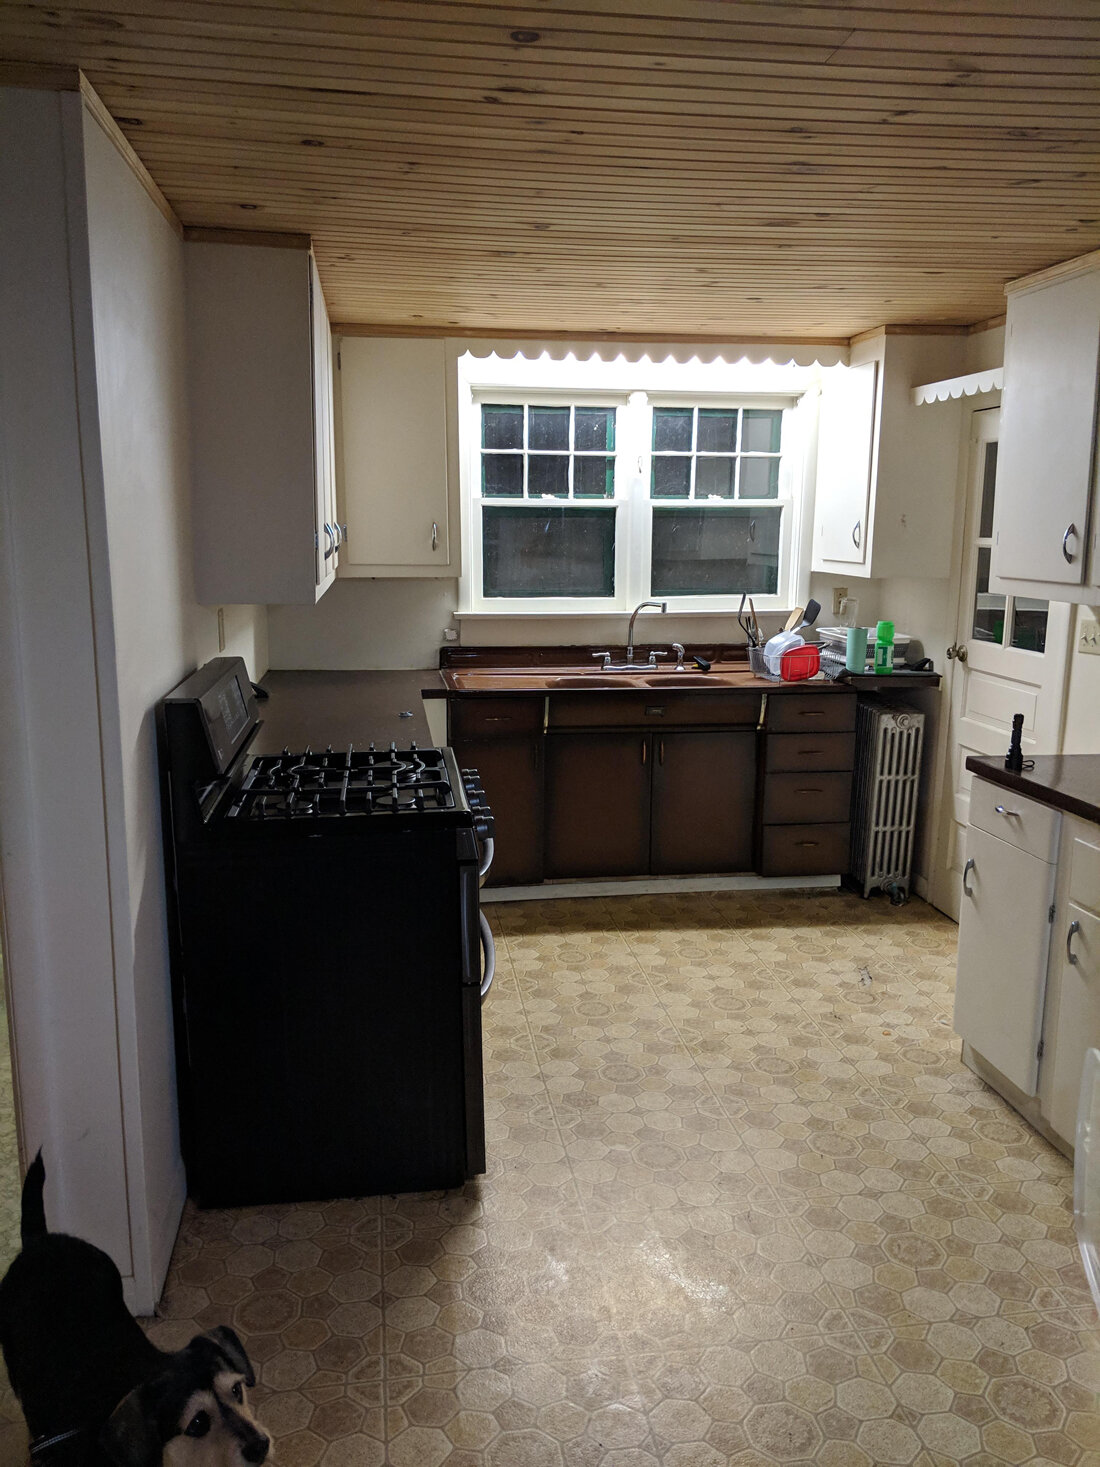
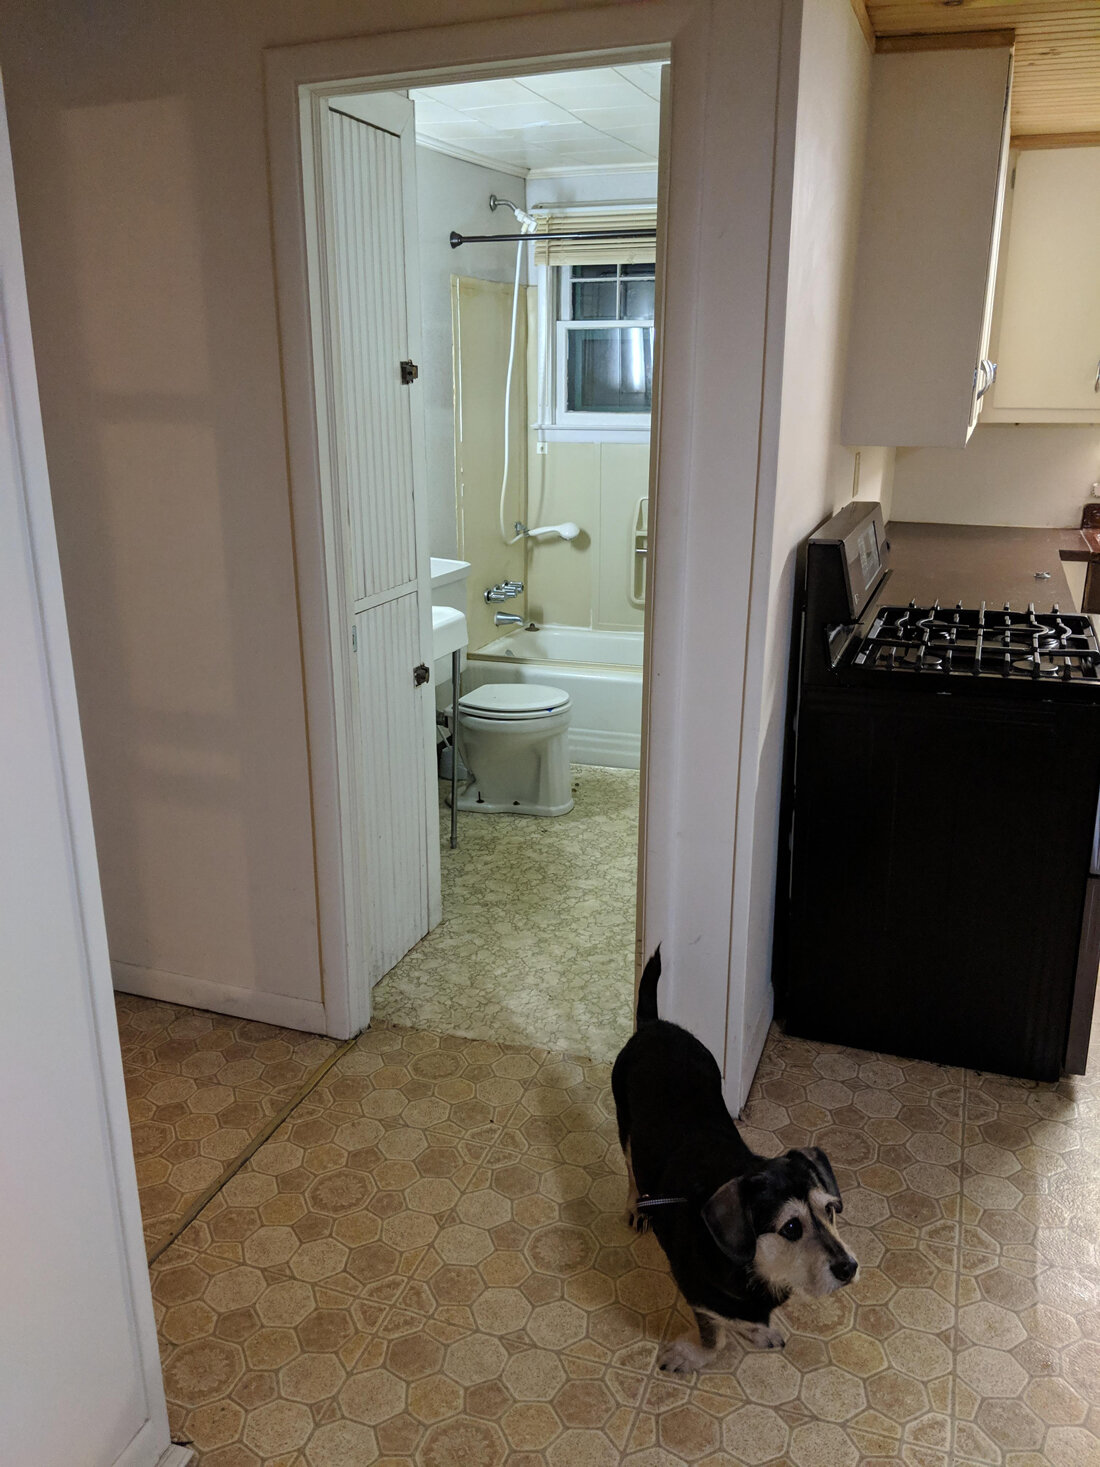
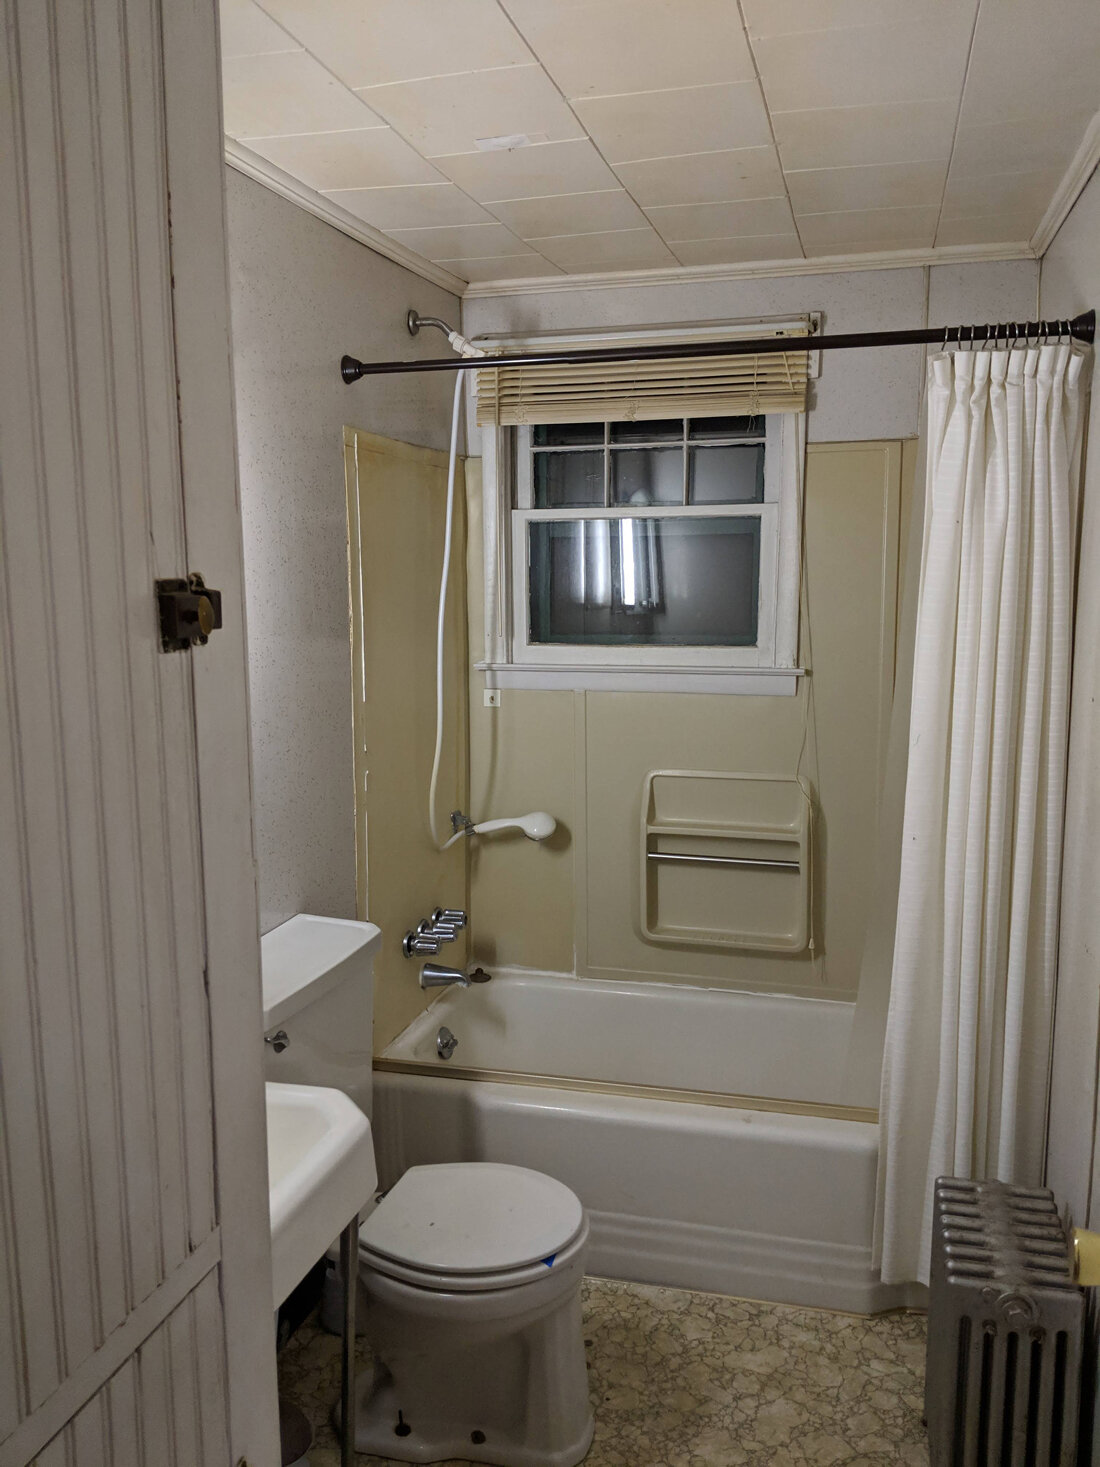
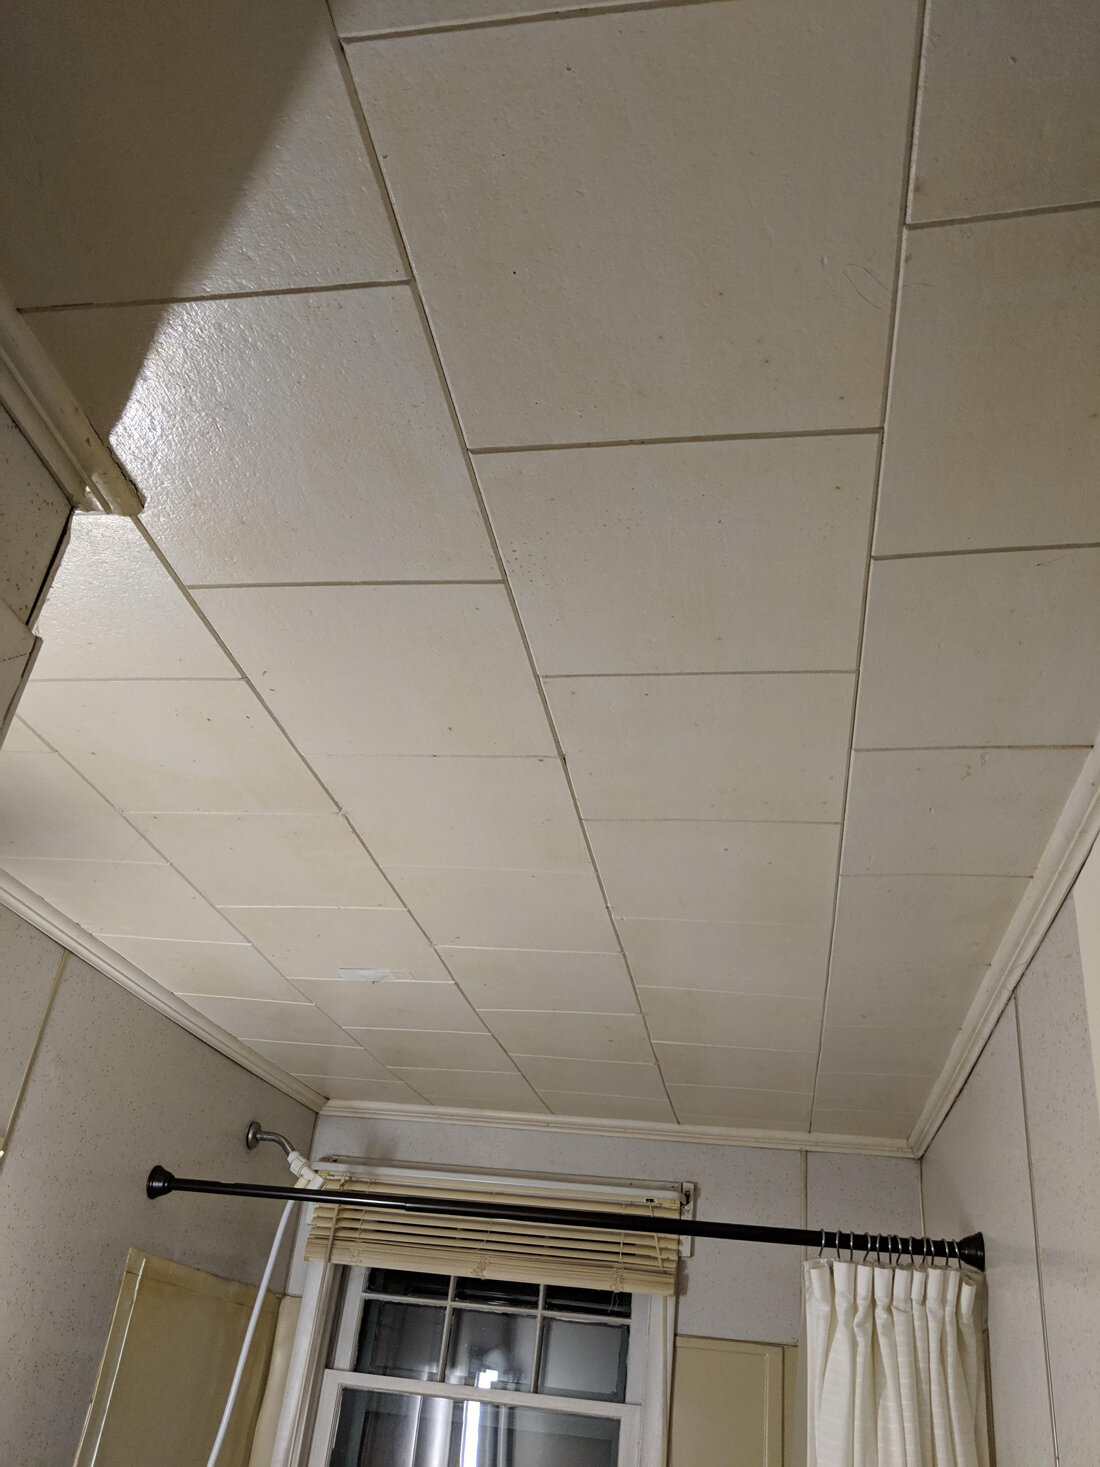
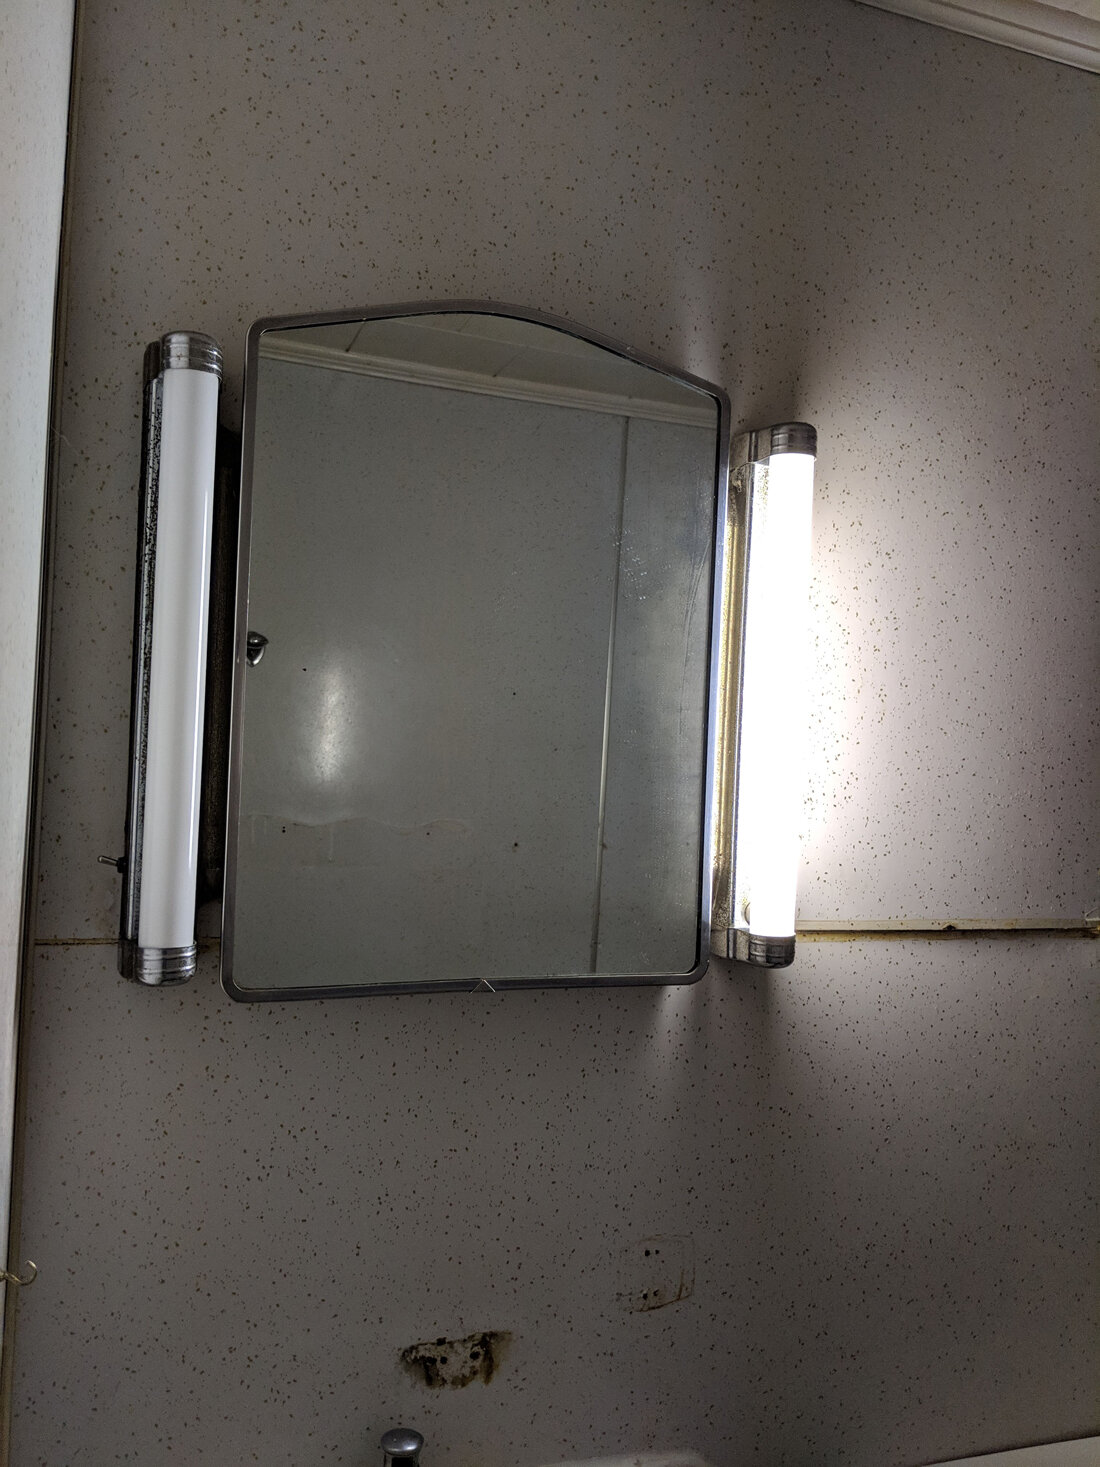
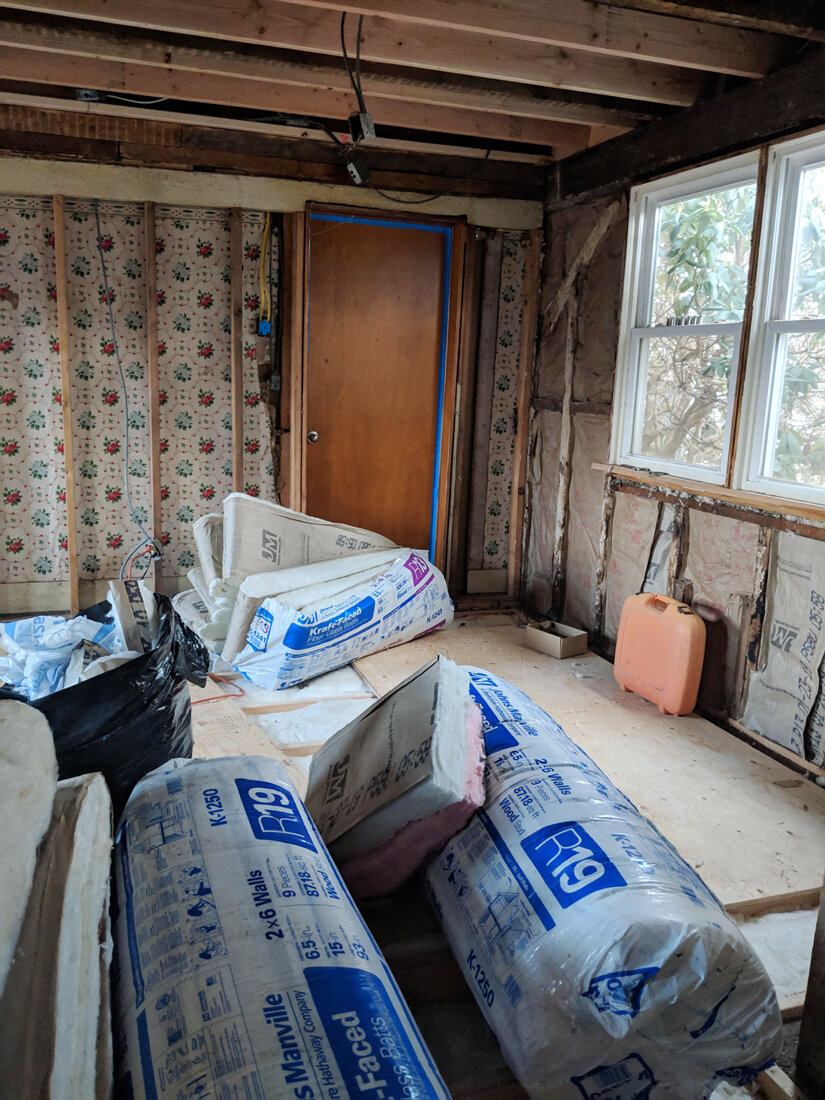
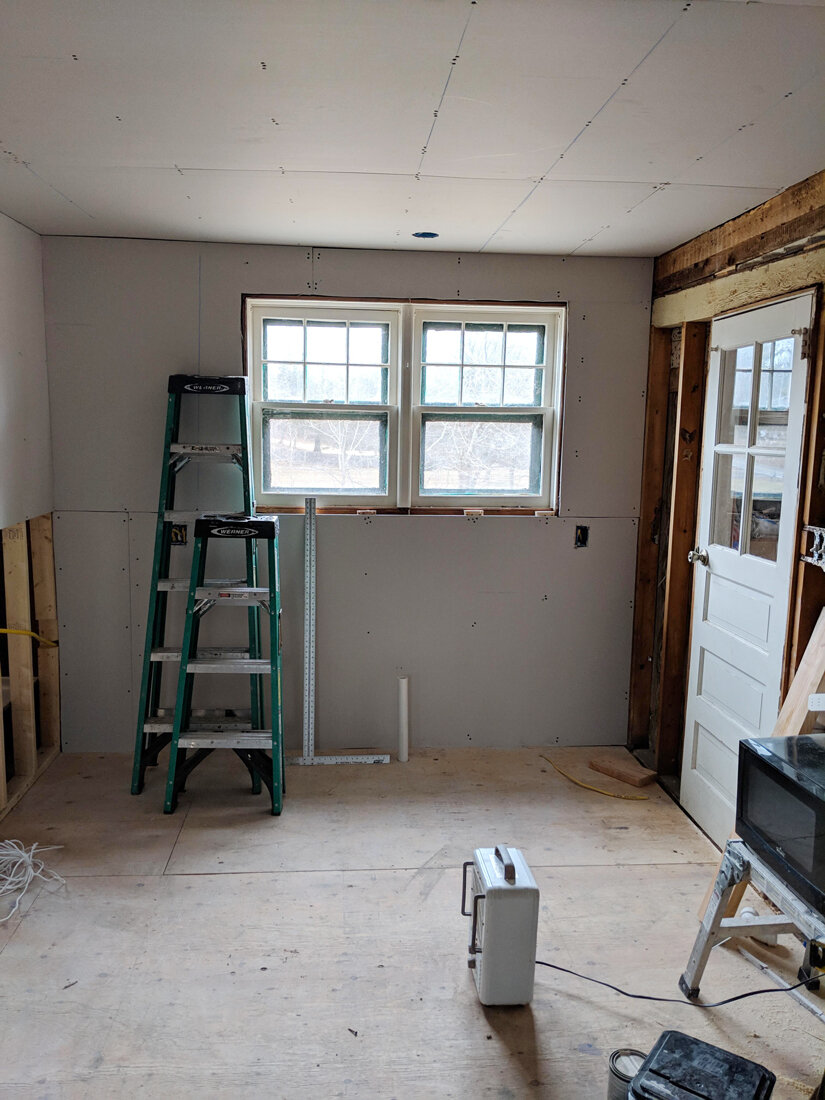
In order to really understand the massive change this brought to our home, I think you’ll need a good look at the “Before” images for this space. We re-did both the downstairs bathroom and kitchen in one swoop as they share a wall:
As I mentioned, we spent a lot of time thinking about finishes. I’m planning to put together a post detailing our “finish choosing journey” but til then lets talk about it as an overview. Things we knew we wanted from the project:
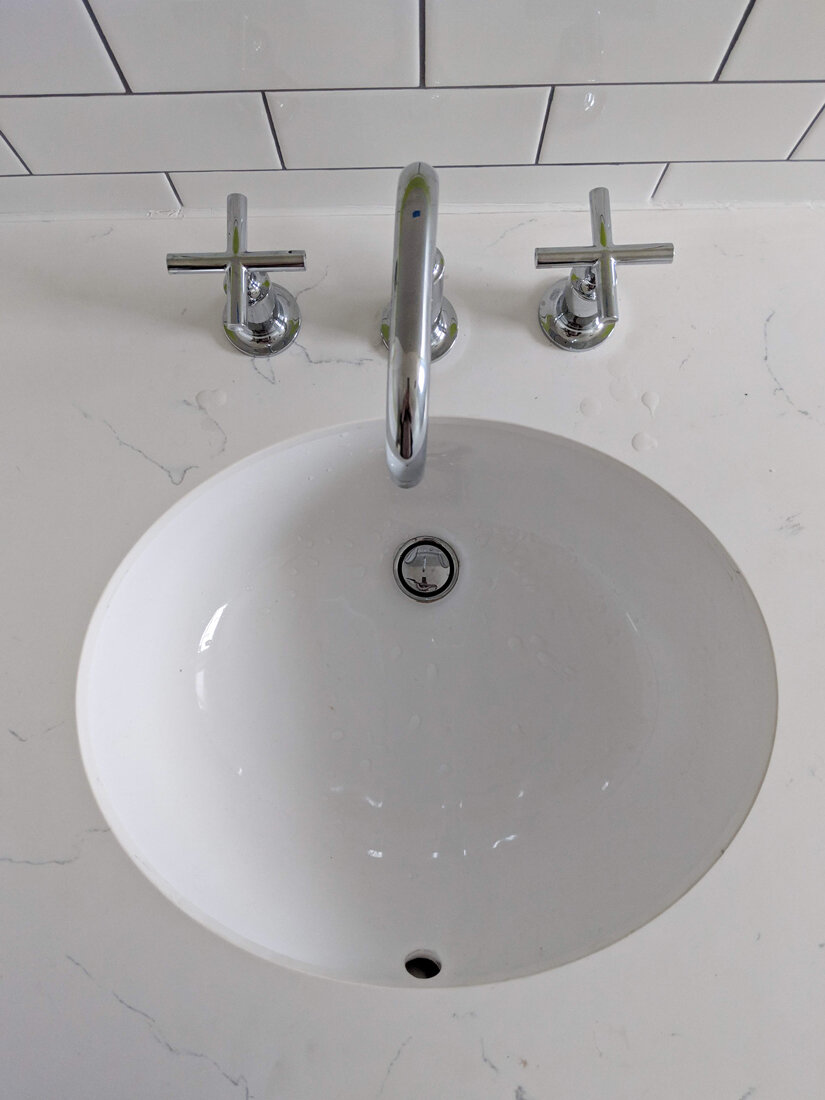
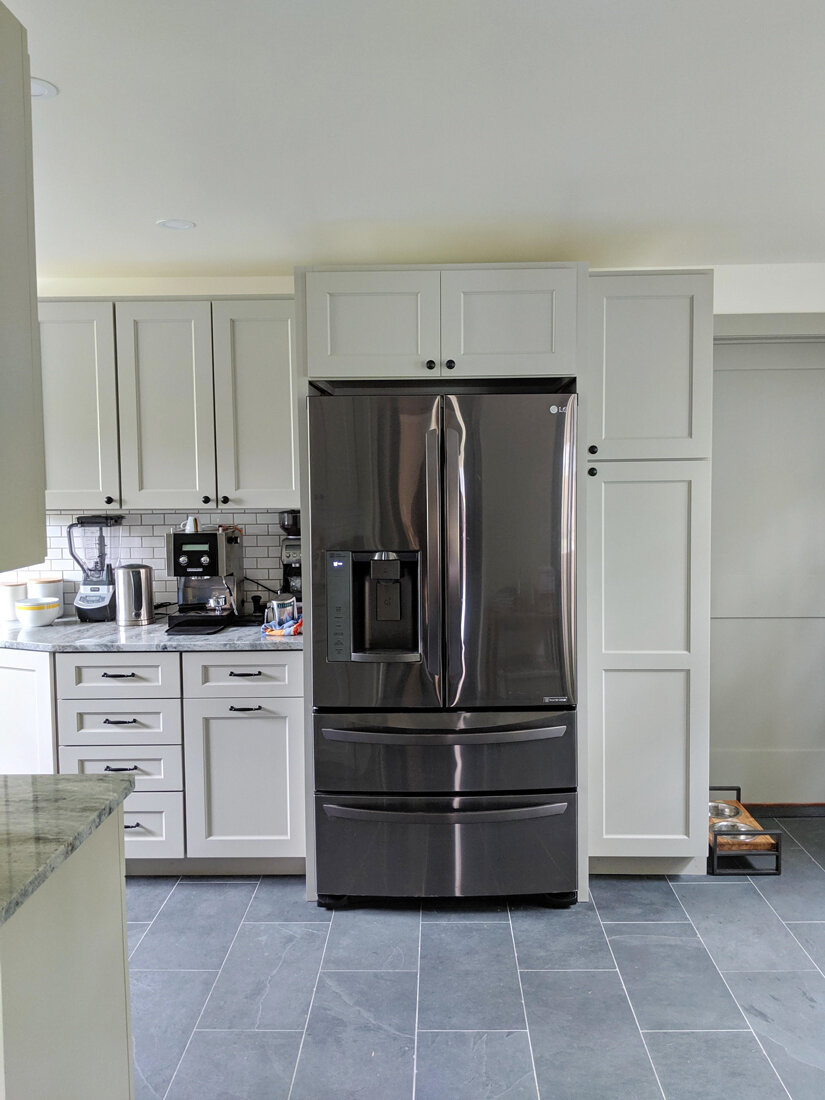
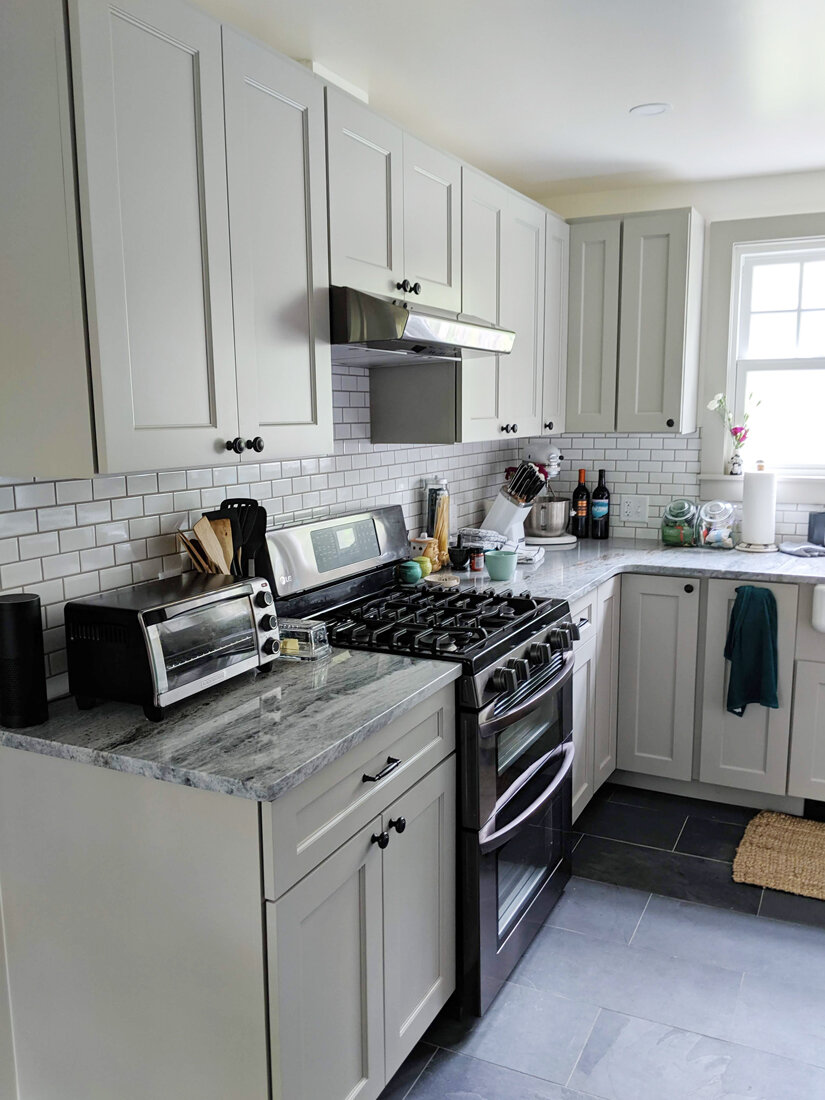
stone countertops or quartz
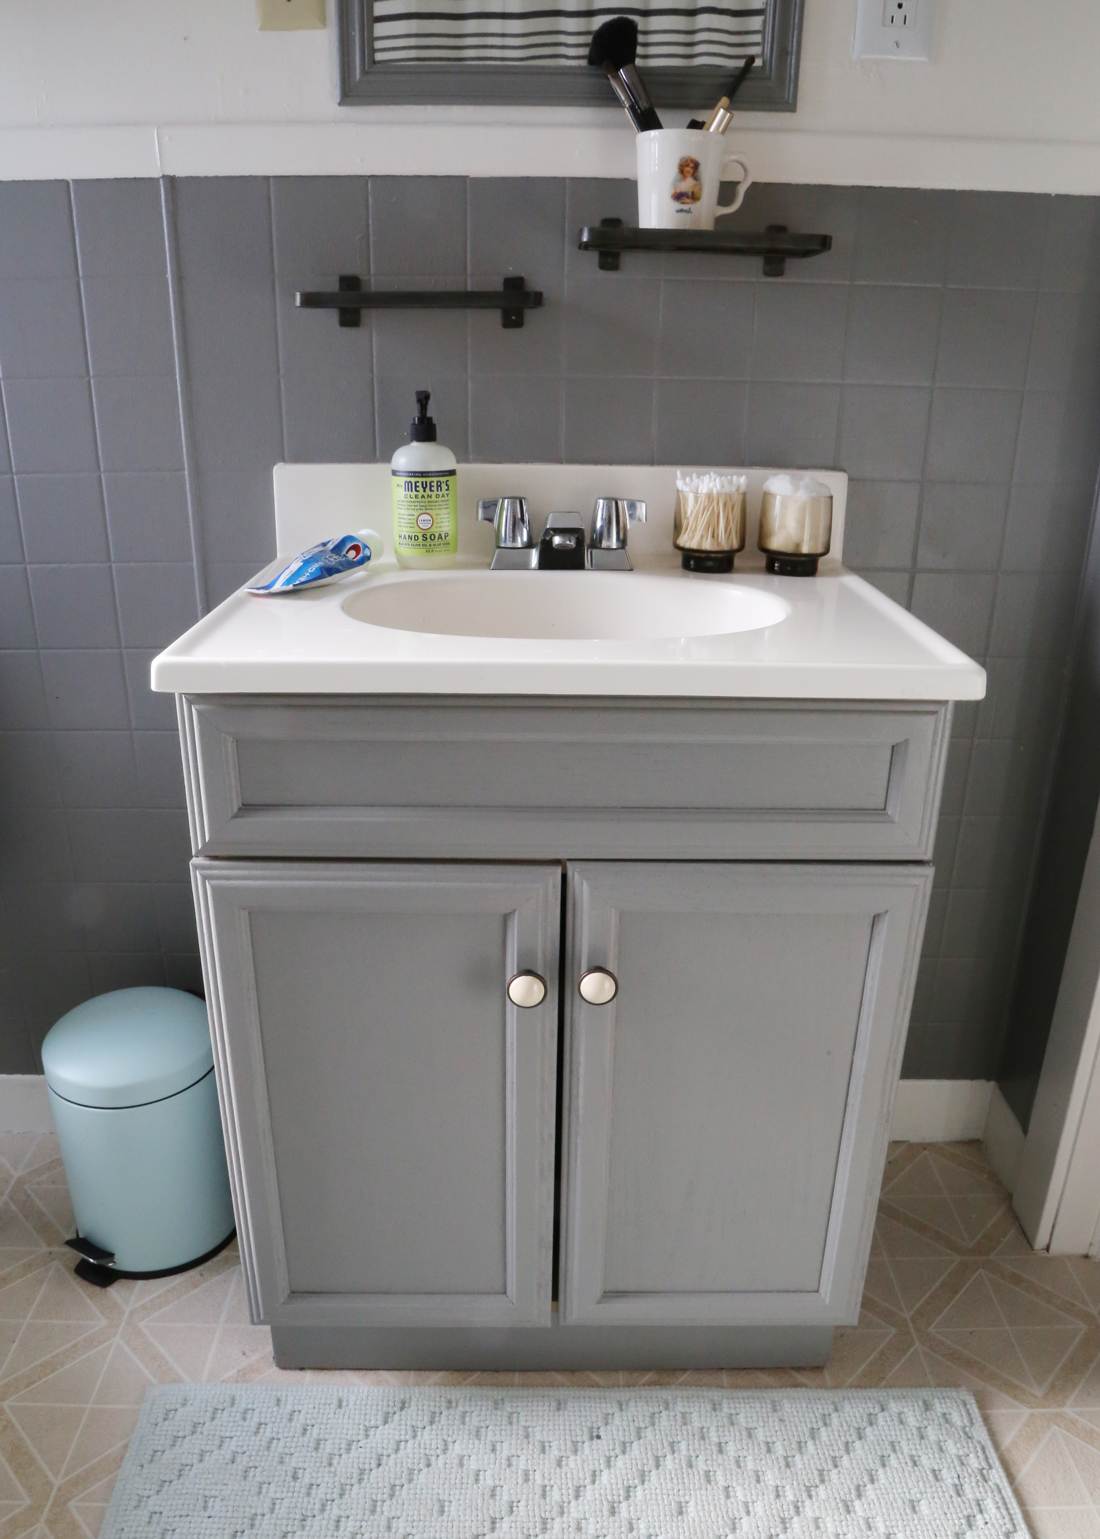
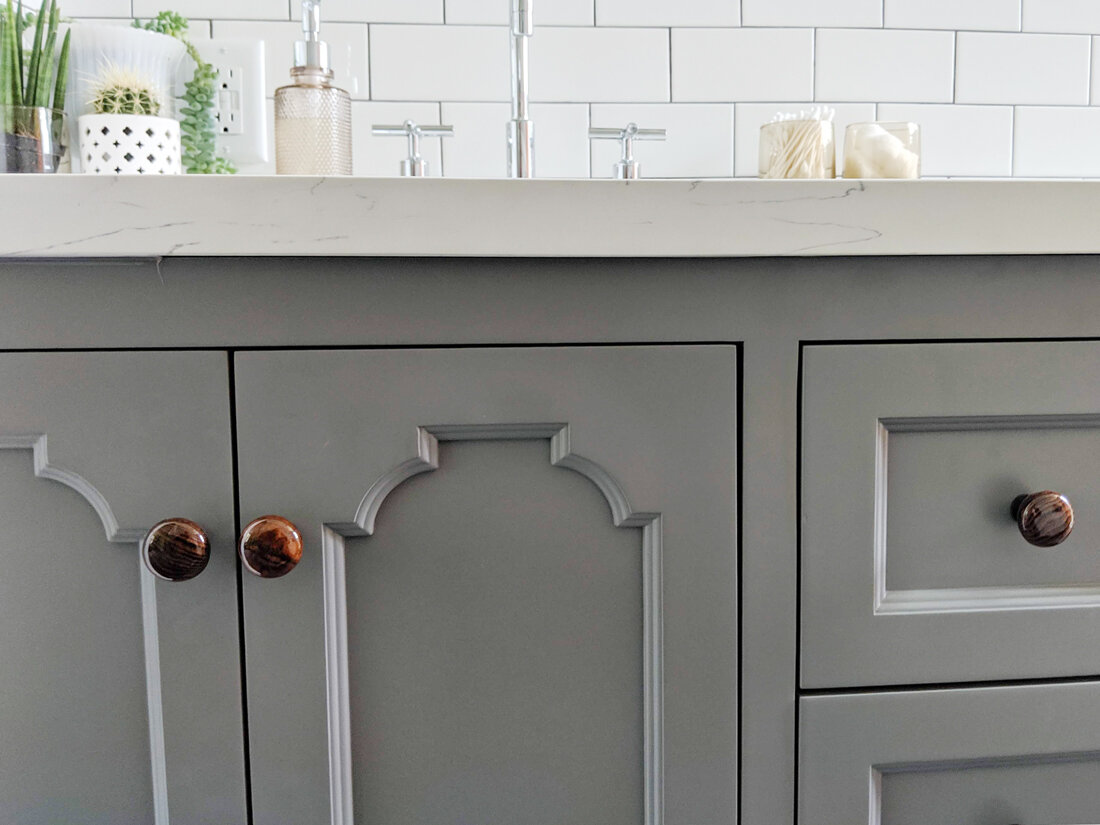
shaker cabinets light grey, dark grey or white
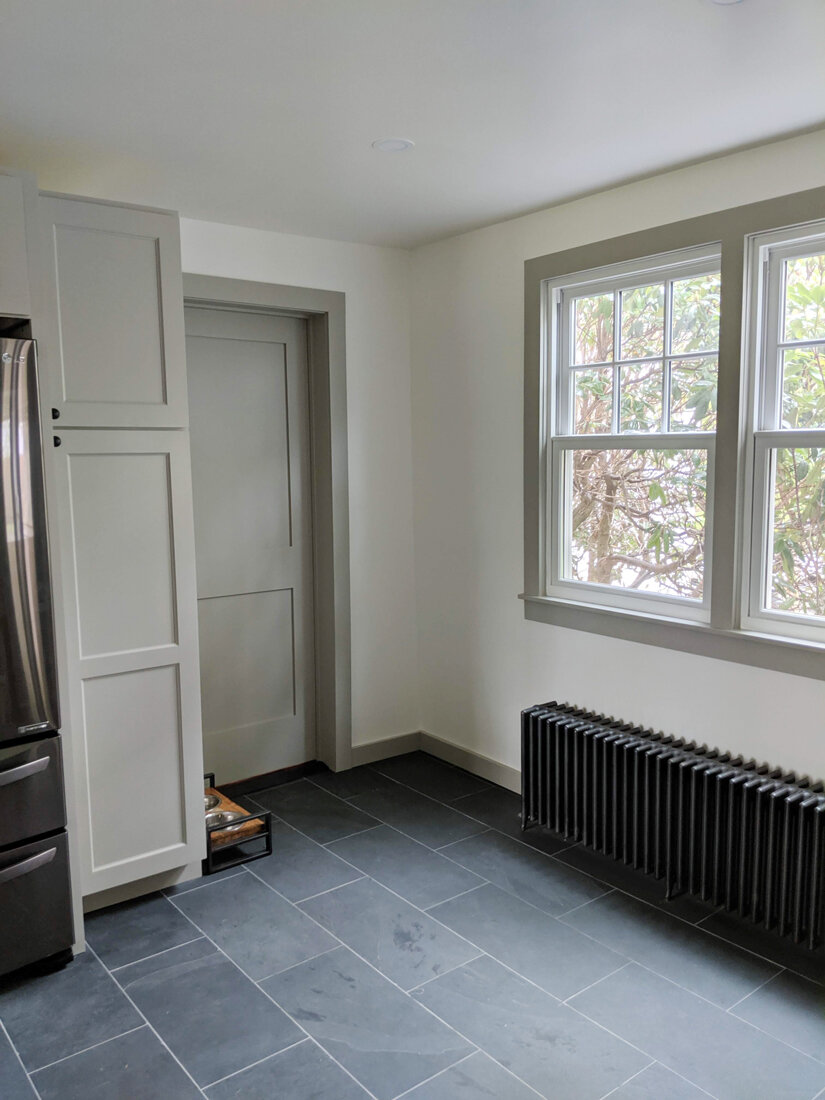
all new energy efficient windows that also matched the style of the space
DISHWASHER
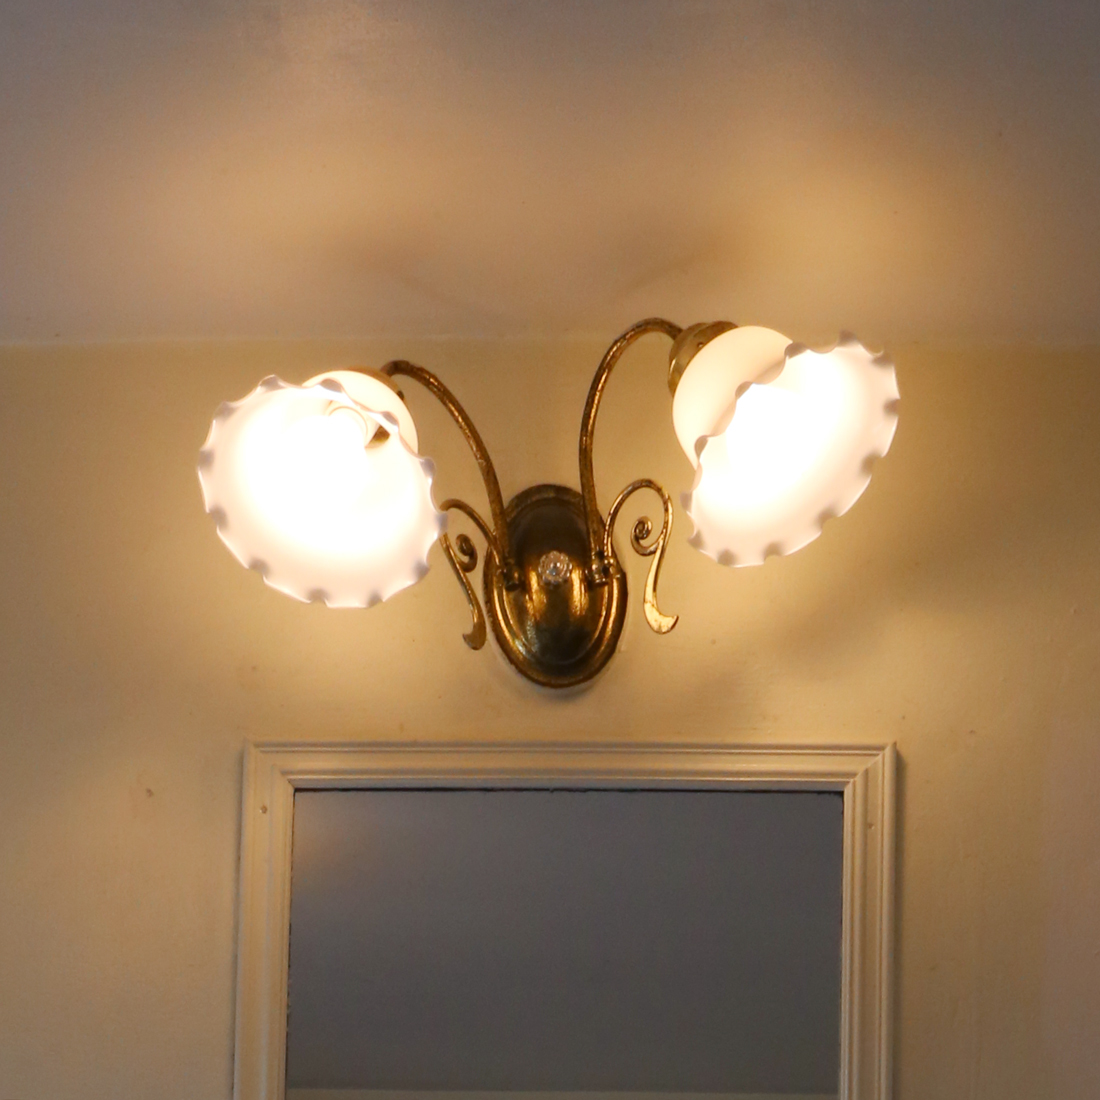
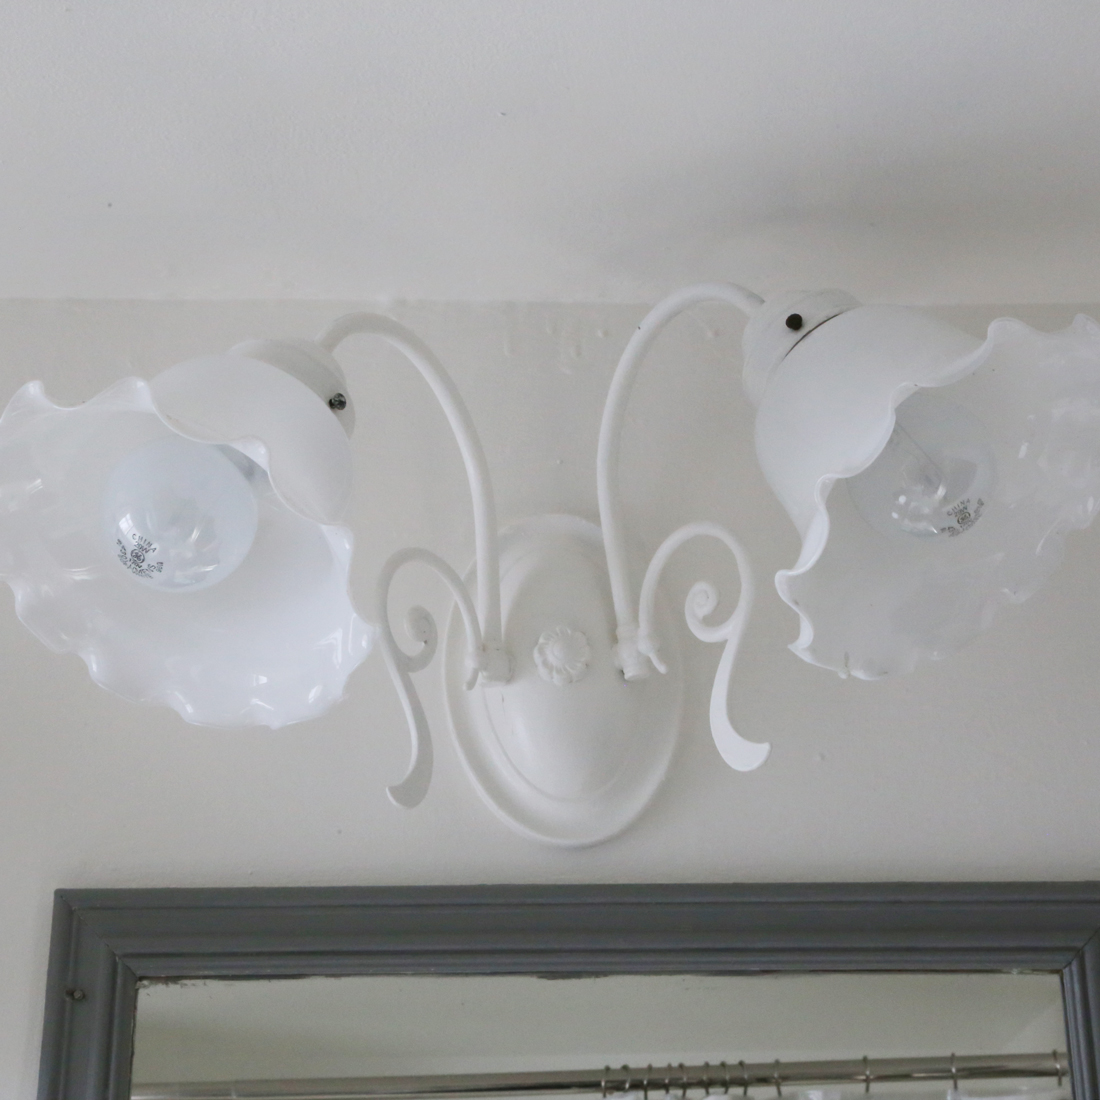
new up to date lighting that would give us significant illumination at night
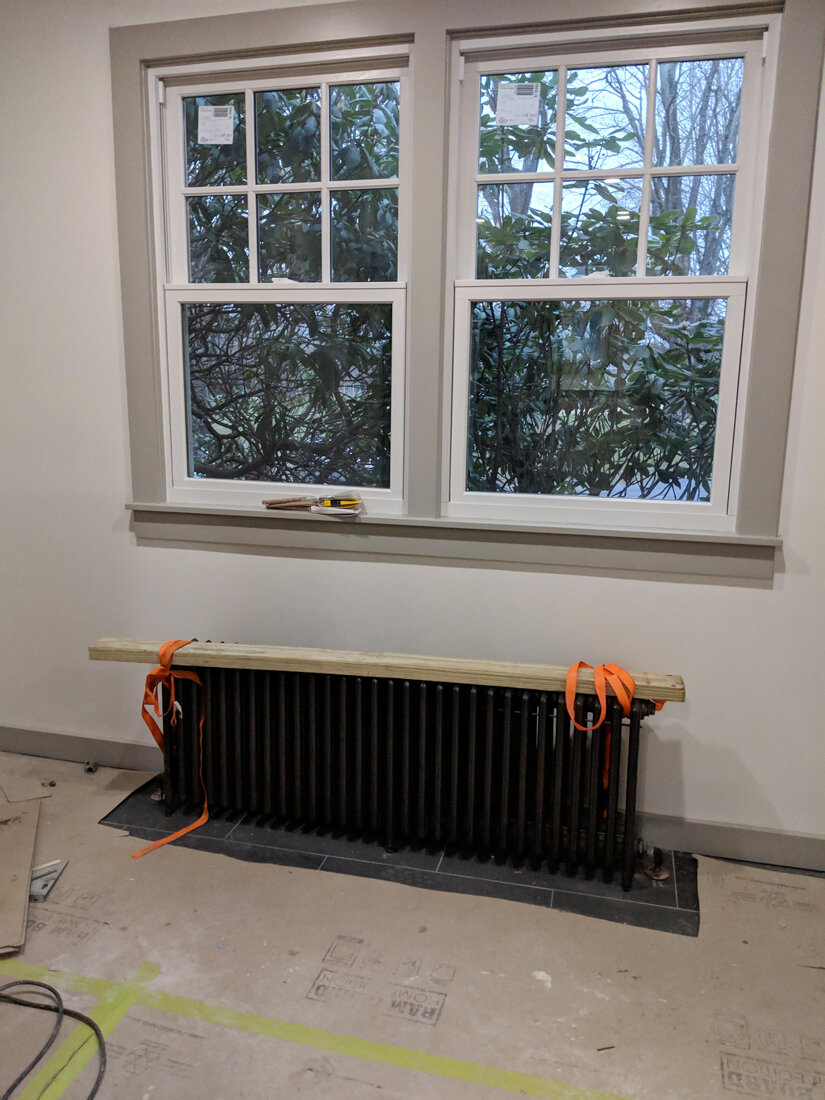
less obtrusive heating (to accomplish this we nixed 2 of the radiators and opted for under sink kick toe heaters)
vent hood
deep farmhouse sink
insulation
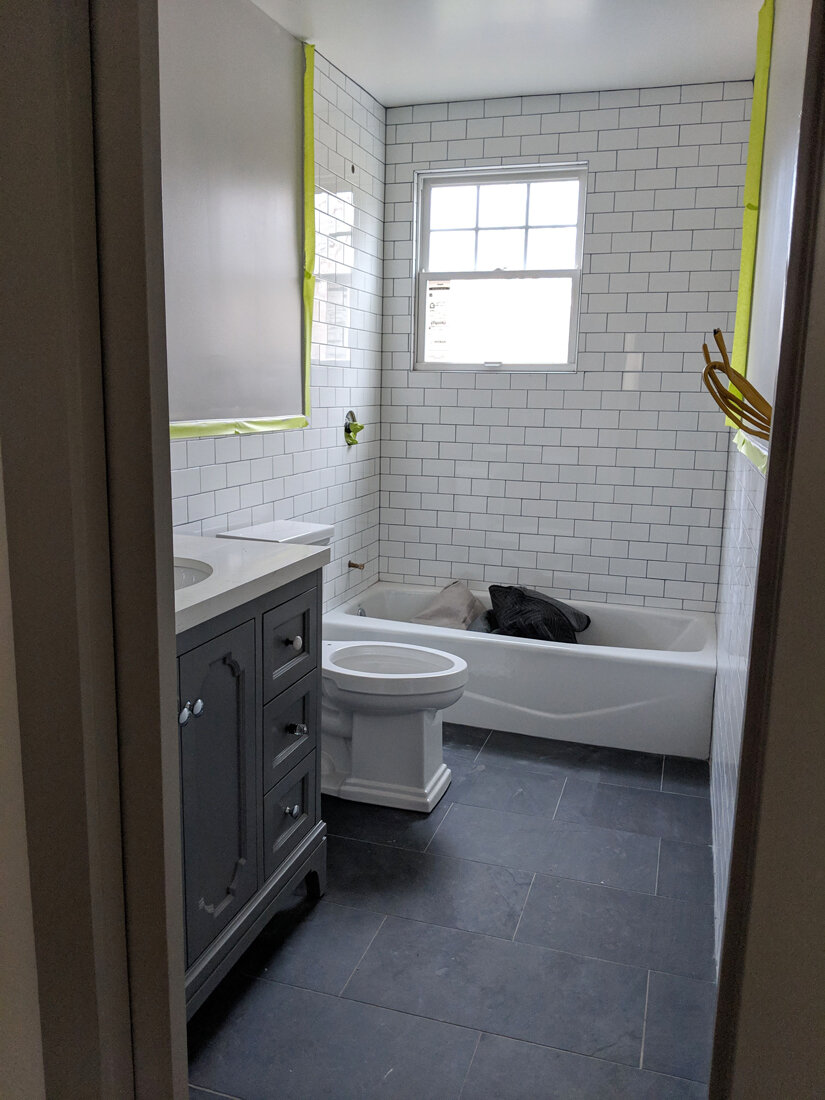
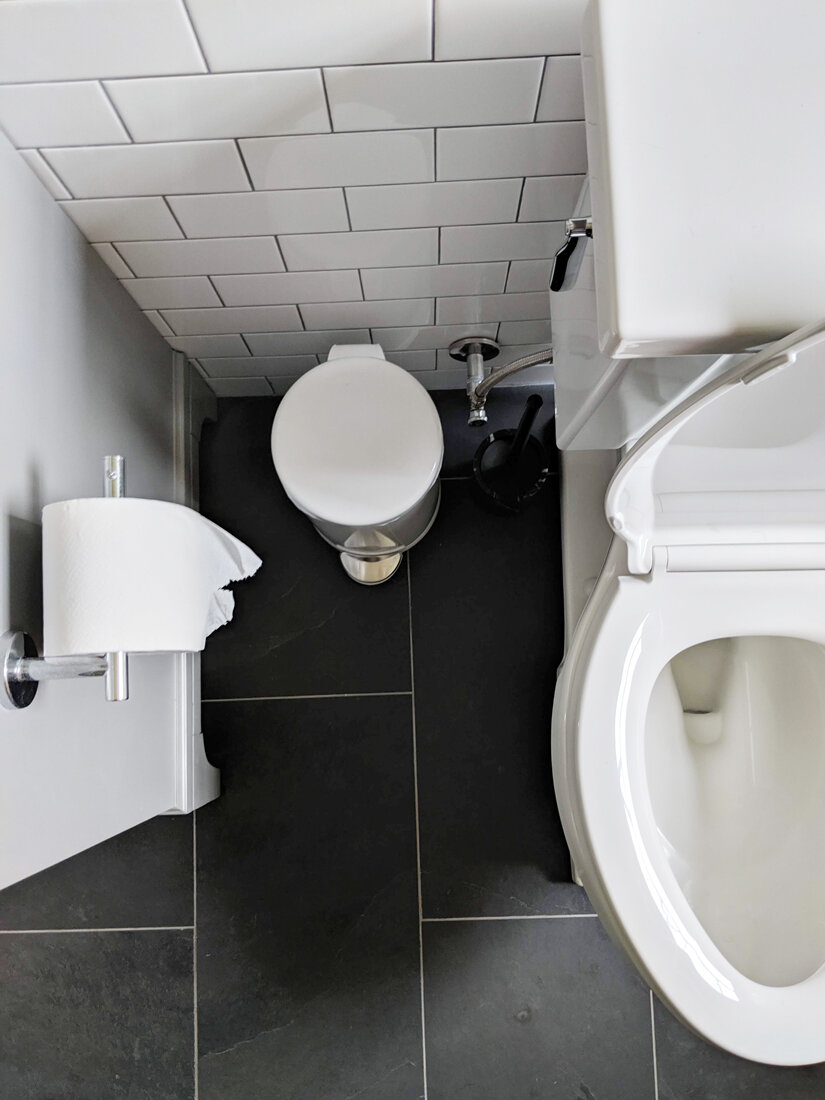
a functioning bathroom (out of commission for 8 months before we started the job)… we wanted a beautiful space for guests to use when they visited- this serves as both powder room and guest bath
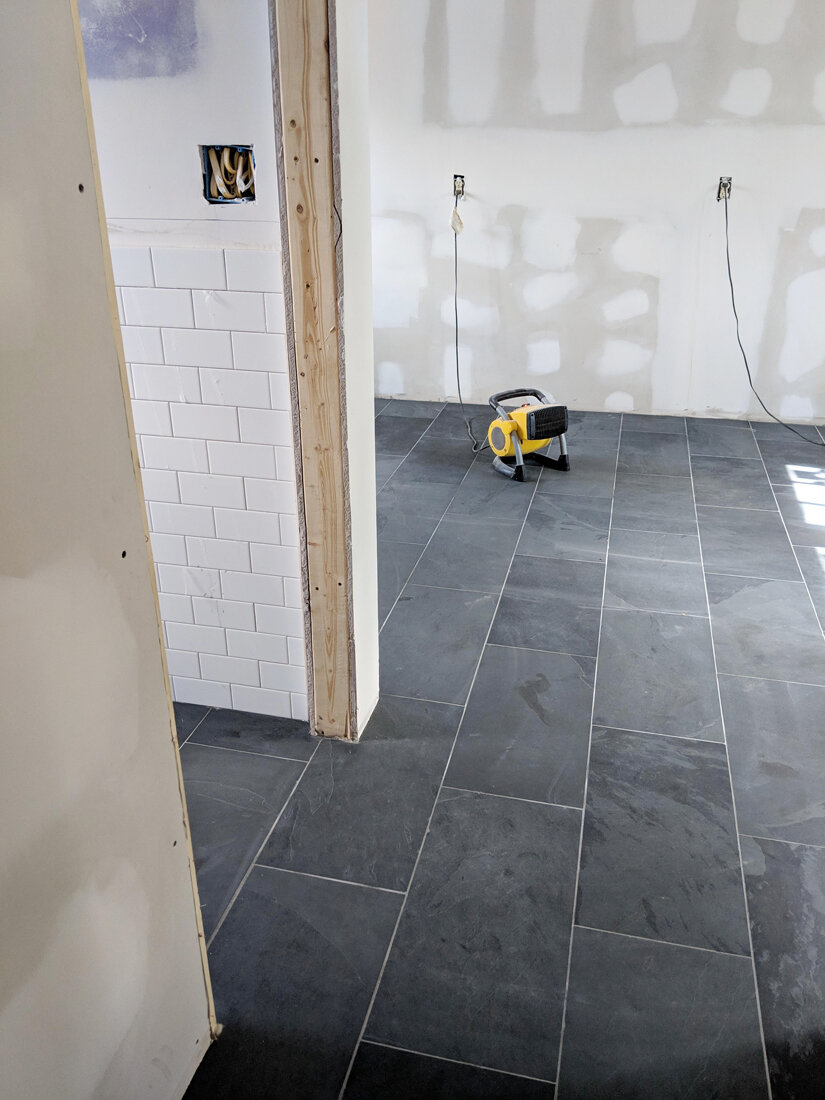
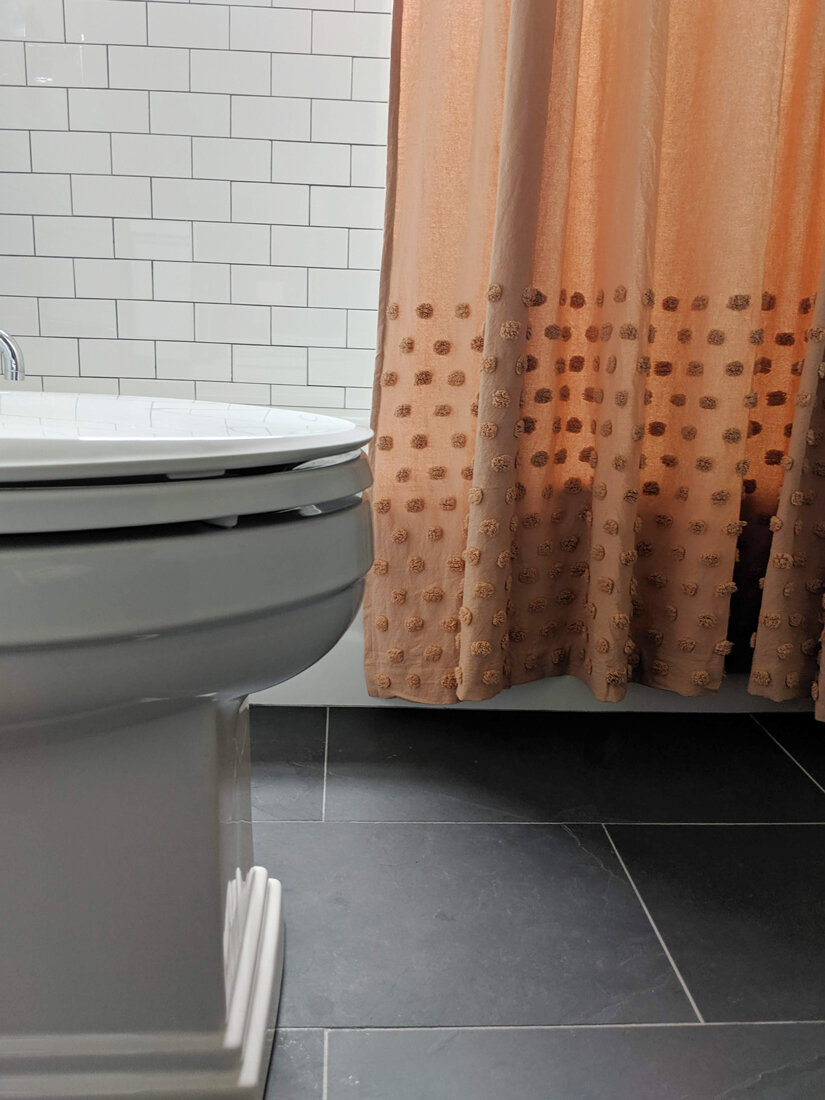
tile floor that matched throughout the project to unify the space
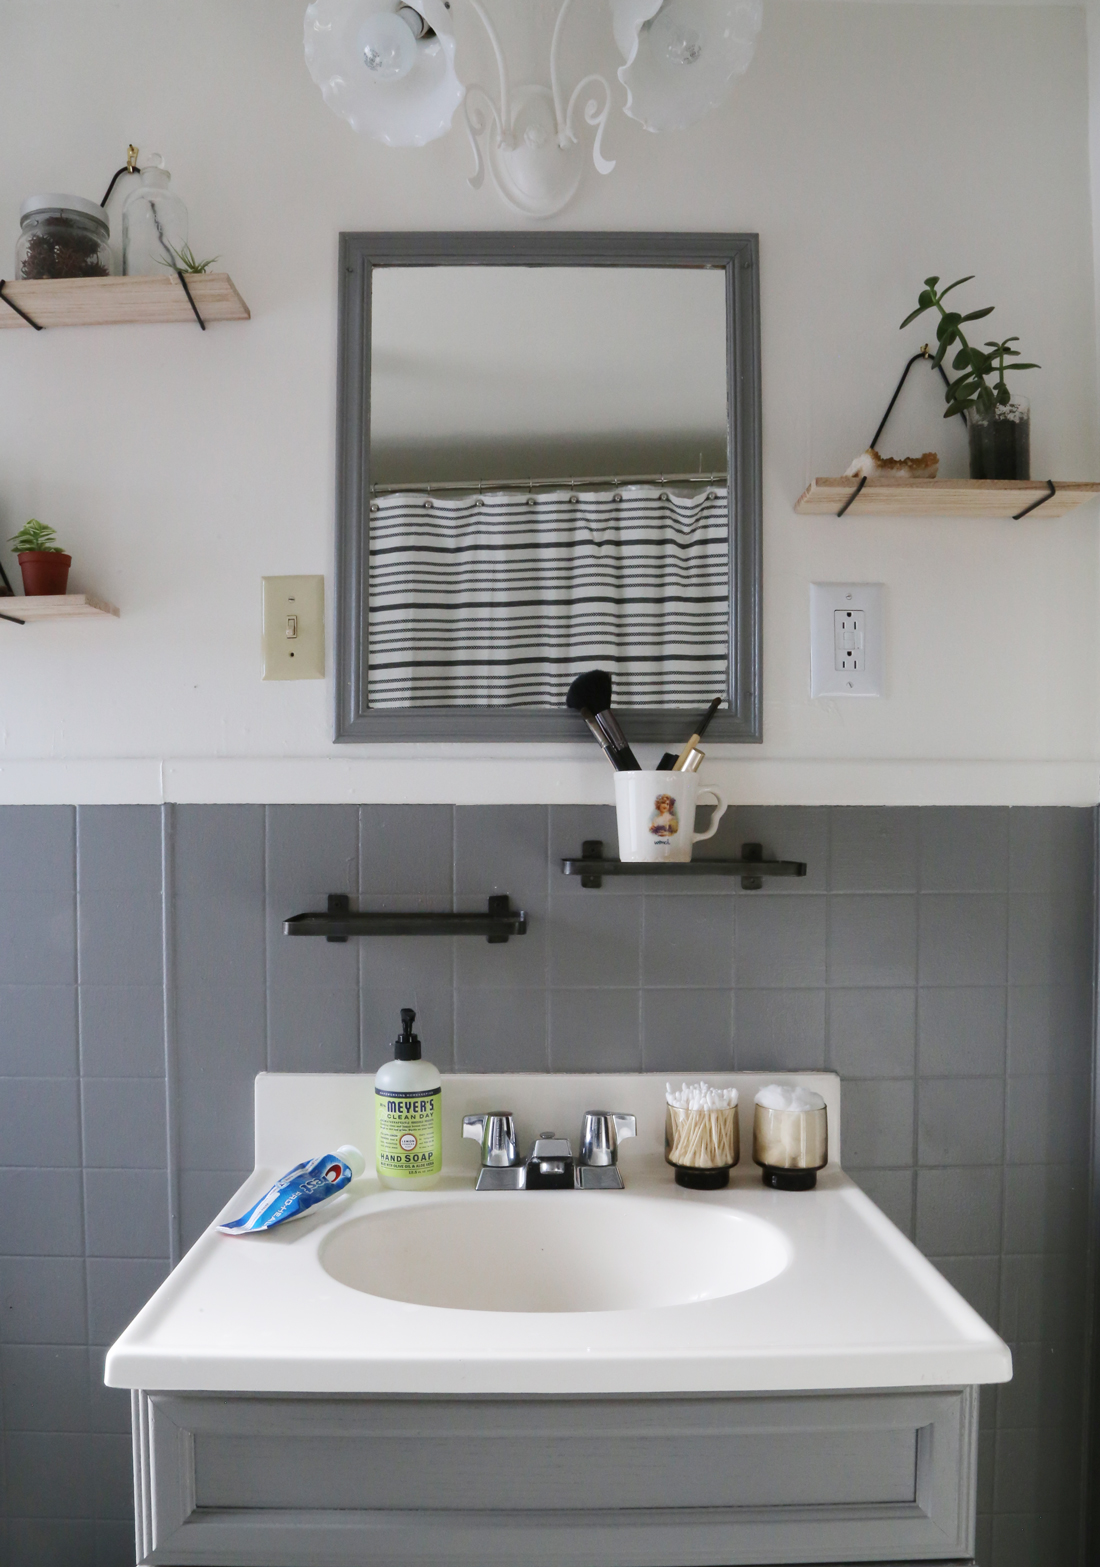
half wall tile in bath and backsplash in kitchen
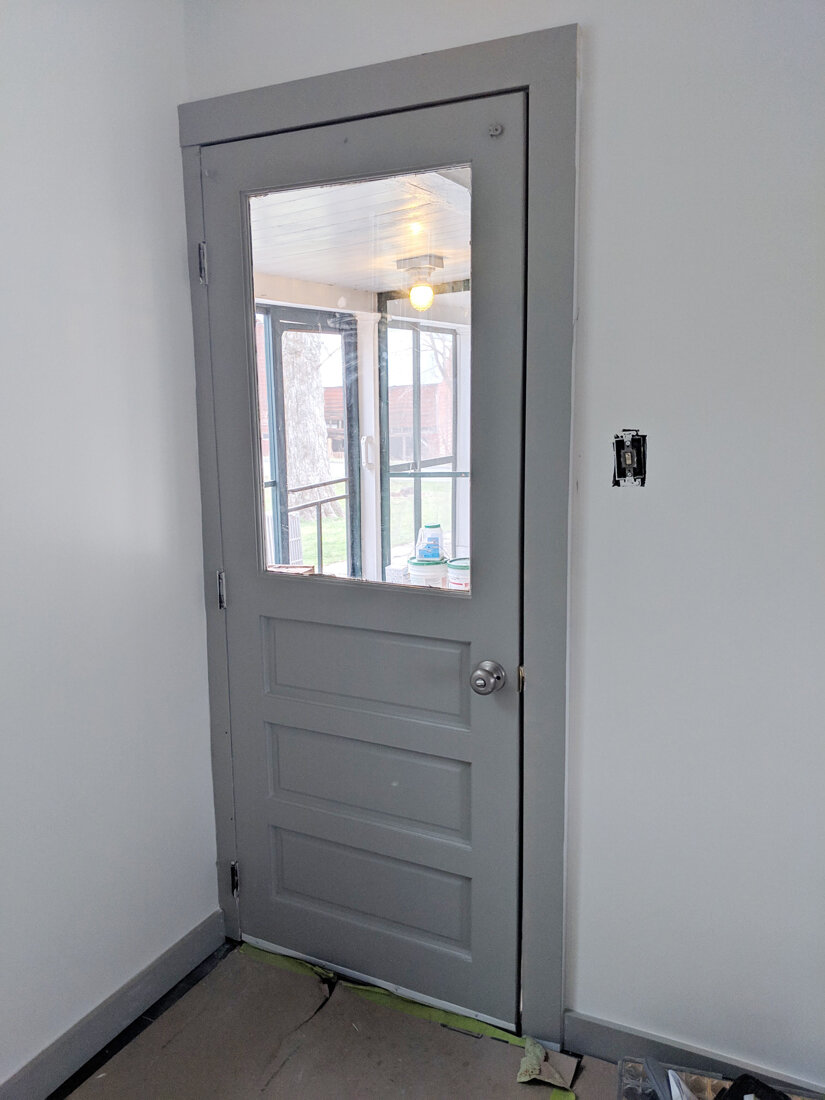
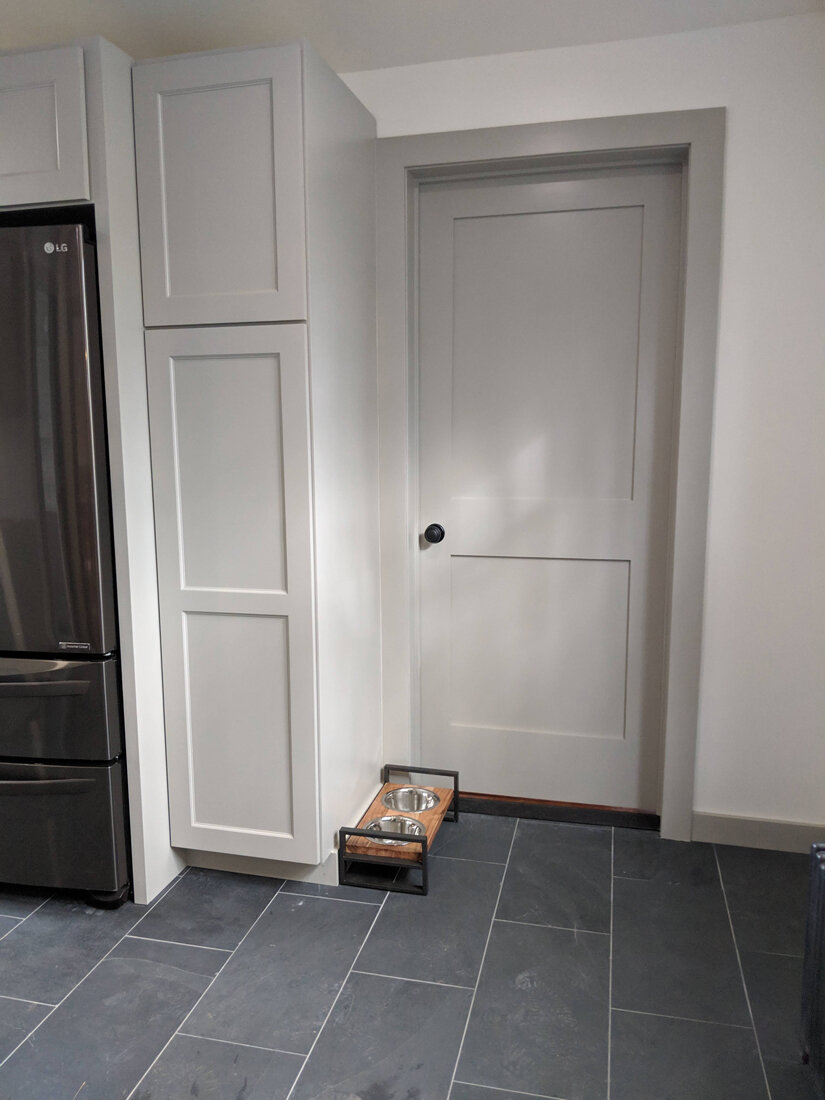
keep original doors (except interior door to bike room)
chrome and black fixtures
It’s too easy to jump from start to finish so lets look at some progress shots along the way
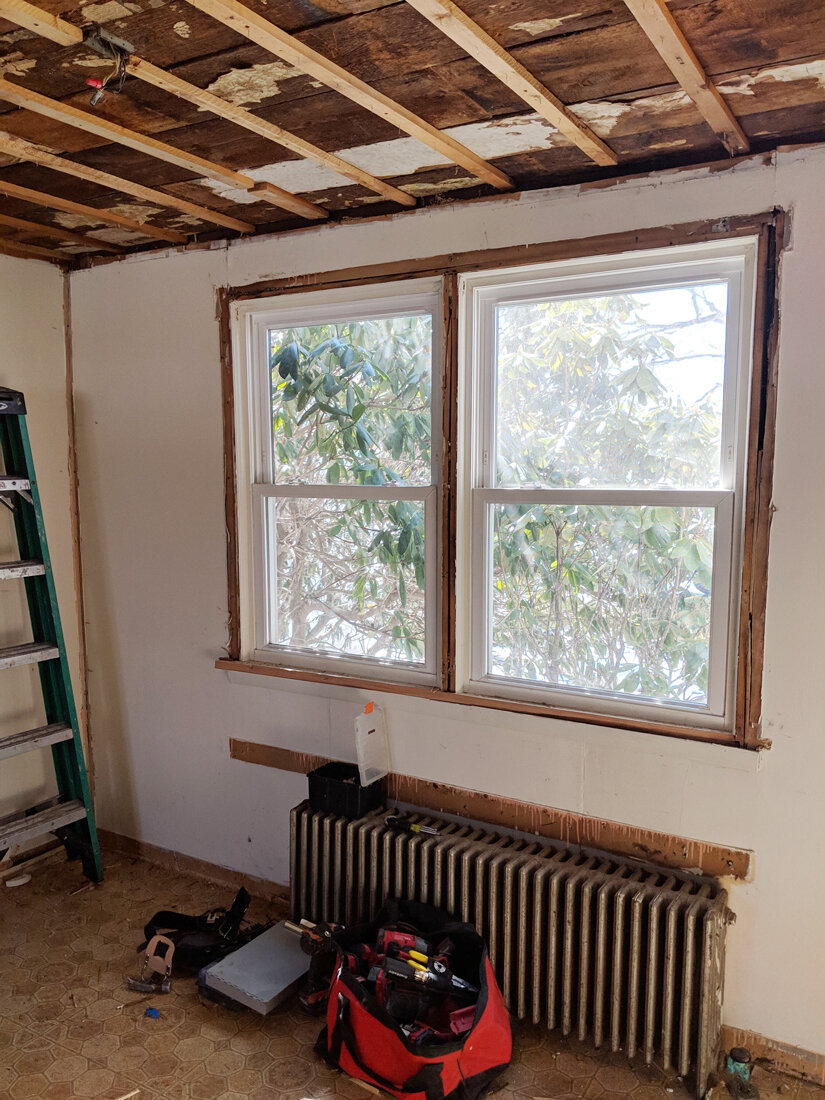
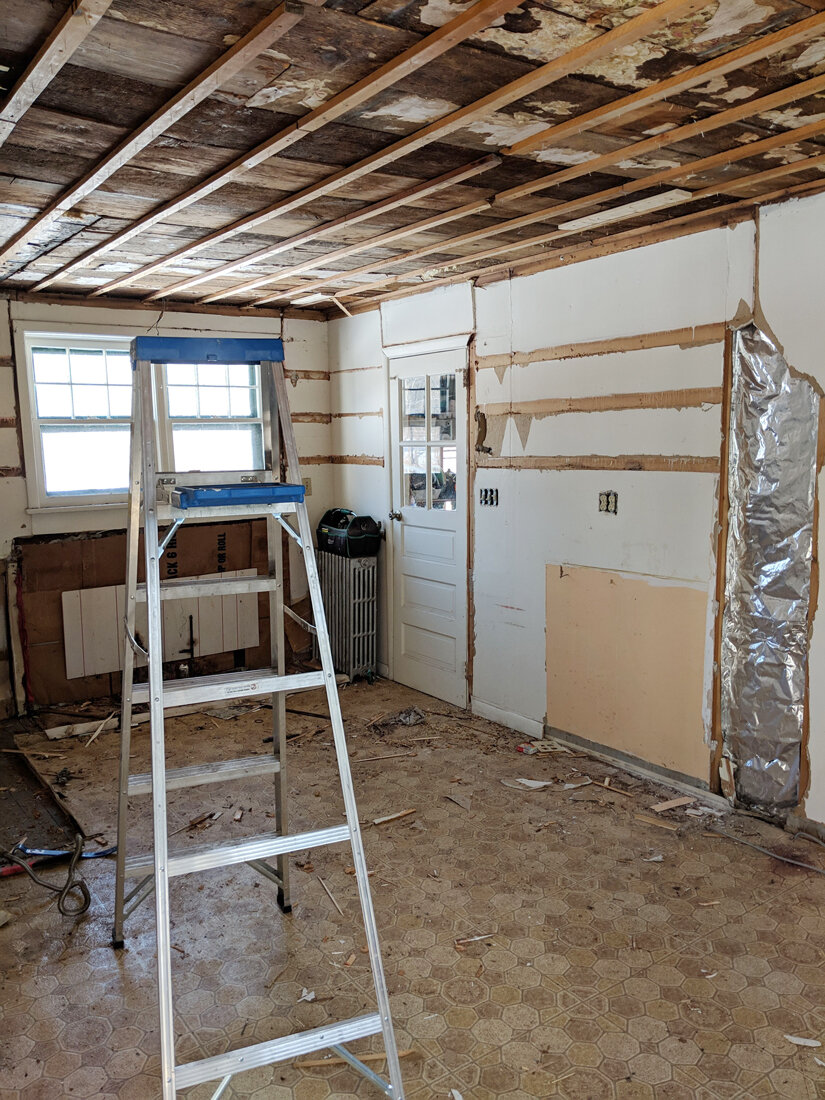
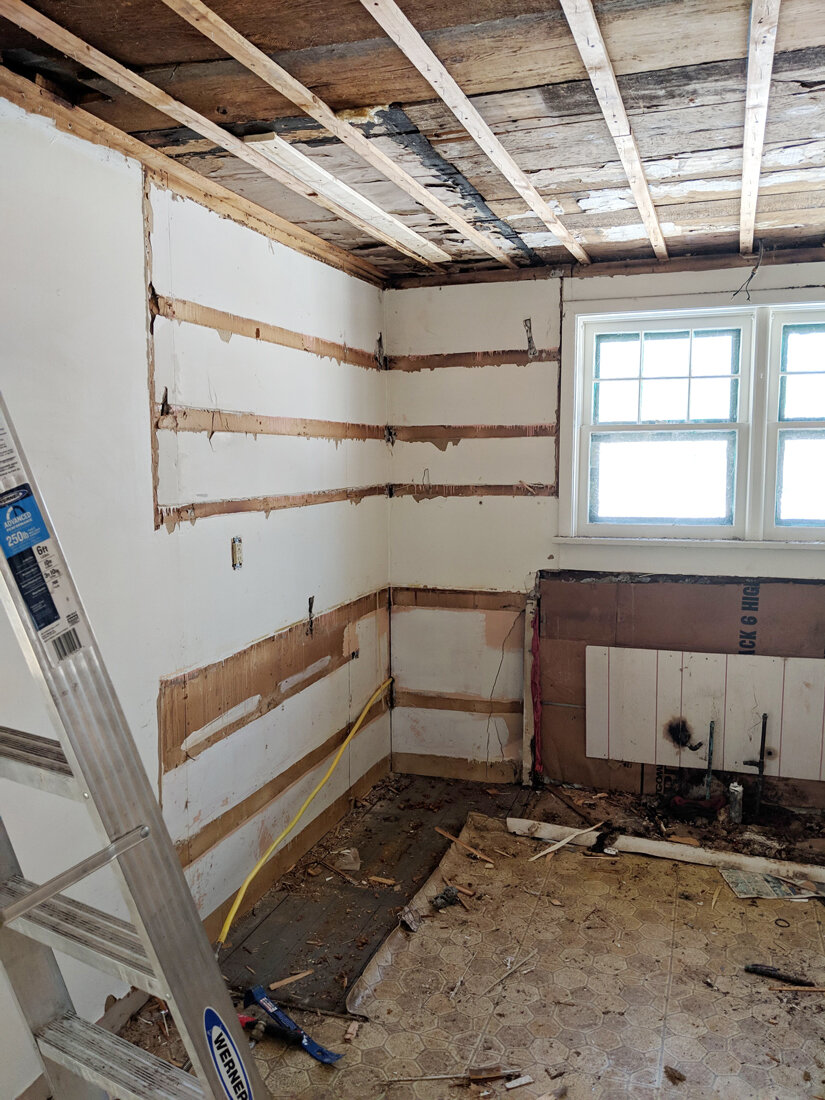
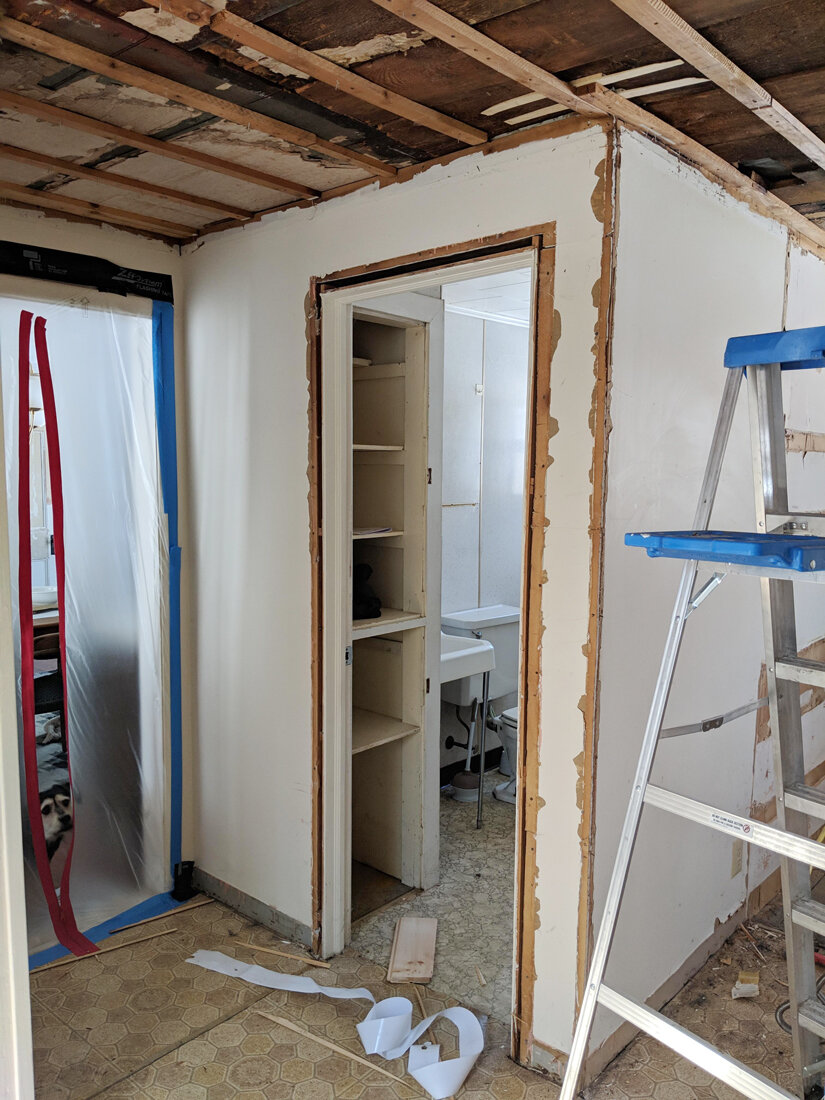
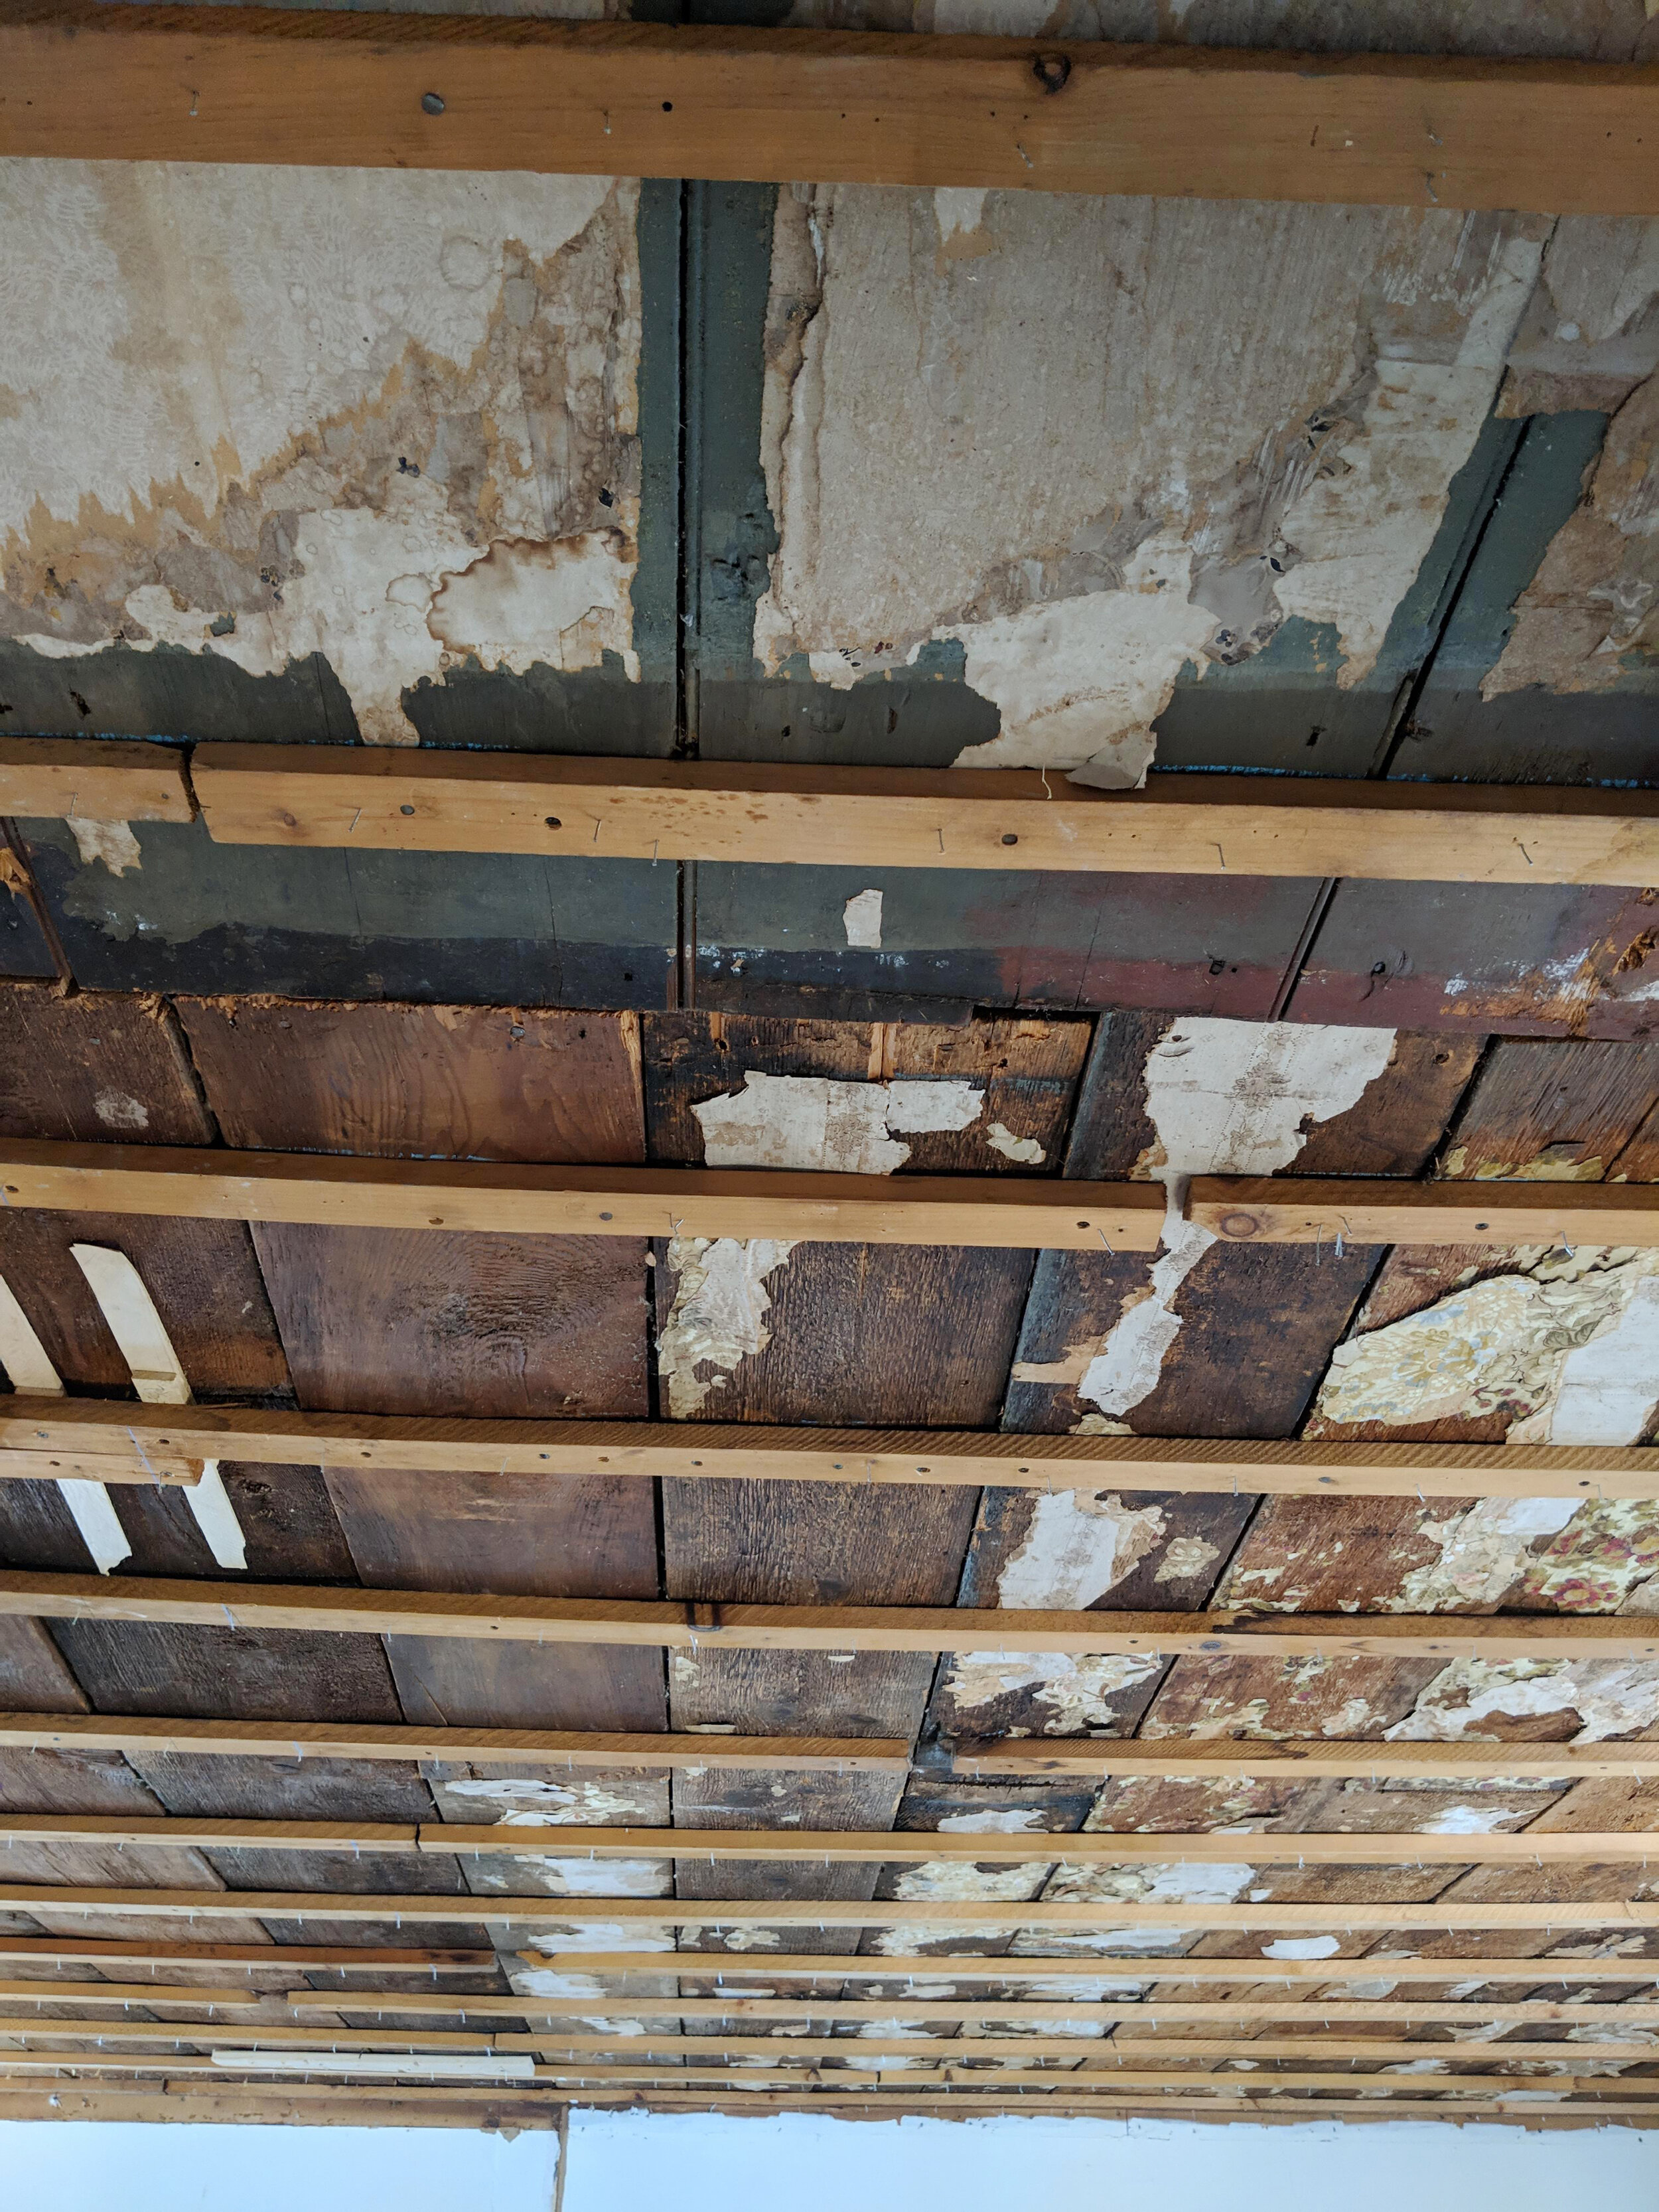


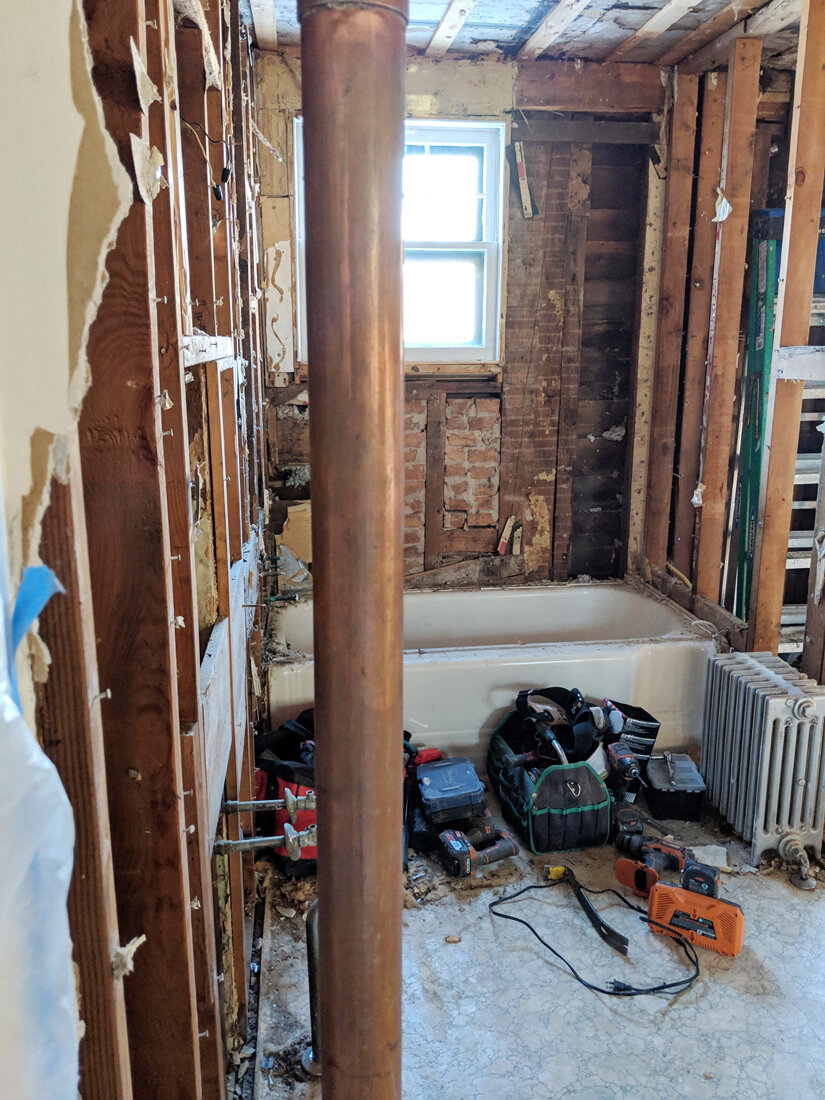

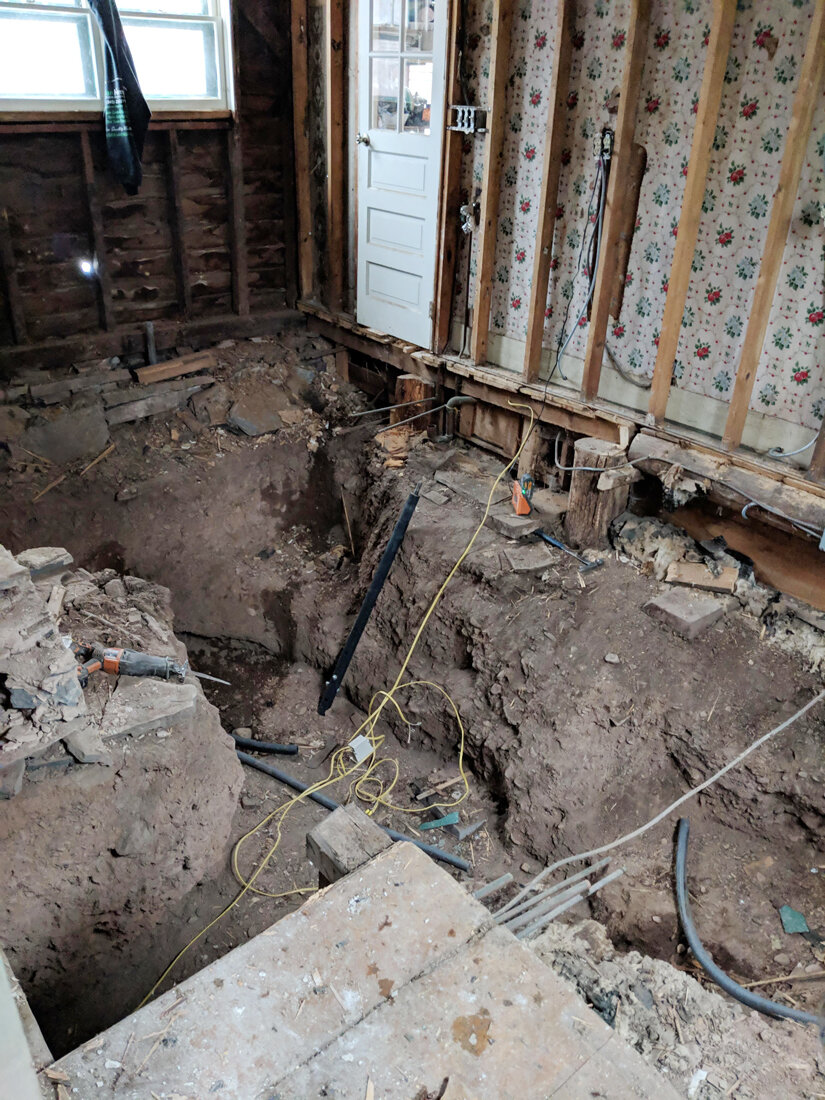
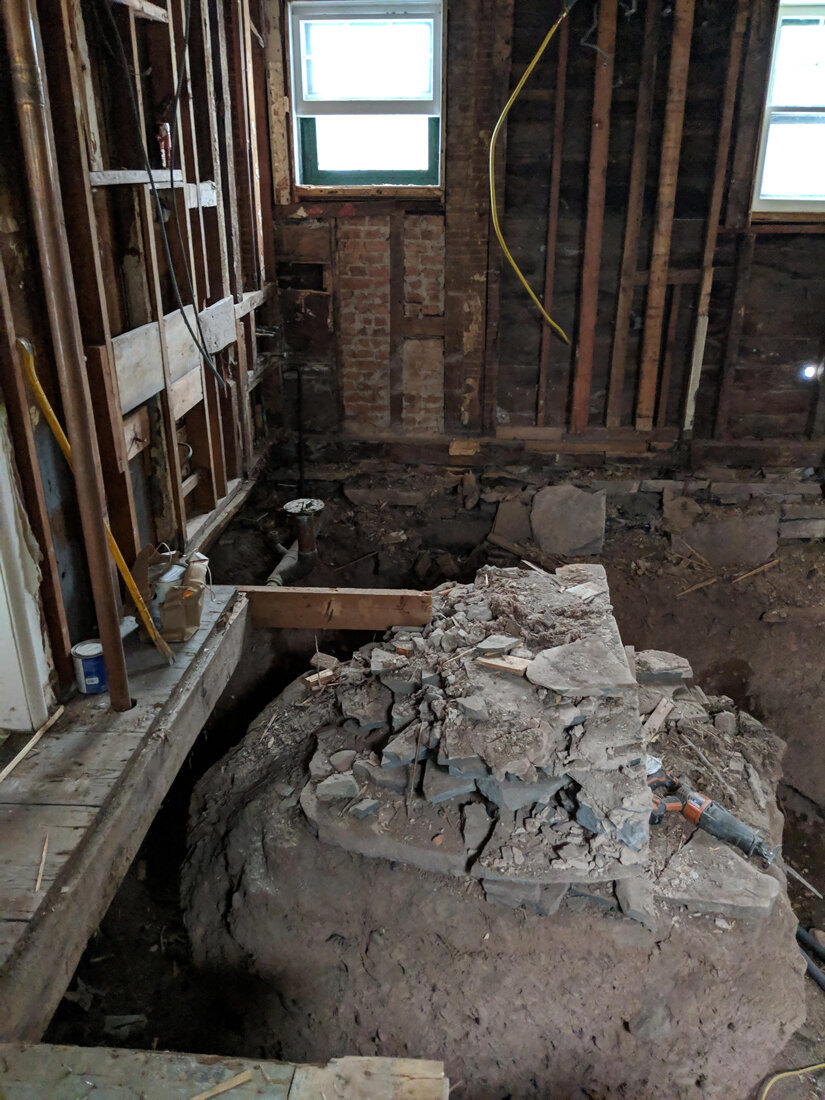
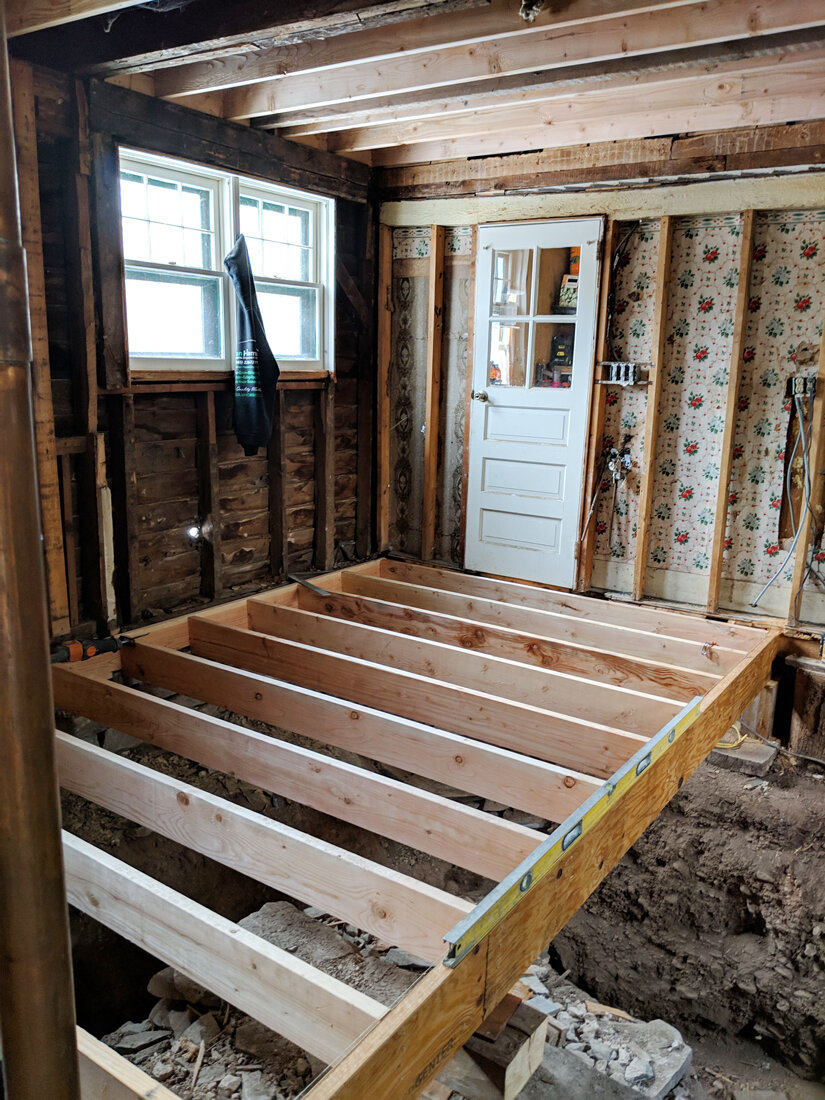
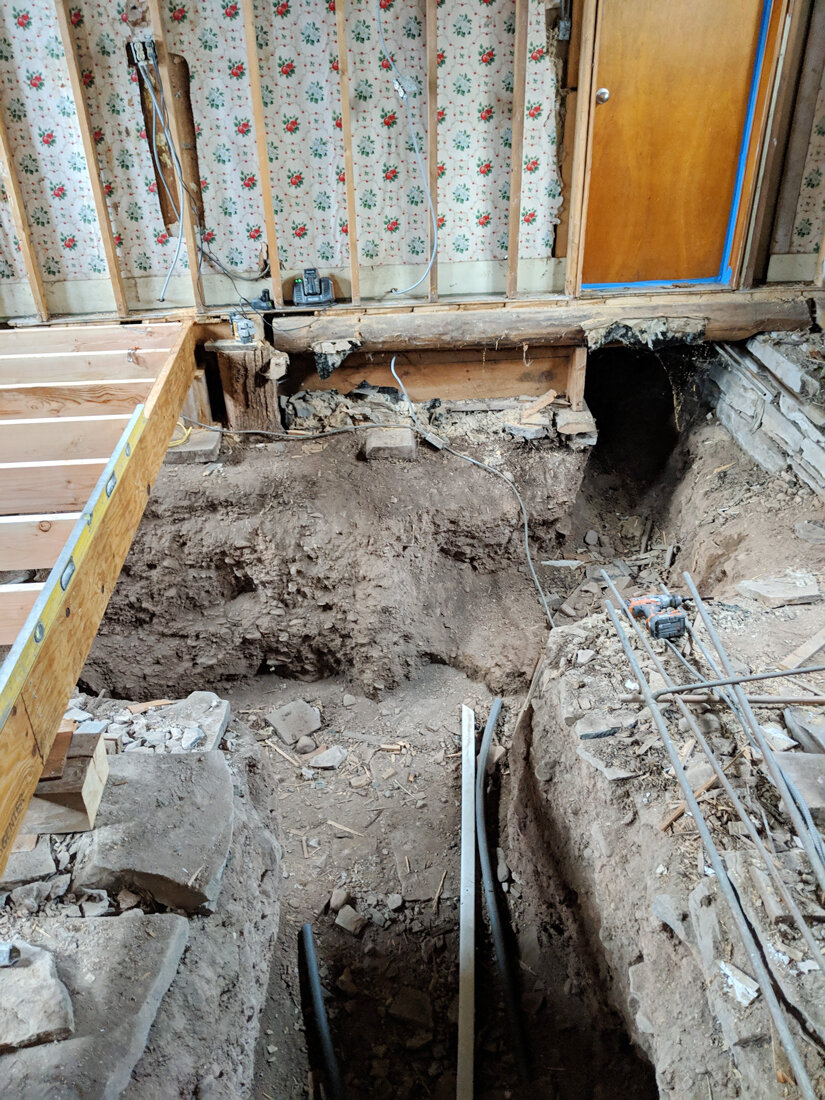
Round 1 of process photos above show the initial demolition, followed by the stripping to the studs and then finally the floor being entirely removed due to insufficient structure.
Next step is the rebuilding of the floor with brand new framing, which was something we always suspected was going to be necessary but came as a bit of a surprise in regards to the appearance of what I like to call “the pit” (pics 10 & 11 above 1&2 below).

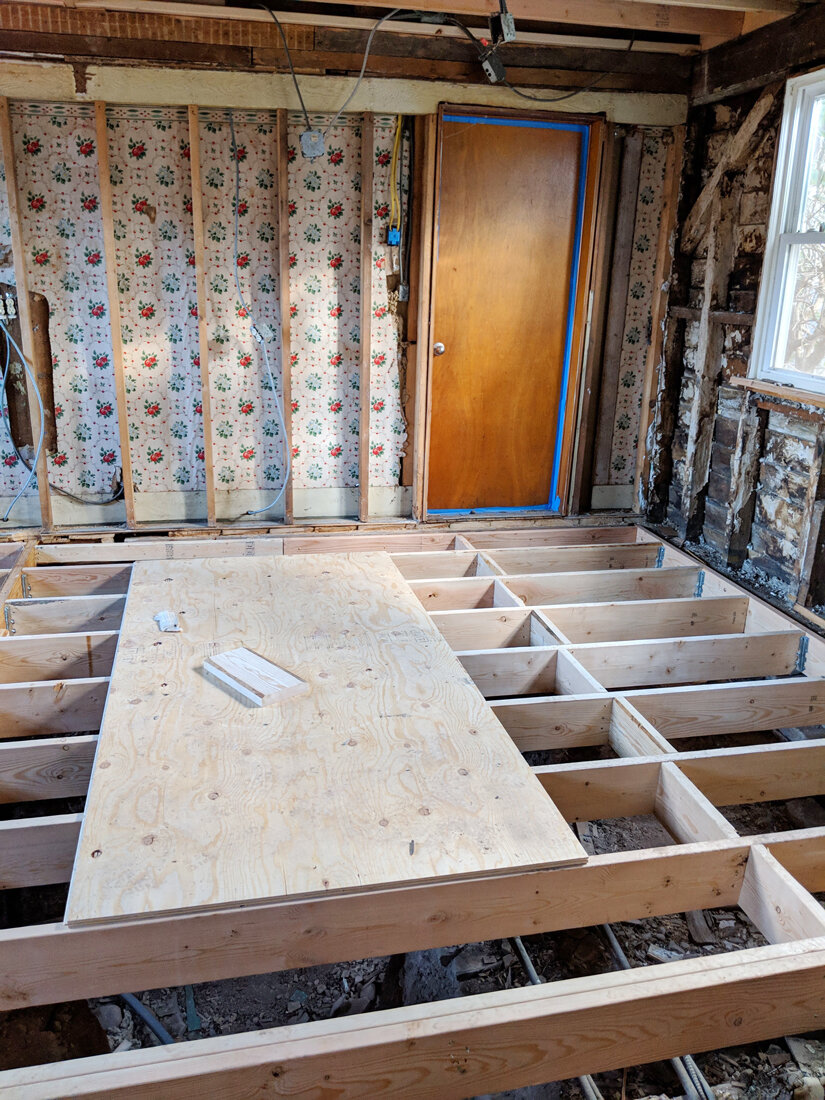
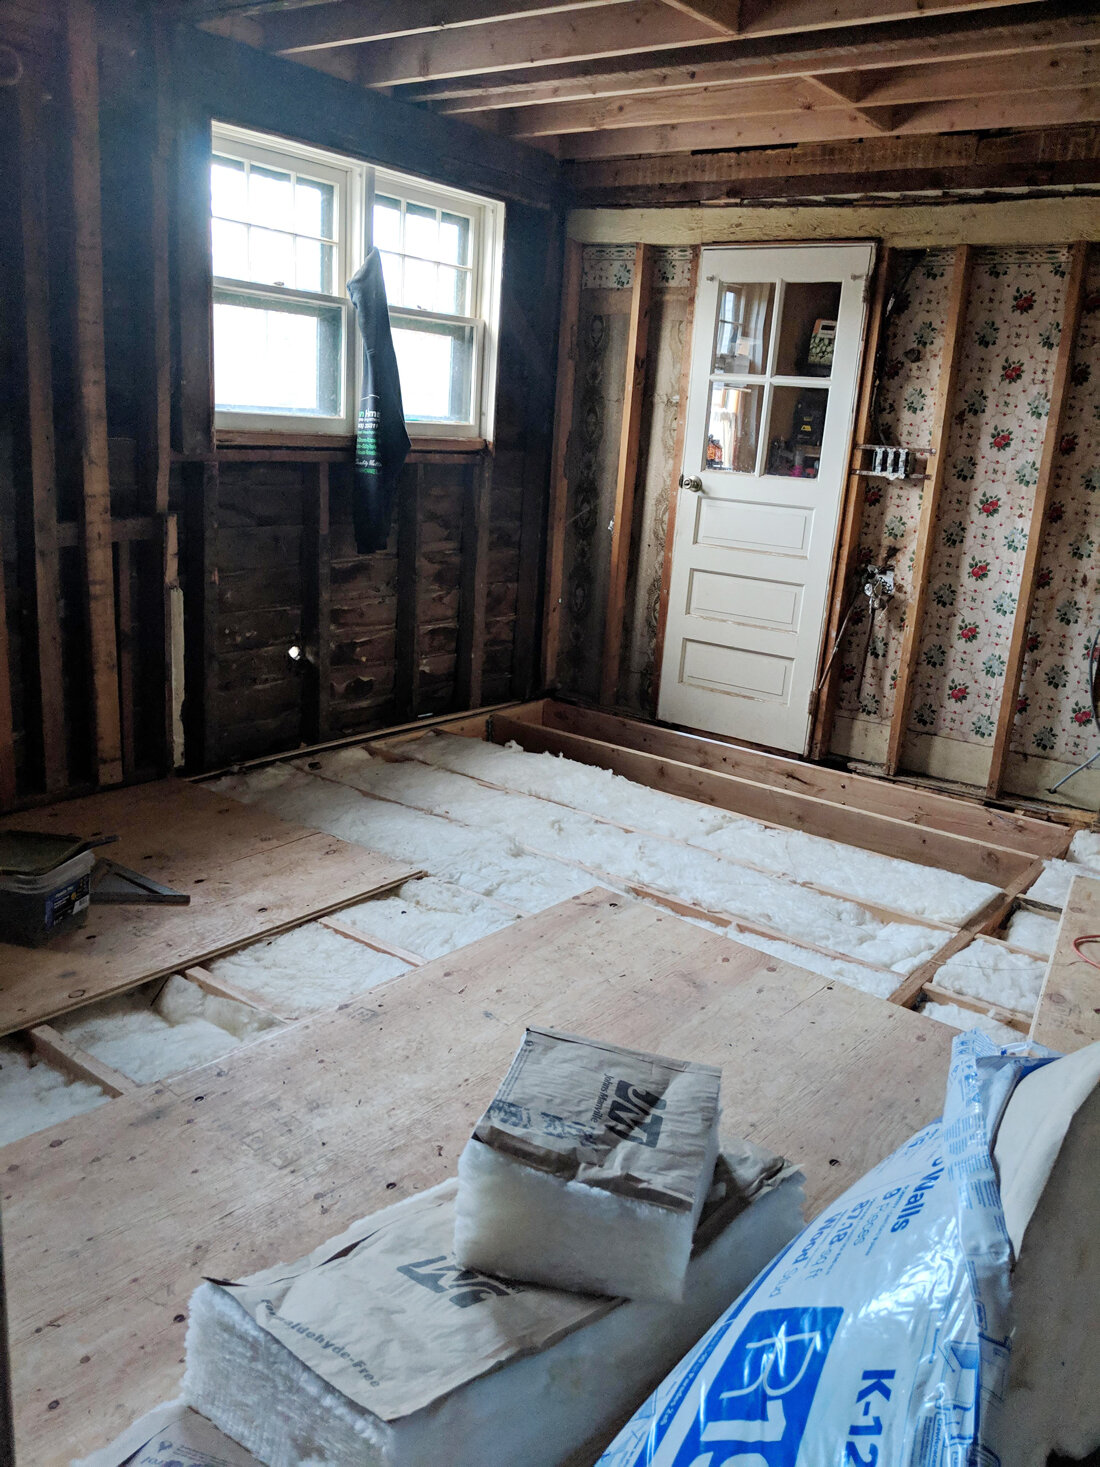
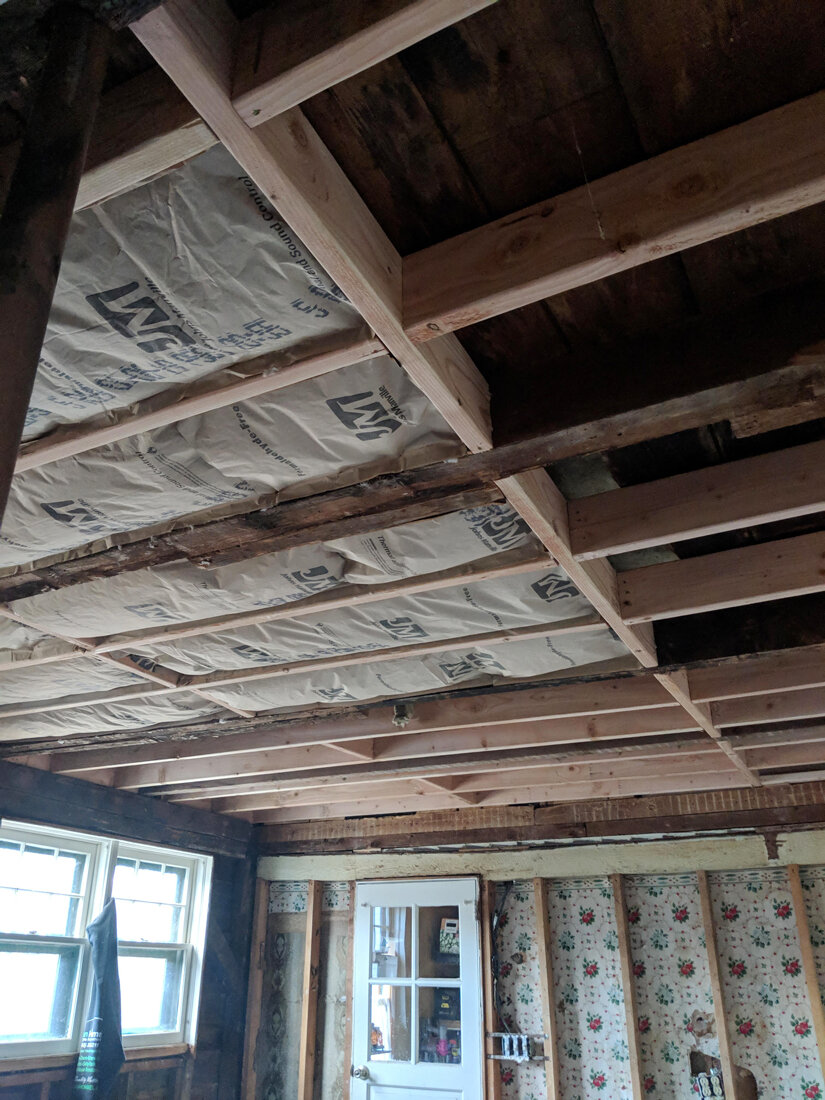
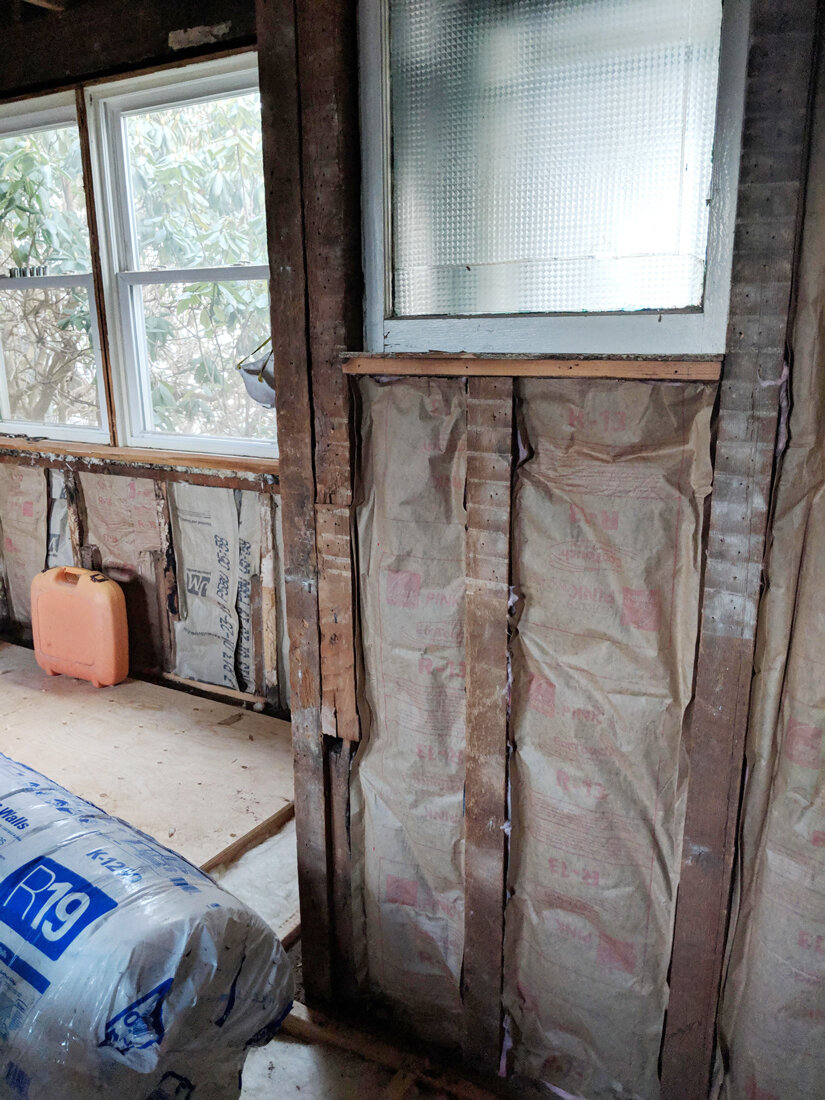
In the progress photos above you can see as the pit becomes a memory, we add insulation to the ceiling, floor and walls and the subfloor is completed.
In the next grouping the surfaces start to be added back into the space, making it feel like a real room once more.
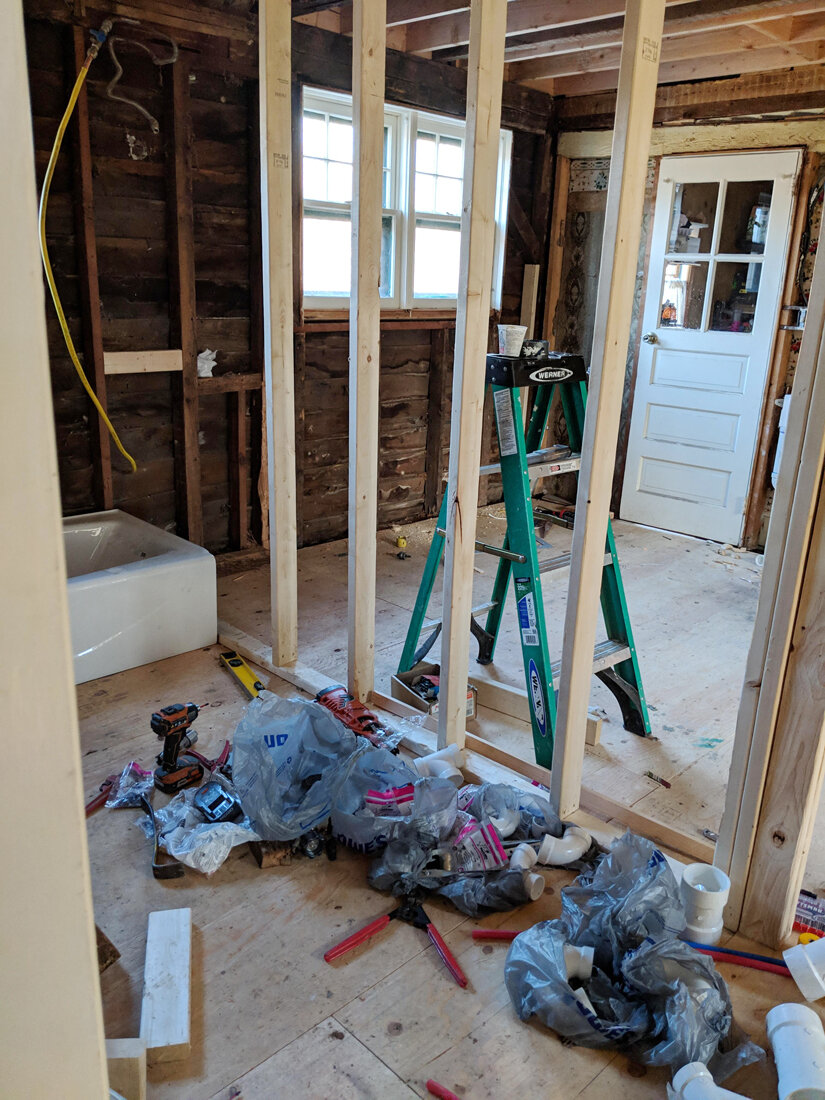

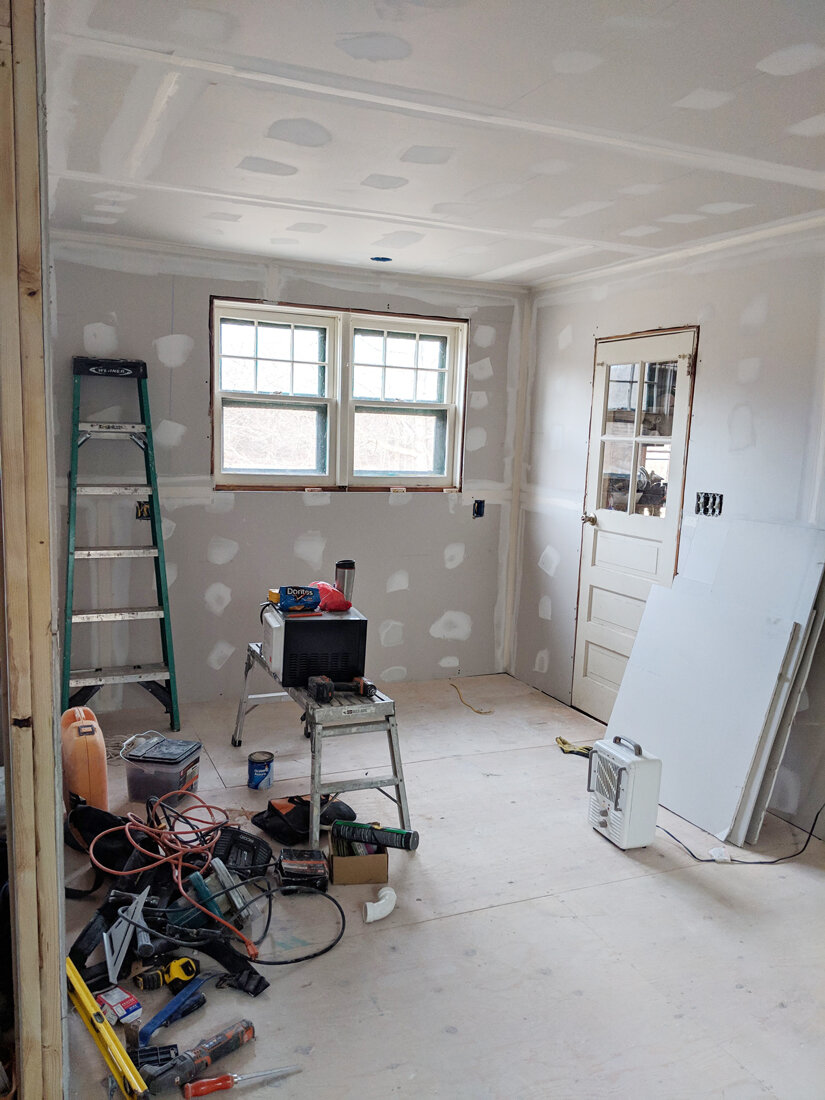
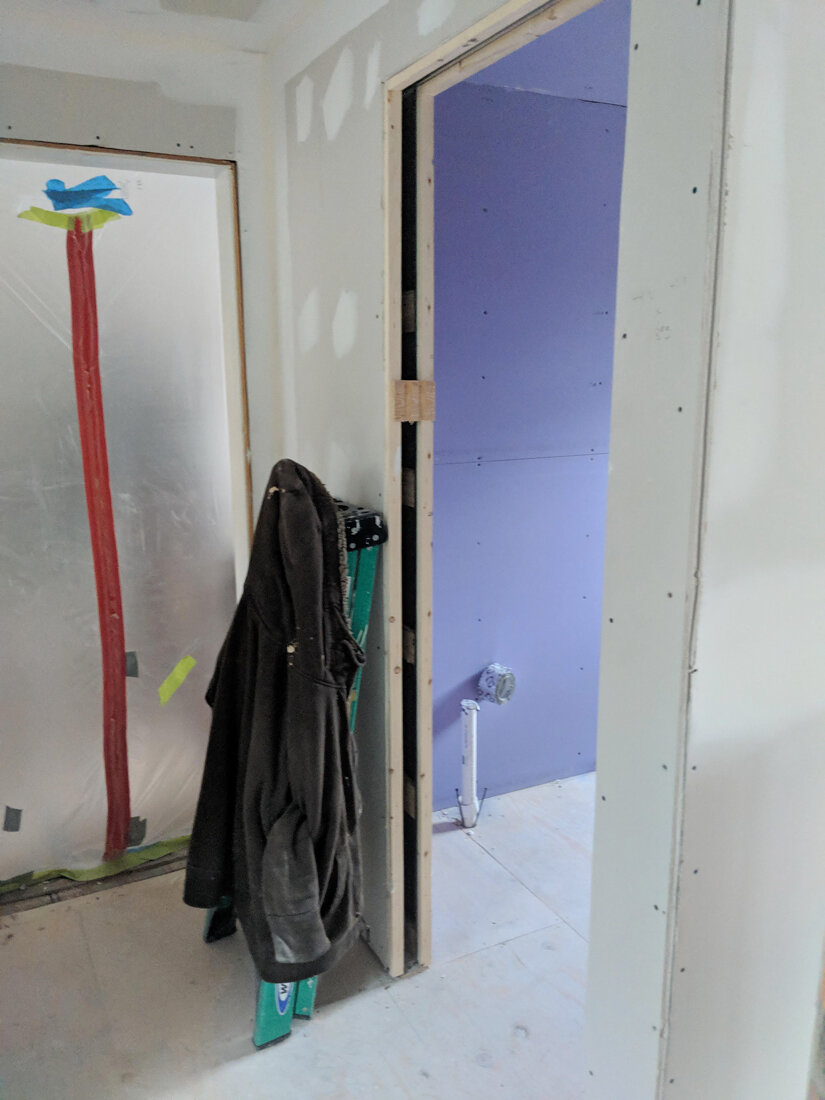
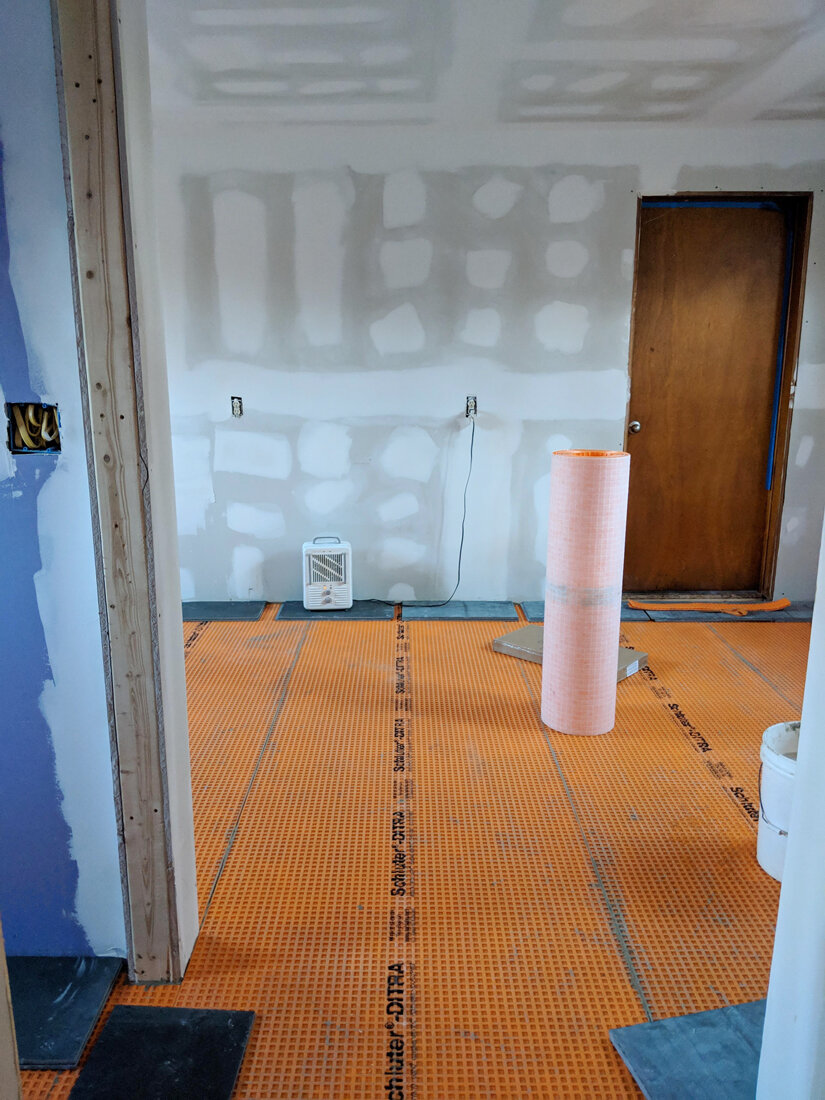
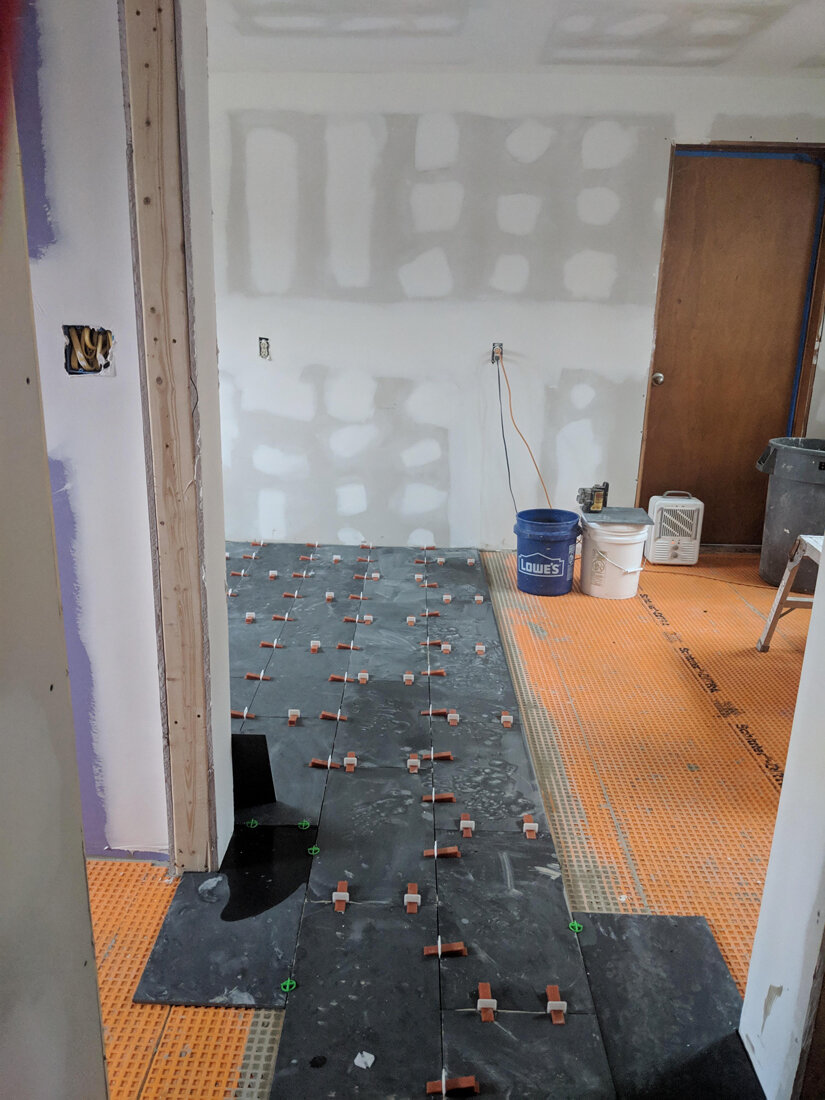
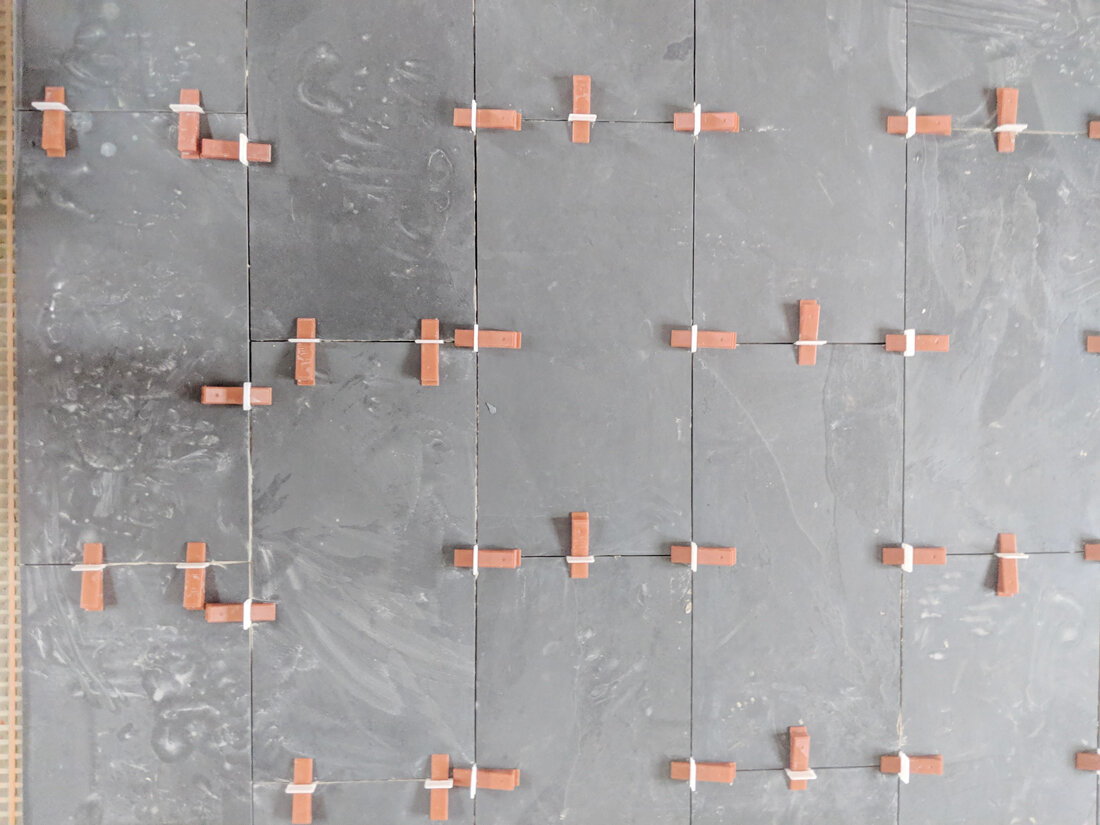
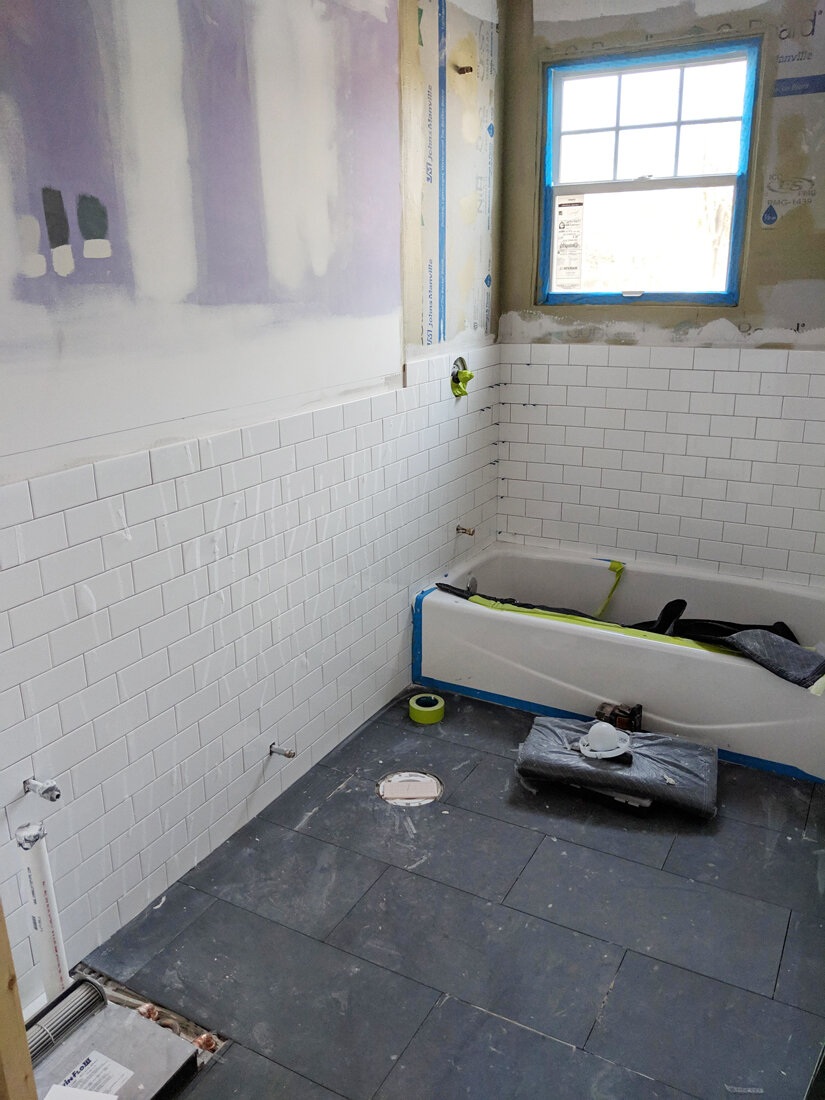
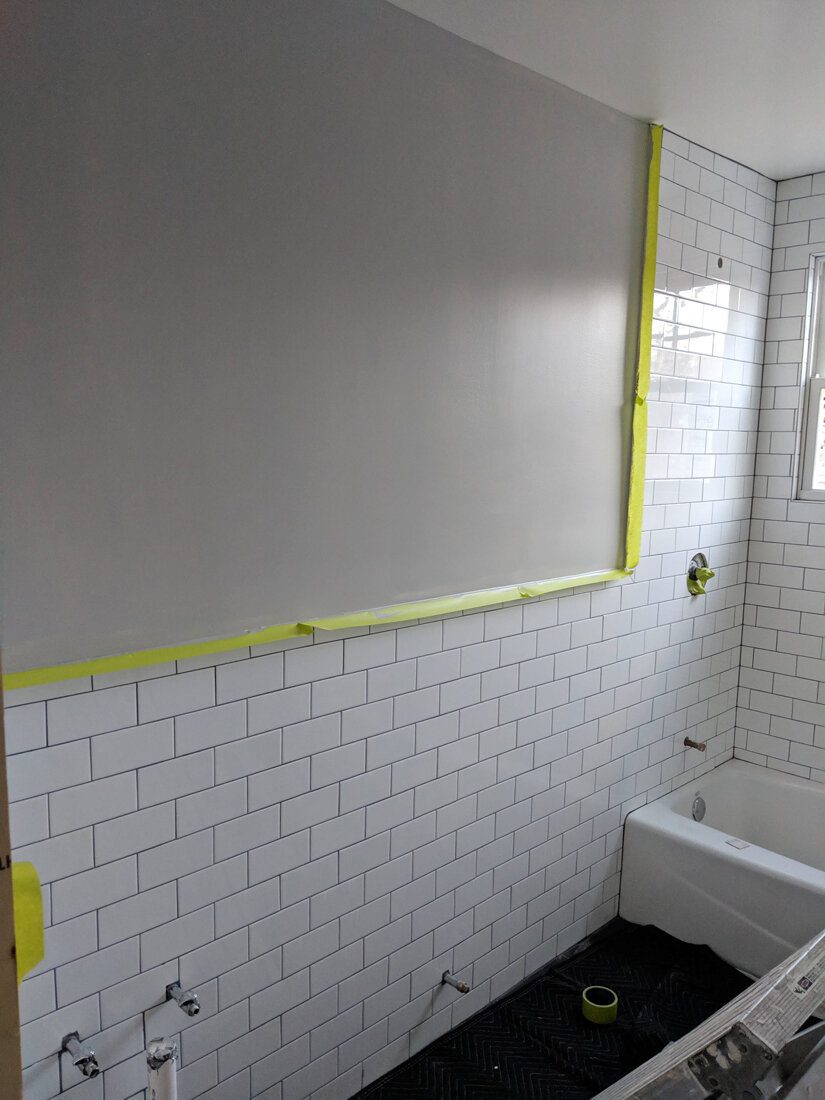

Wall framing, drywall, mud, wall tile, flooring… things were really moving along at this stage. Everyday I would come home from work to find things looking more and more finished which was very exciting.

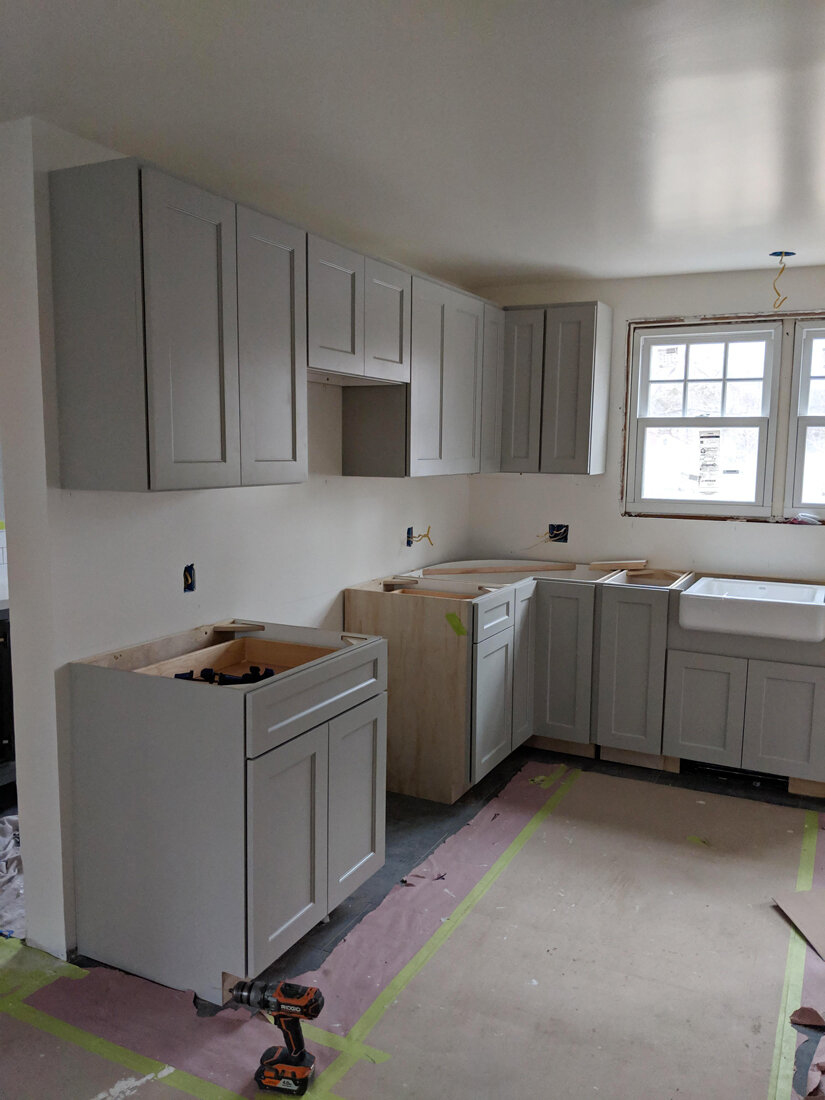
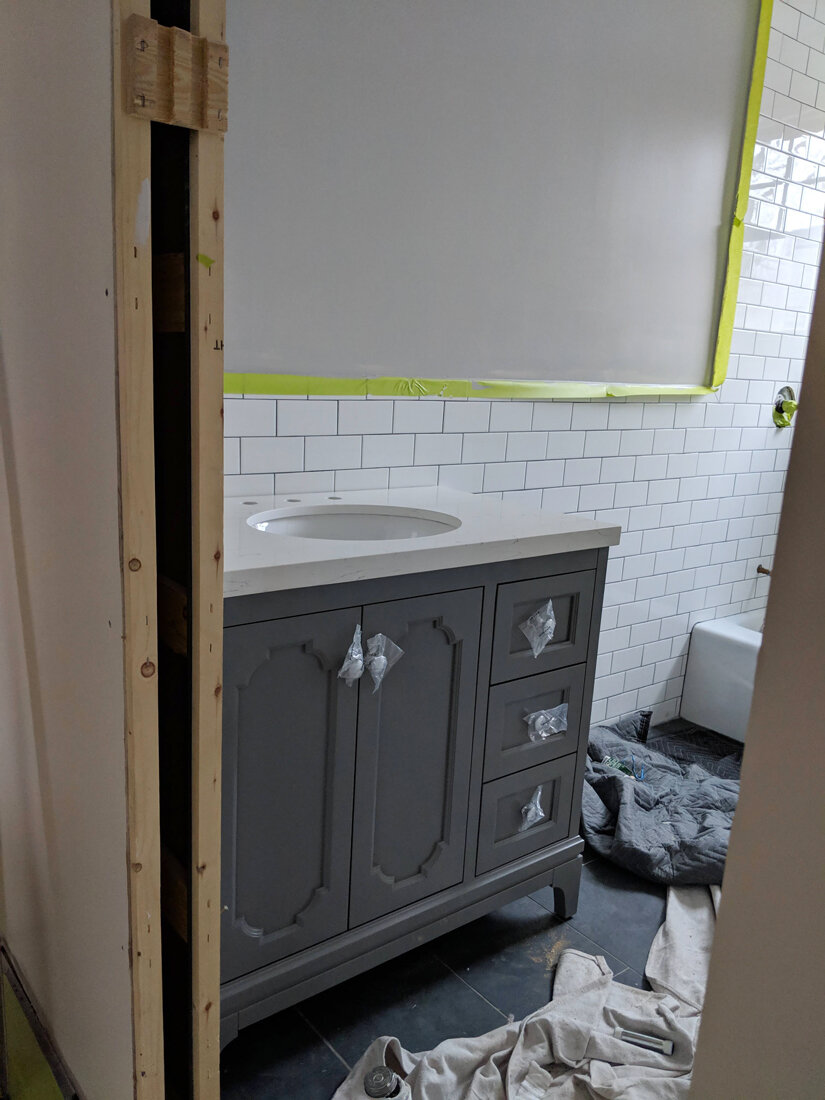

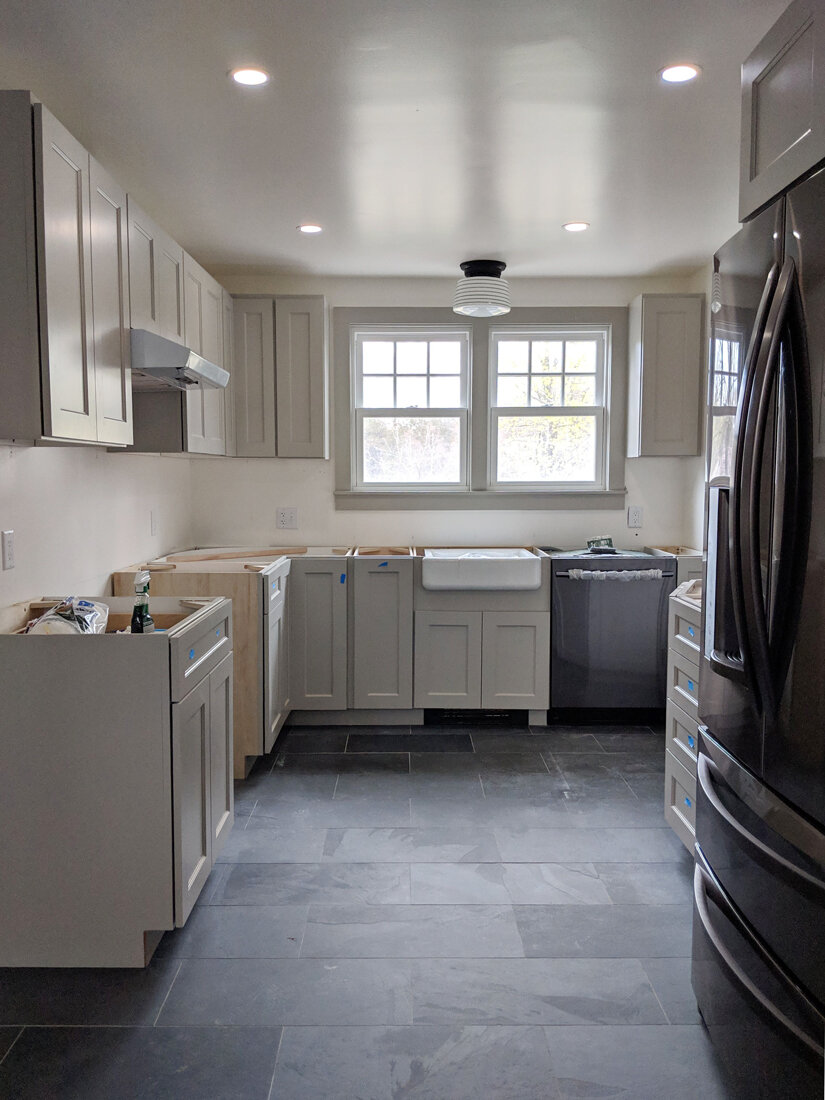
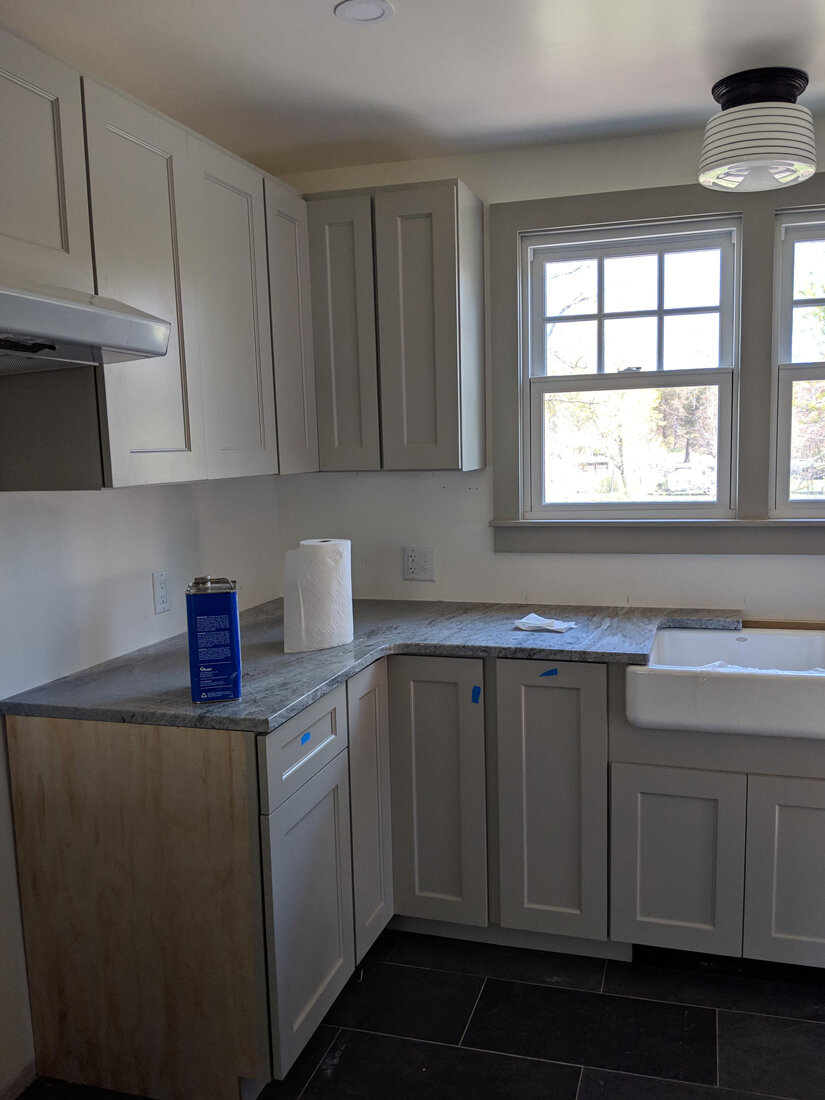
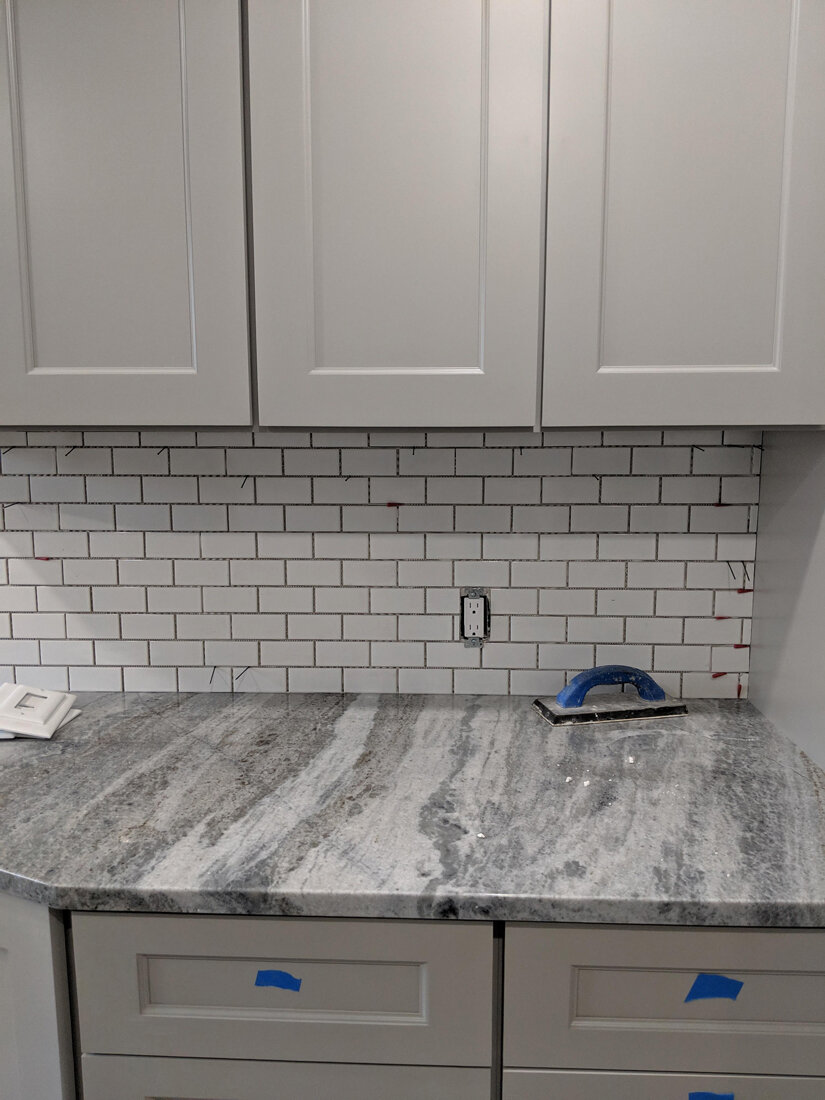

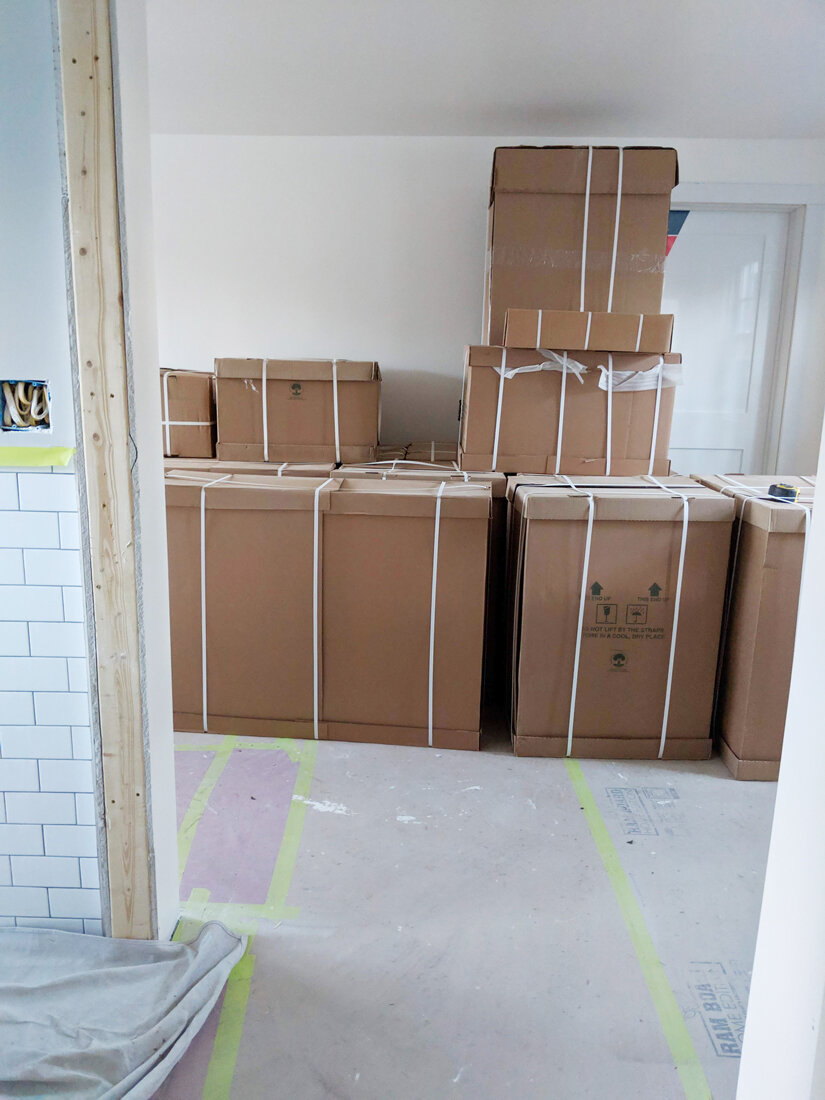
In the above group of pictures you can see the cabinet install, trim painting, radiator reinstall, the countertops go on and finally the backsplash.
Now for the afters!
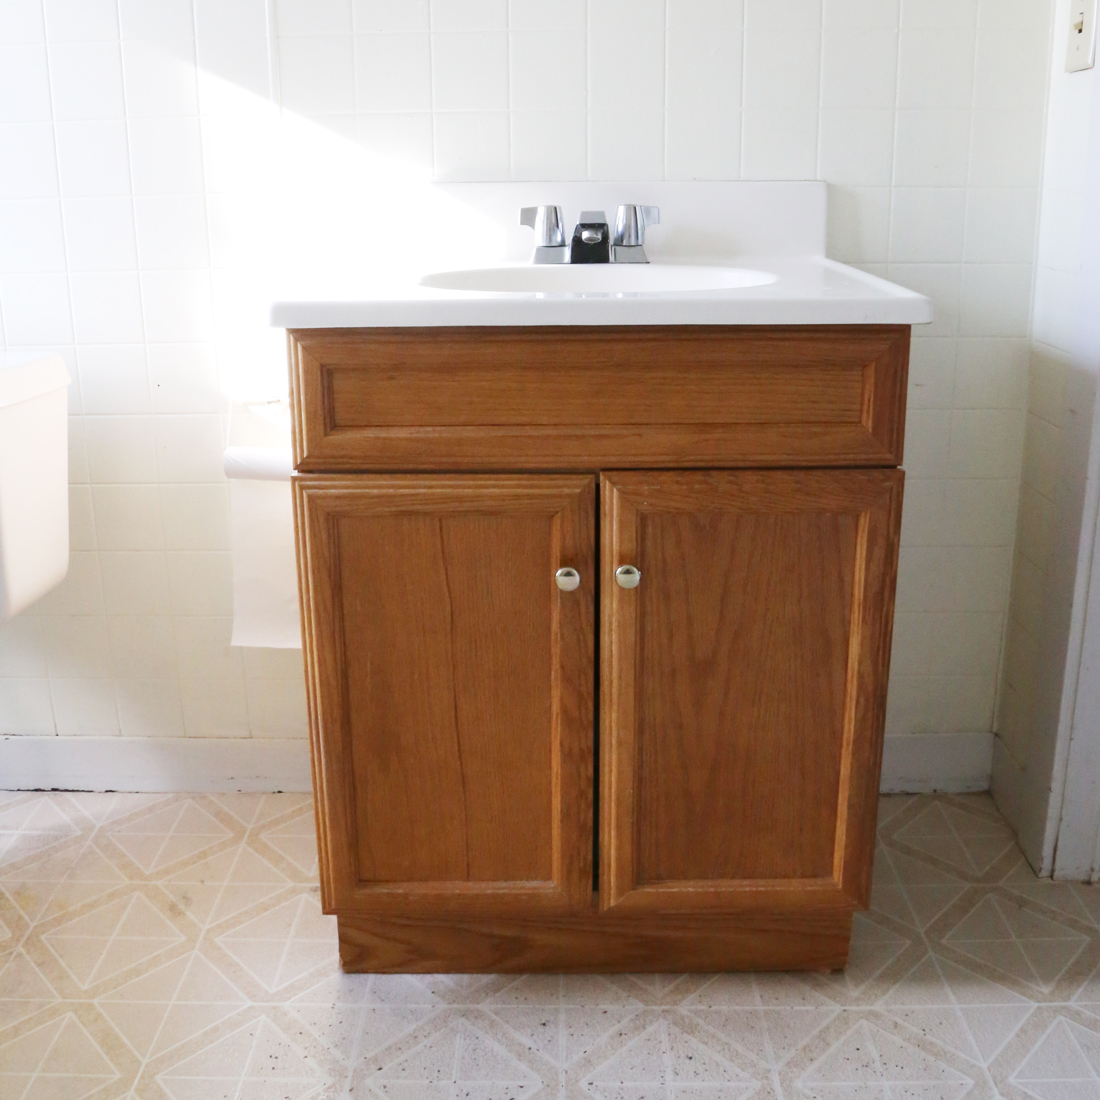
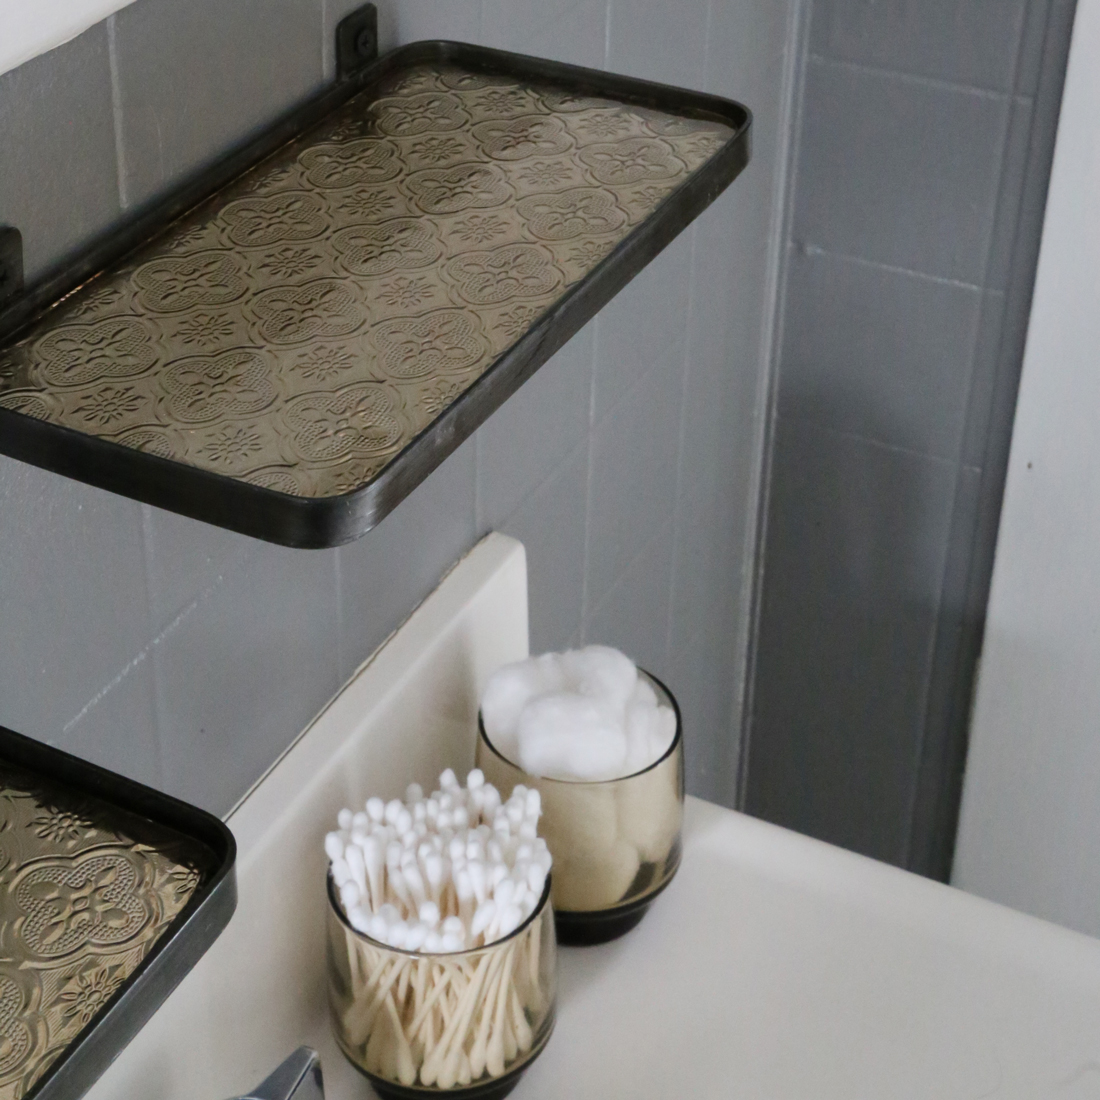
When all was said and done this renovation took around 8 weeks. The results were in my opinion spectacular. We went from having a dark dingy kitchen with vinyl floorings, open back cabinets from the 1940’s and a kitchen sink that froze up every winter. To a kitchen where we can see what we are cooking, chopping and looking for; that stays warm in the winter and cool in the summer. Not to mention a bathroom with a leaking toilet and bath tub with formica walls and gold marbled vinyl floors to a bright white clean and open space where we can feel proud to have guests brush their teeth.
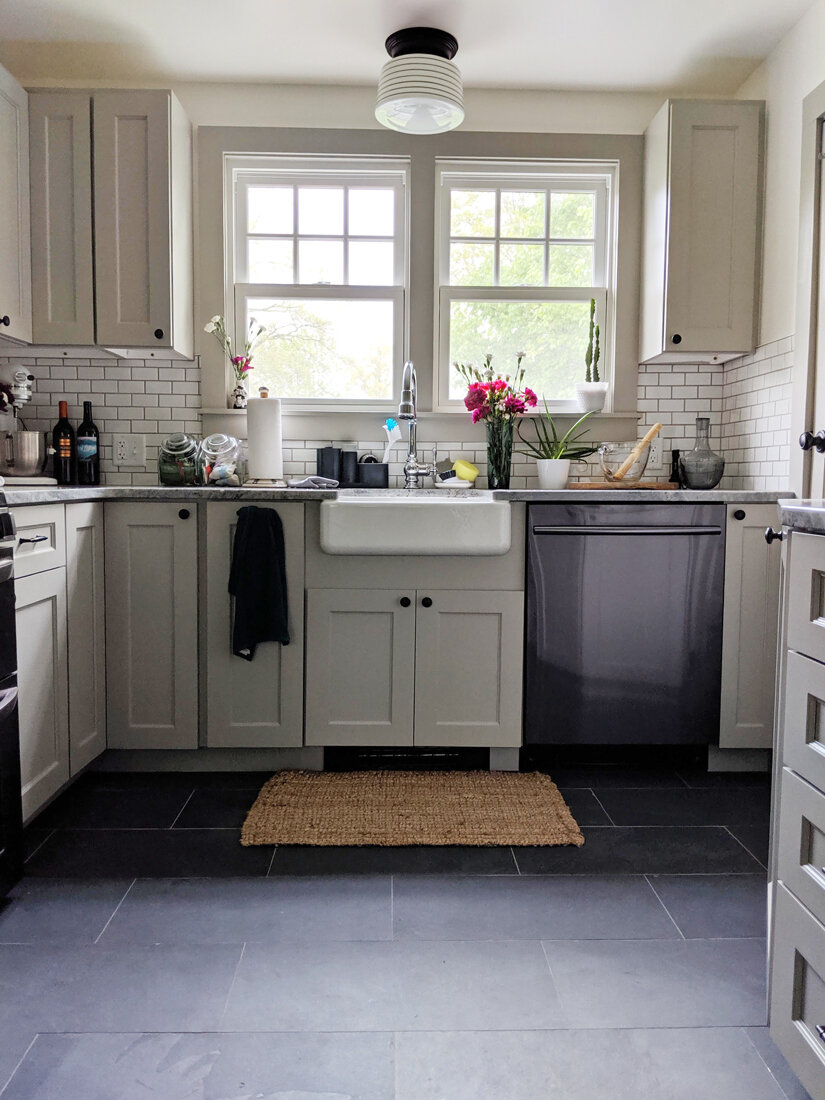
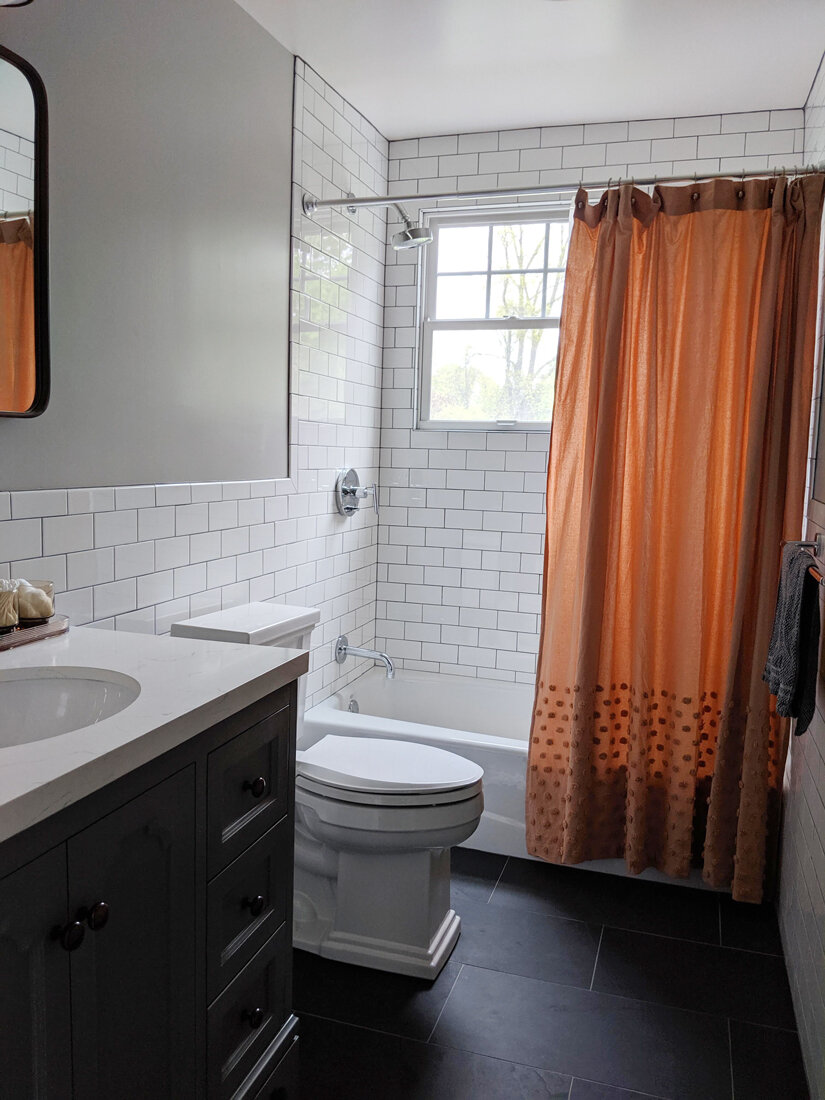
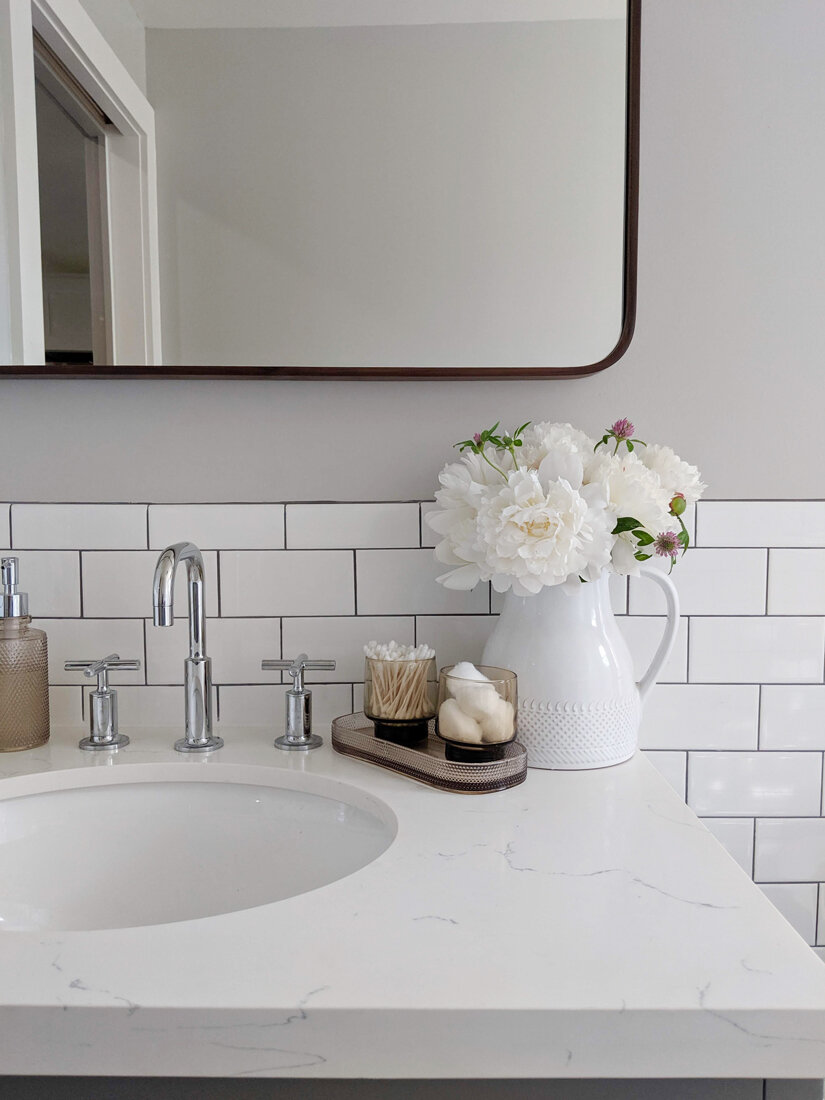
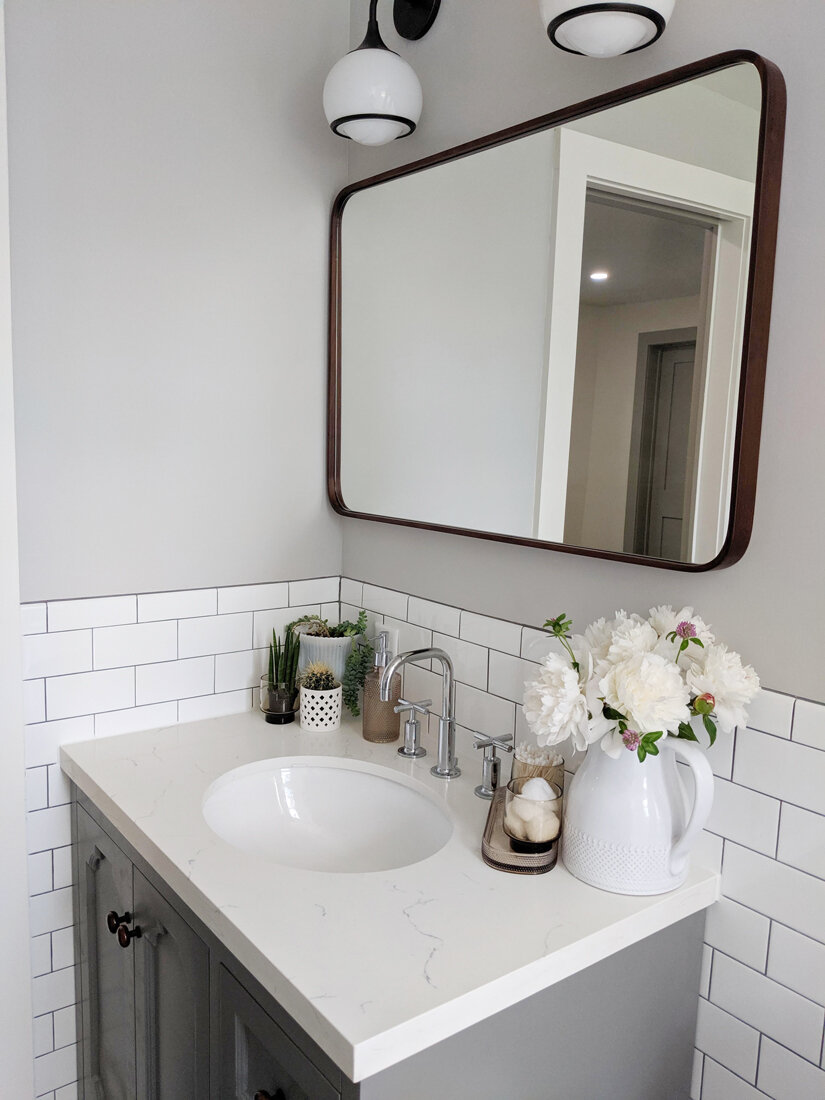
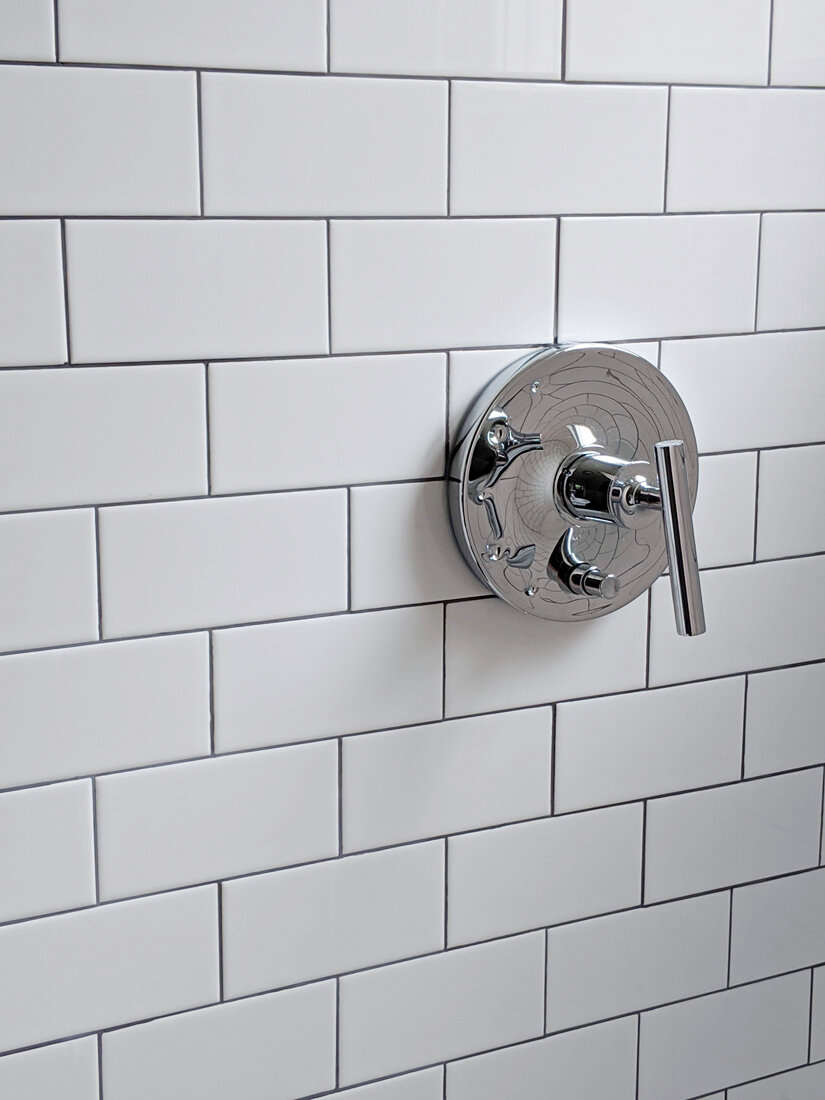
We went with all Kohler faucets which I am very pleased with in quality as well as appearance. They feel like they will last a lifetime.
One of my favorite touches in the bathroom are the knobs I found that match some of the old glass door knobs we have in the house. Alternatively we went with simple black knobs and pulls in the kitchen.
Another of the things I am very pleased with are the countertops. There was a lot of thinking about this decision and in the end it came down to what granite was at the stone spot we went to. I think we made the right decision. We vacillated between quartz and natural stone, dark counters or light and in the end I think the slab we bought turned out beautifully.
More posts coming soon detailing our new guest room!